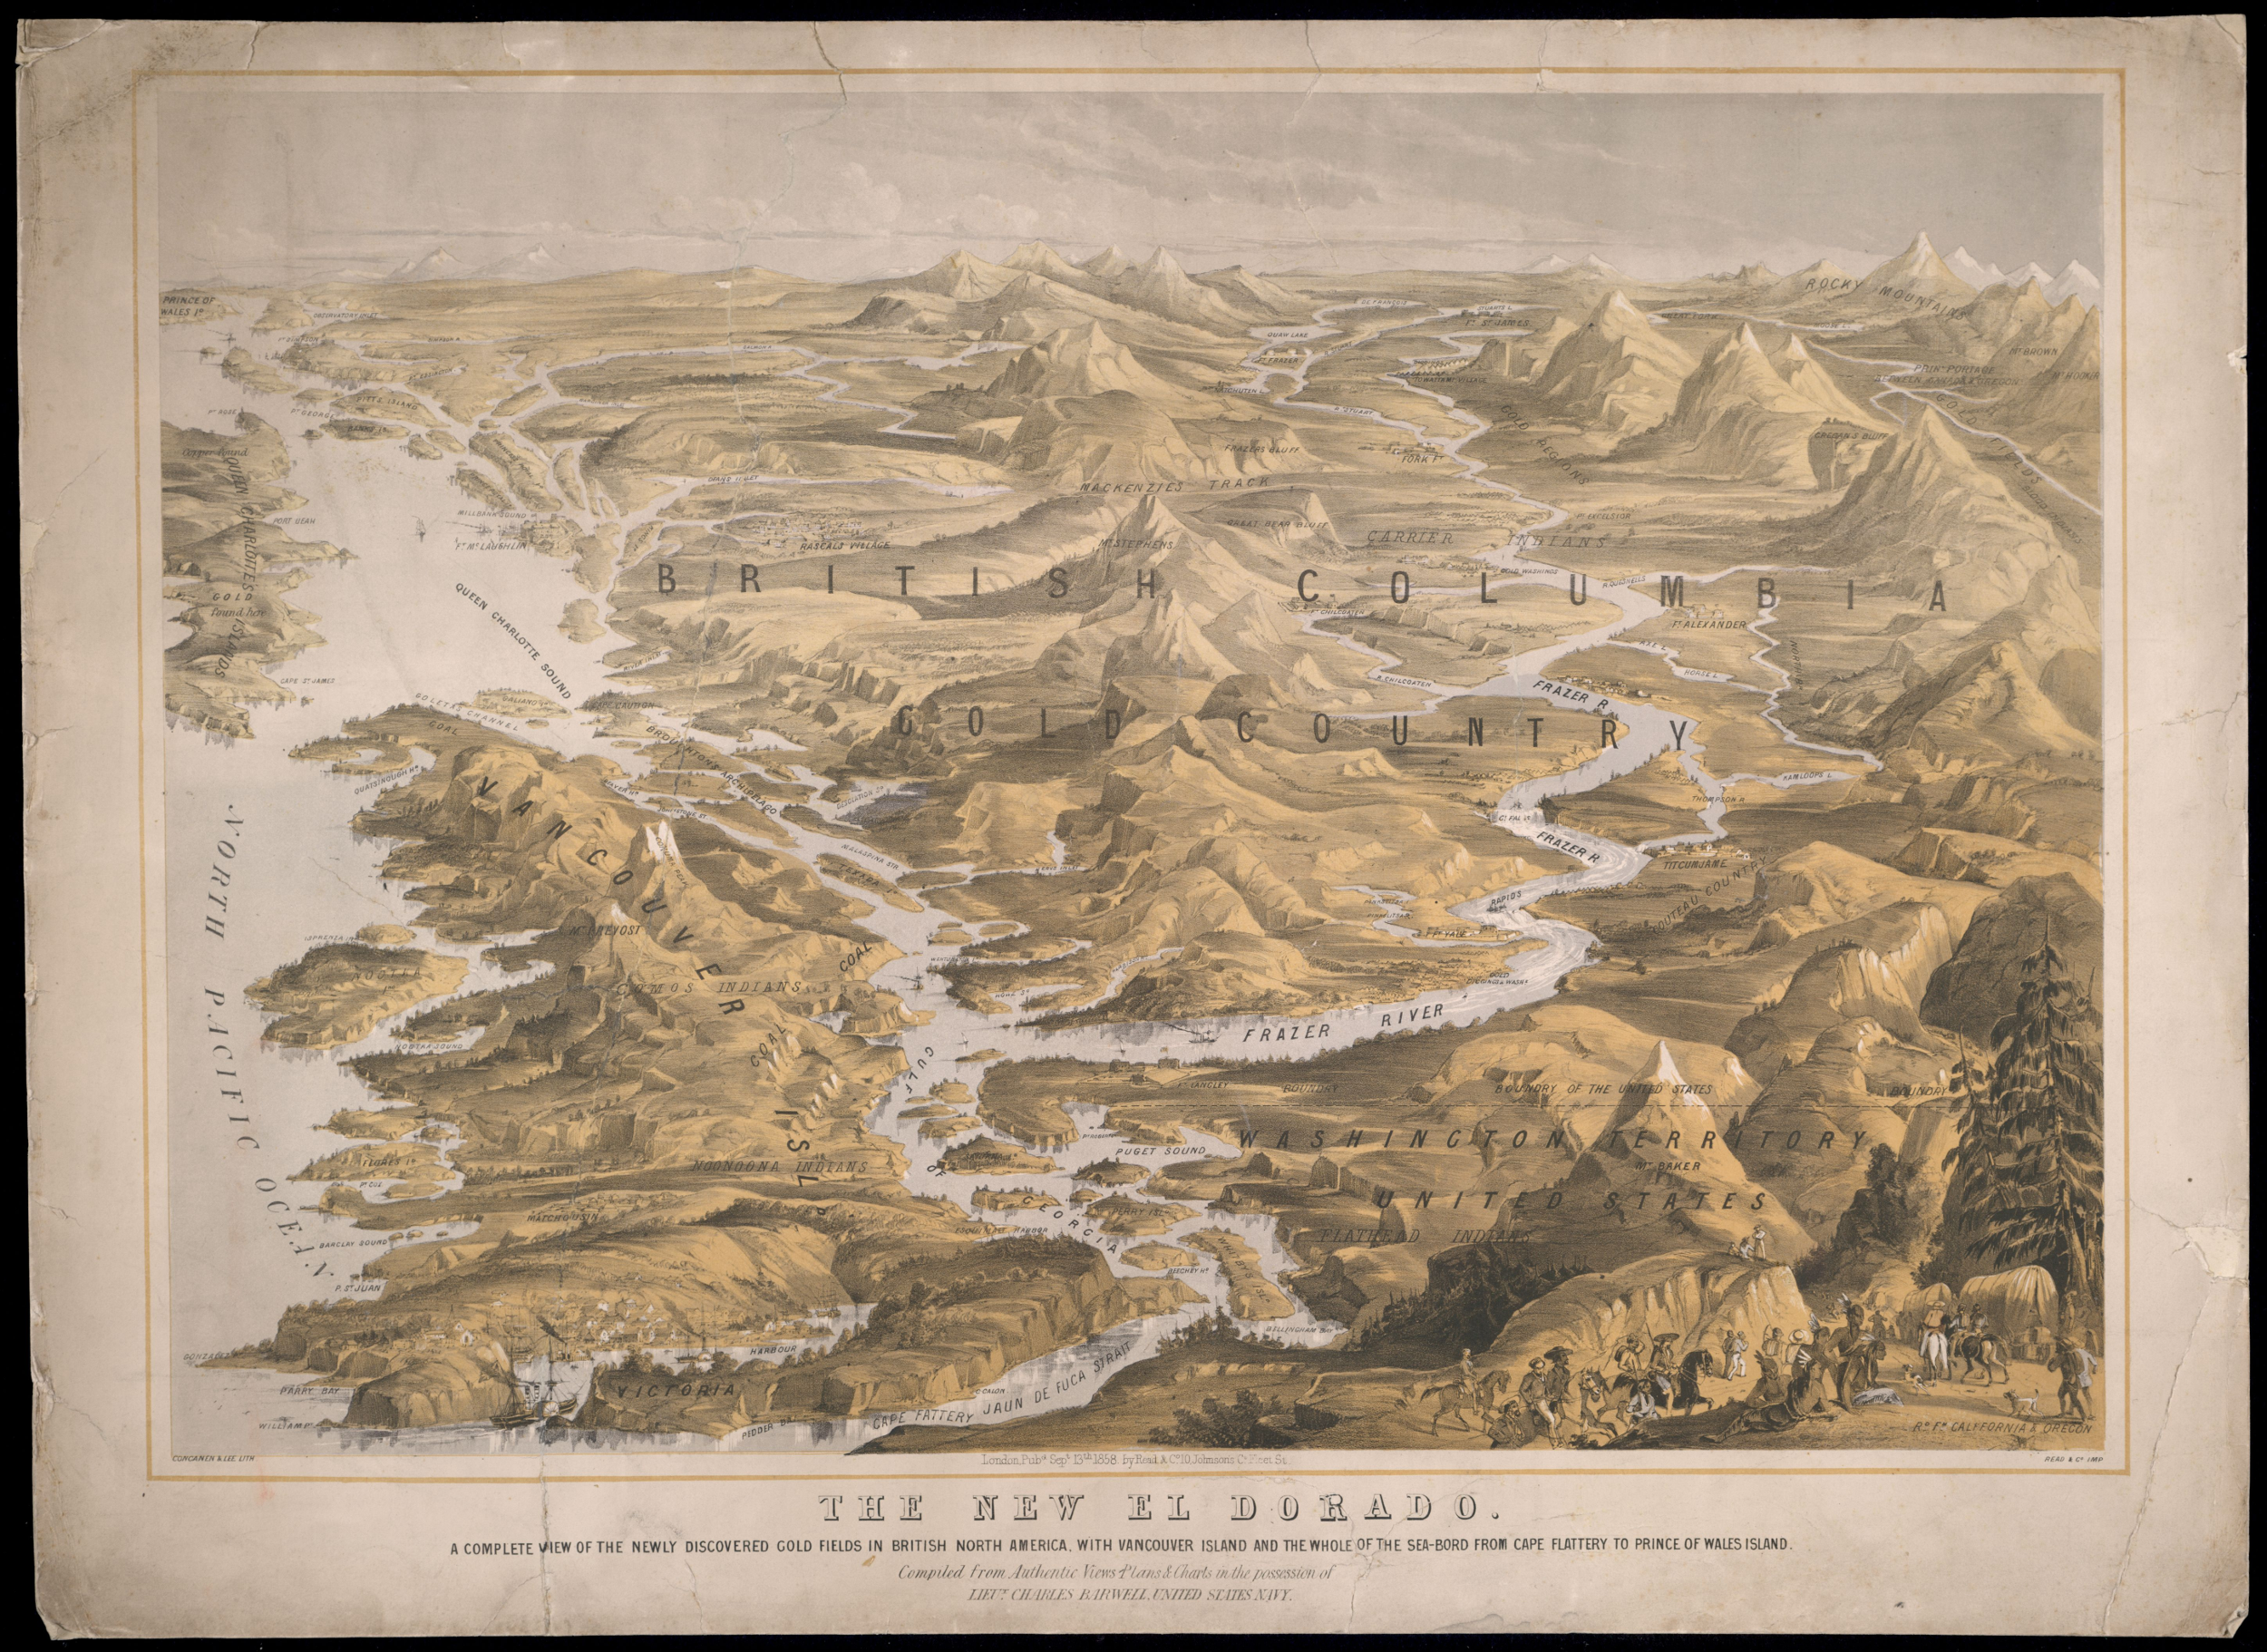
In part one of the top ten gold rushes of BC we covered the early gold rushes primarily in the Southern regions. As time went on gold hungry adventurers pushed further in the wild North of the Canadian West coast. Their adventurous spirit was rewarded greatly and eventually led them into the Yukon and Alaska.
1865 Big Bend Gold Rush
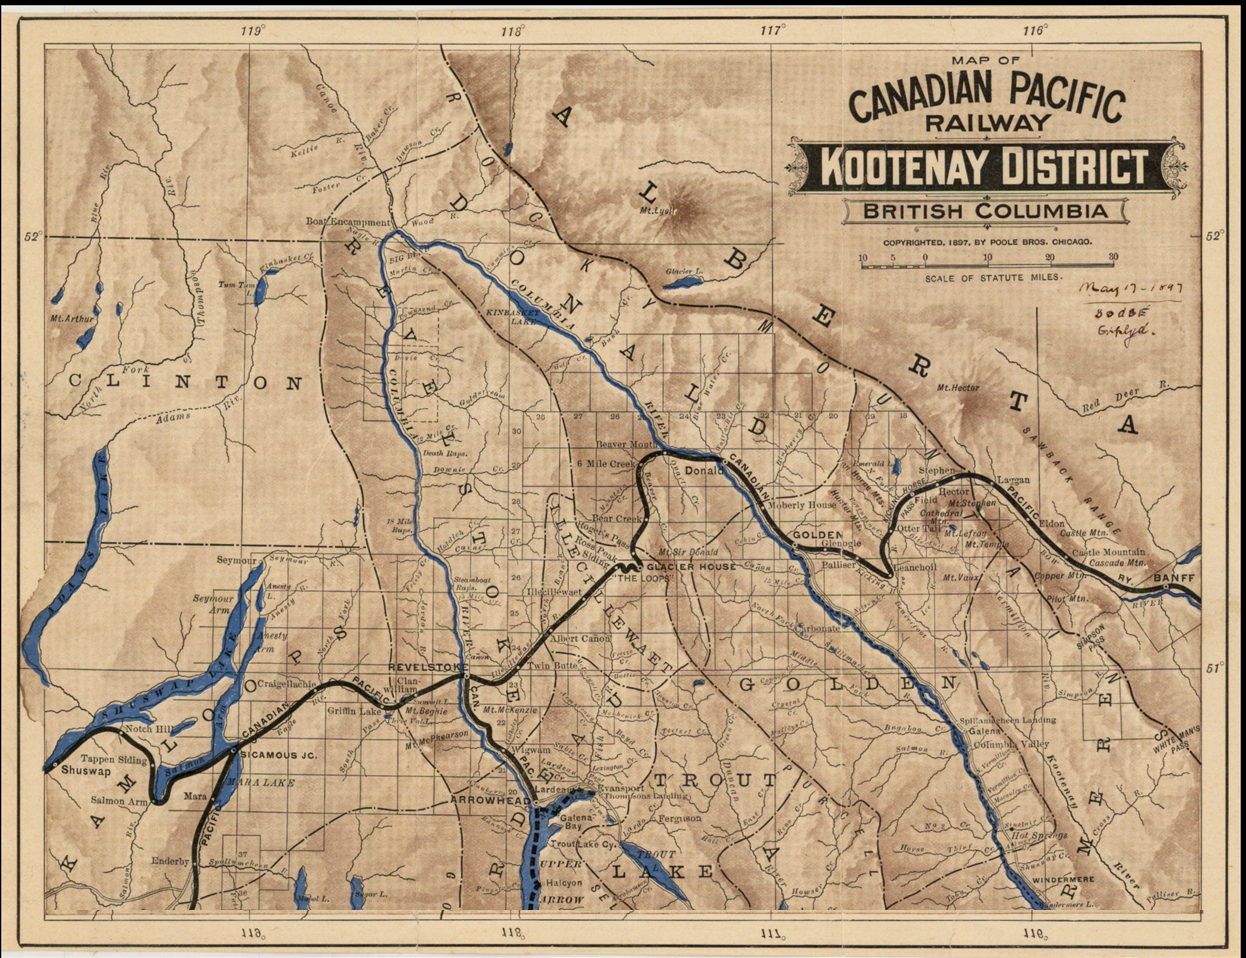
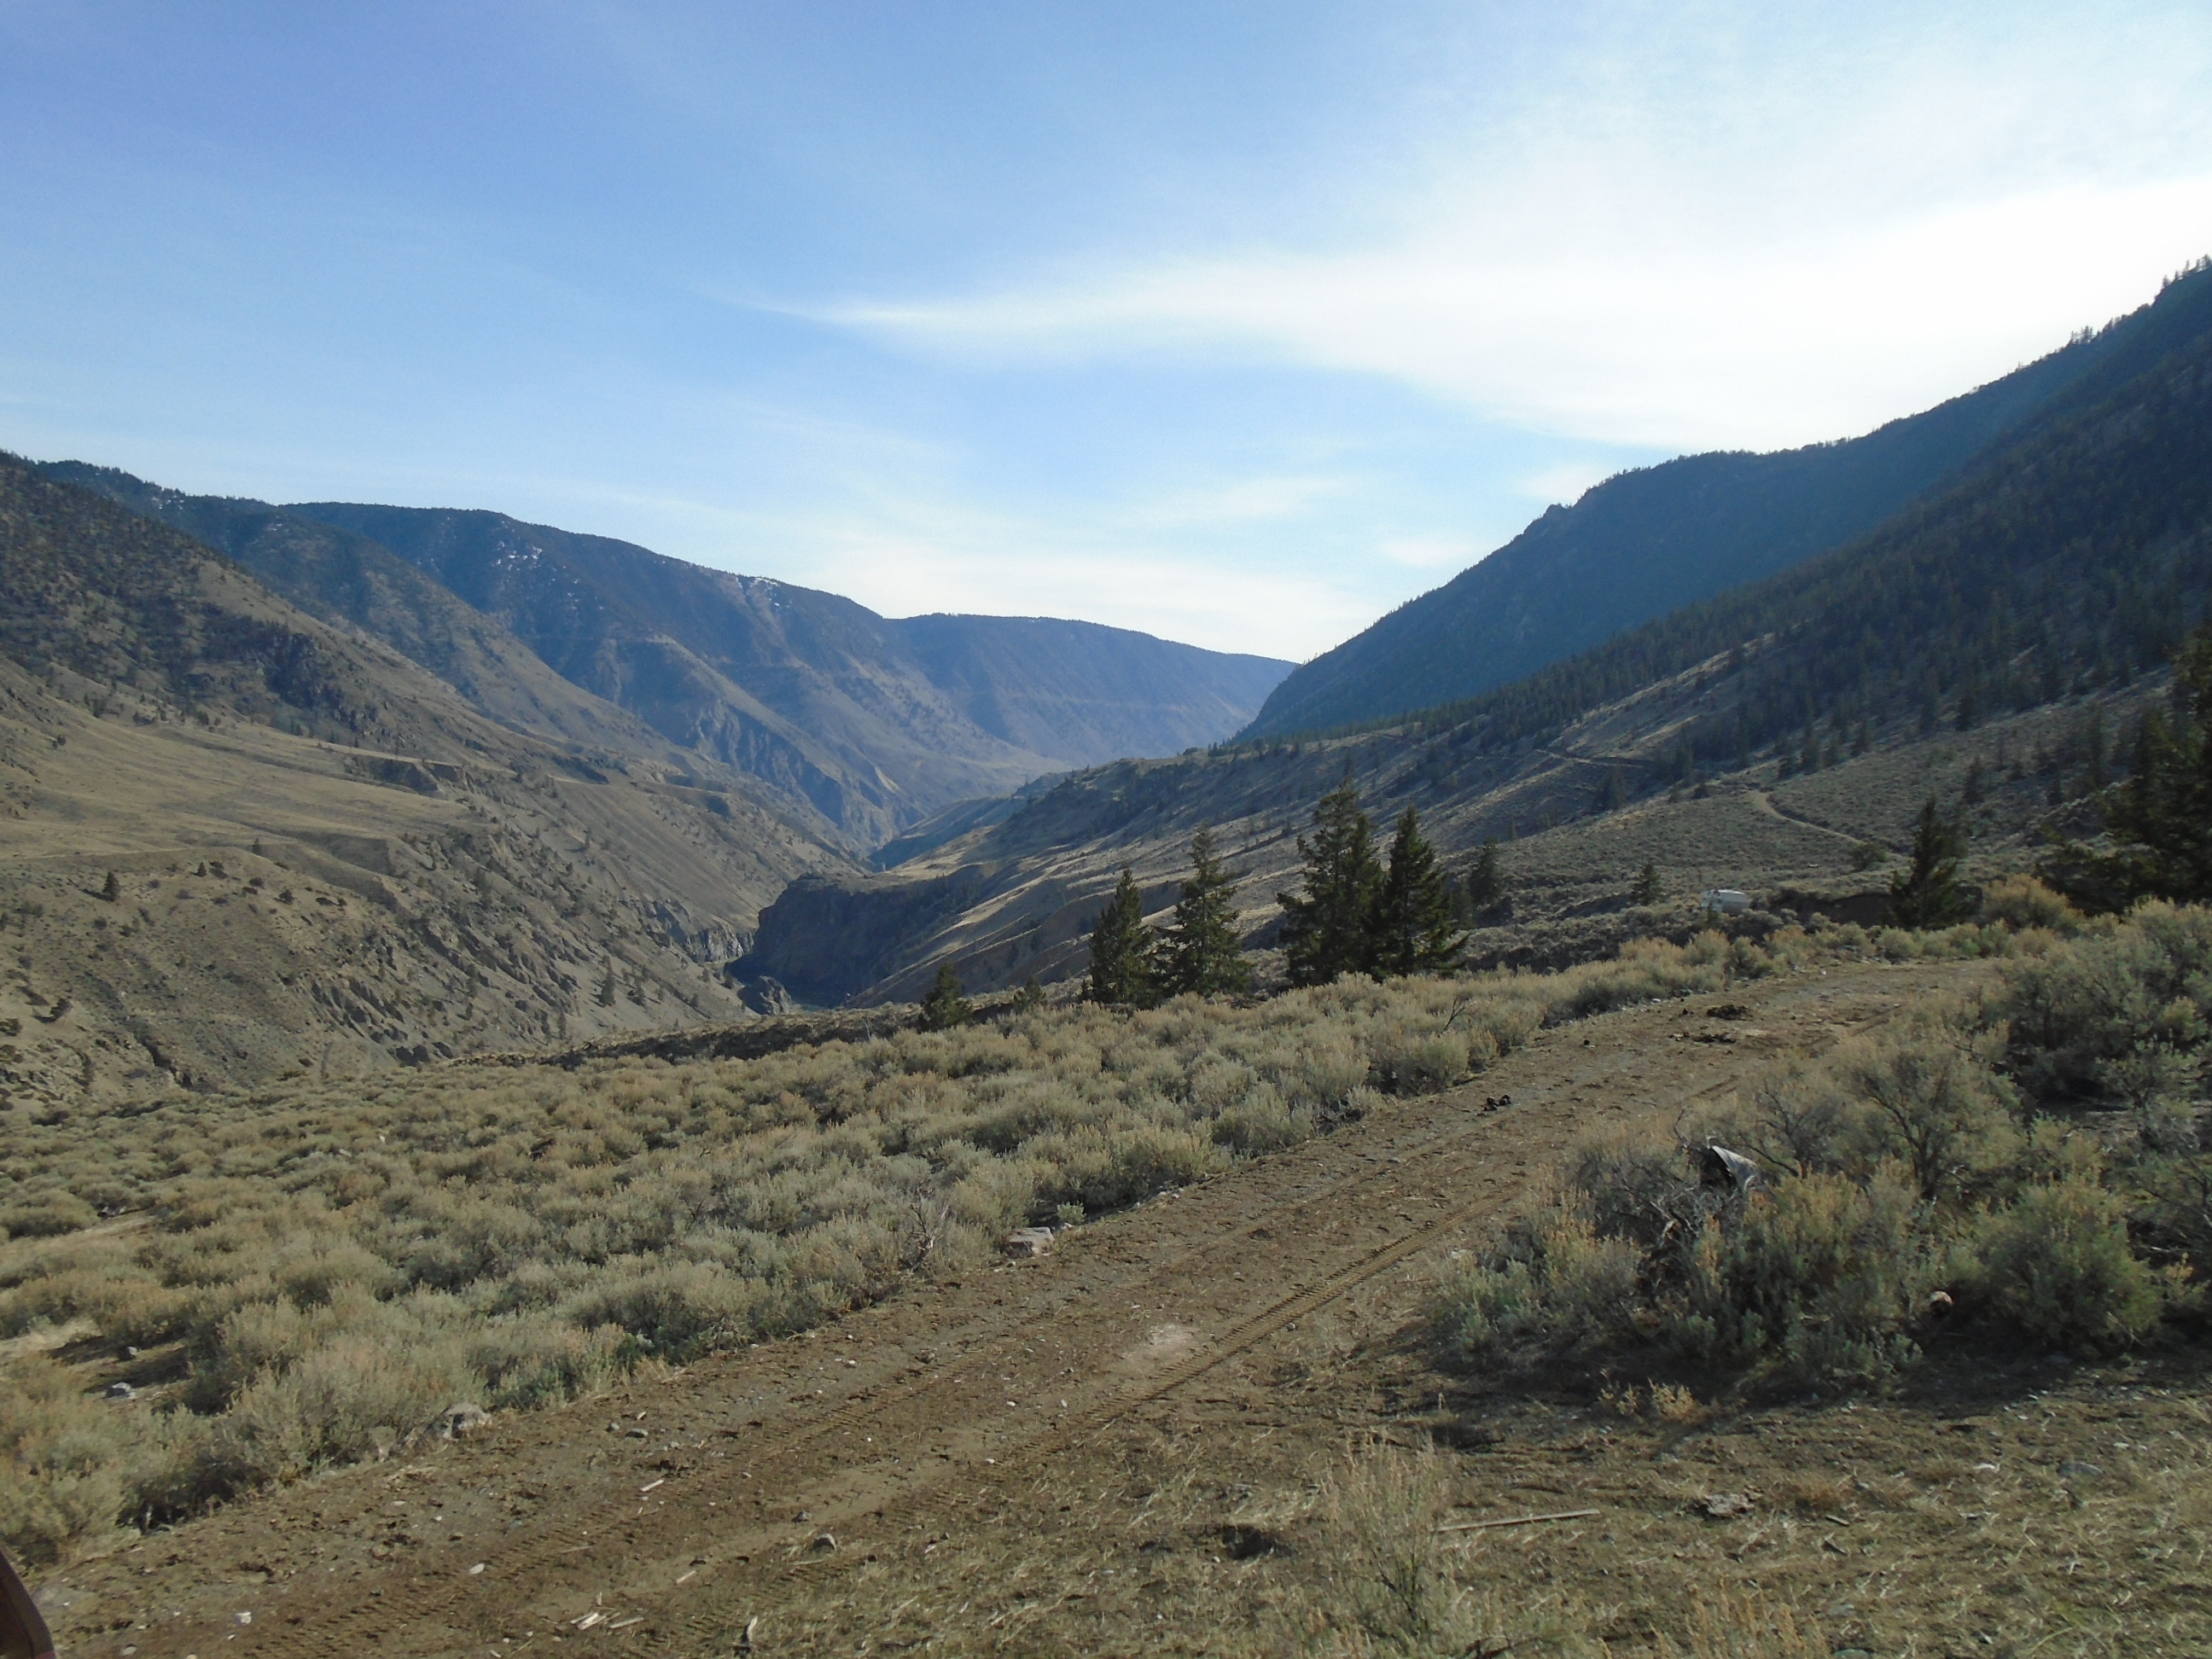
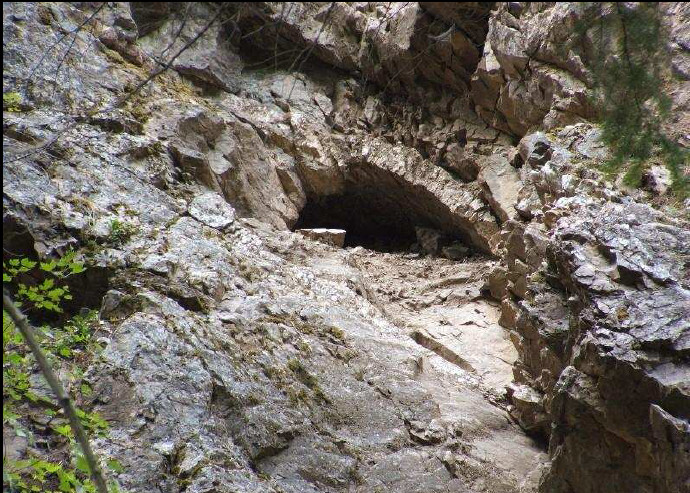
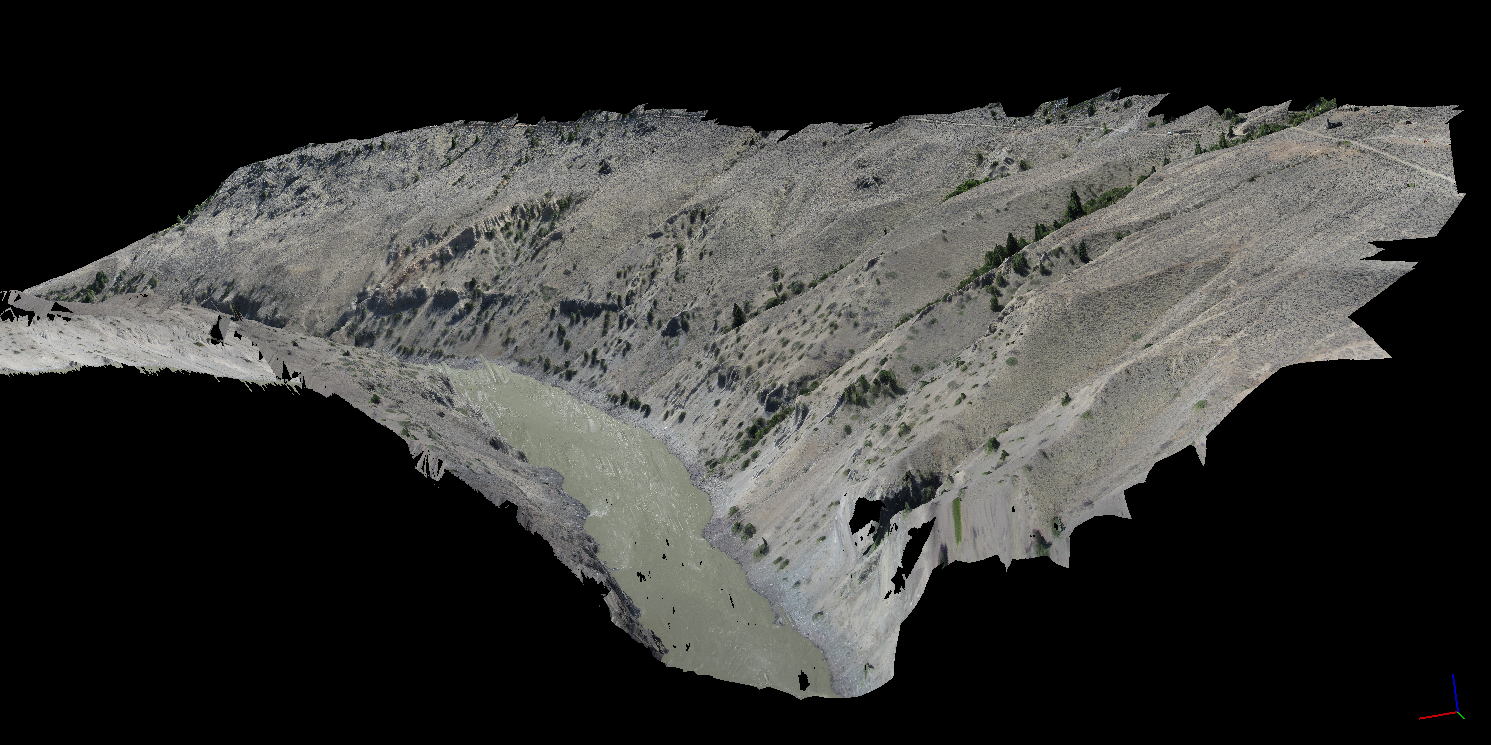
The Big Bend refers to the shape of the Columbia River as it makes a huge detour at the continental divide. This region encompasses several different mountain ranges including the Selkirks, the Cariboo Mountains, the Monashees and the Rocky Mountains. In 1865 gold was discovered on French Creek which is straight North of Revelstoke. As in other gold rushes a town was quickly erected named French Creek City. Within the first year the town reached a population of over 4000 people. Nothing is left today but during the rush French Creek had a general store, saloons with cabaret shows, barber shops and of course brothels. Other important towns of the rush were La Porte and Downie Creek. The inhabitants came mostly from the Wild Horse area and other areas in BC.
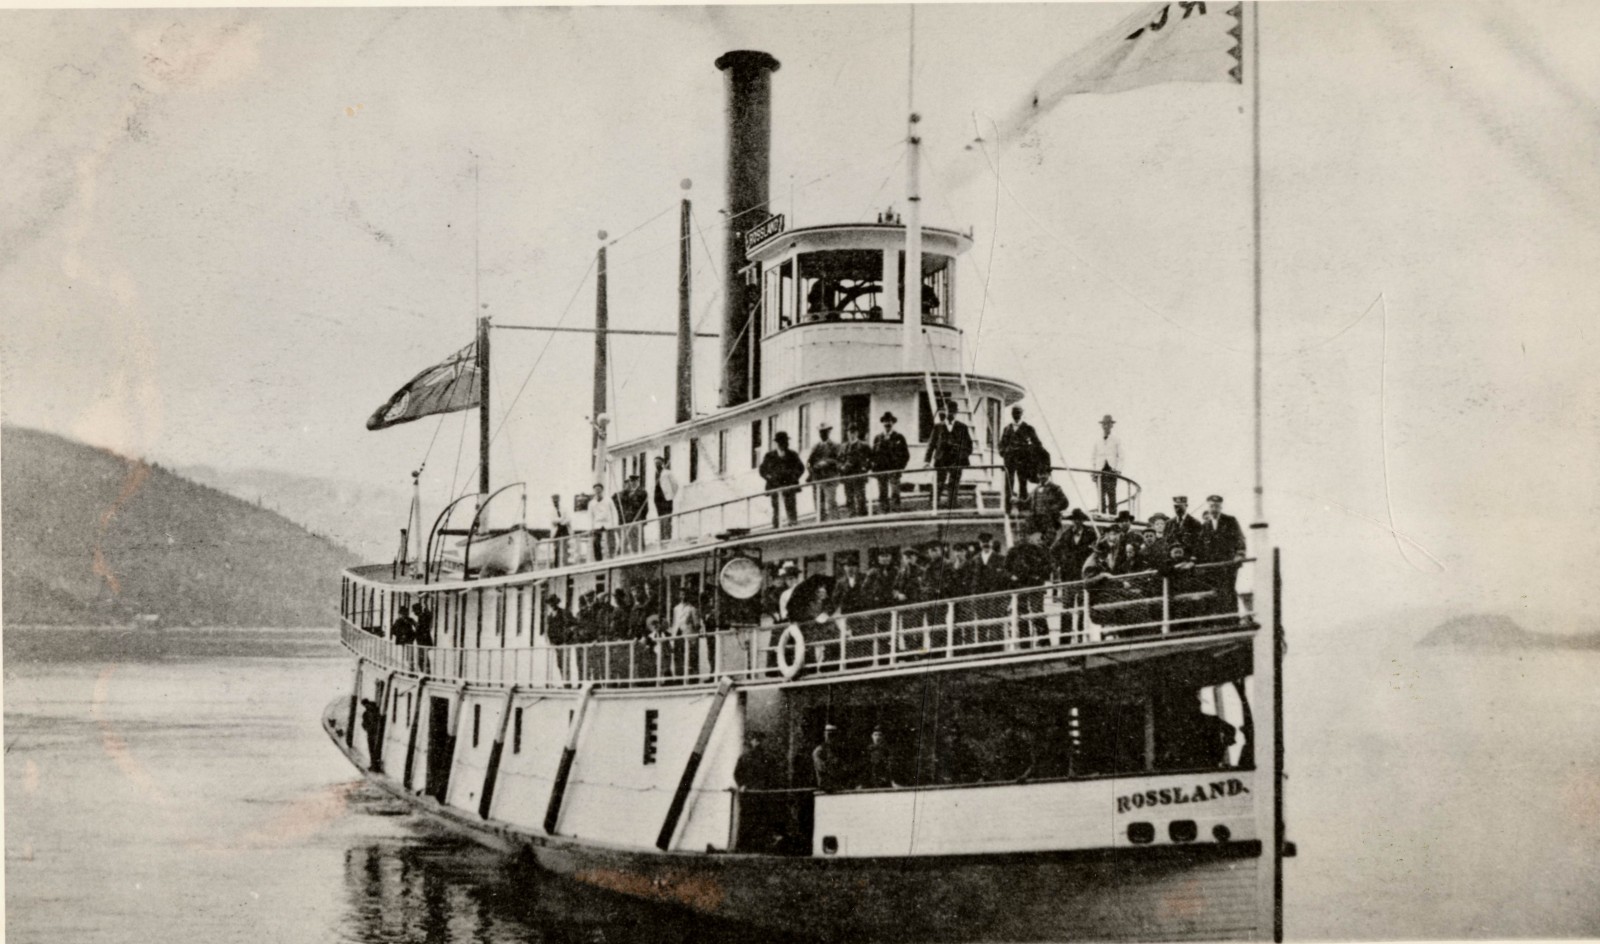
Steamboats were a major factor during the big bend gold rush. Many of the prospectors reached the area on steamboats via the Arrow Lakes which make up part of the Columbia River. The lake network allowed boat passengers to travel from areas as far South as the US border.
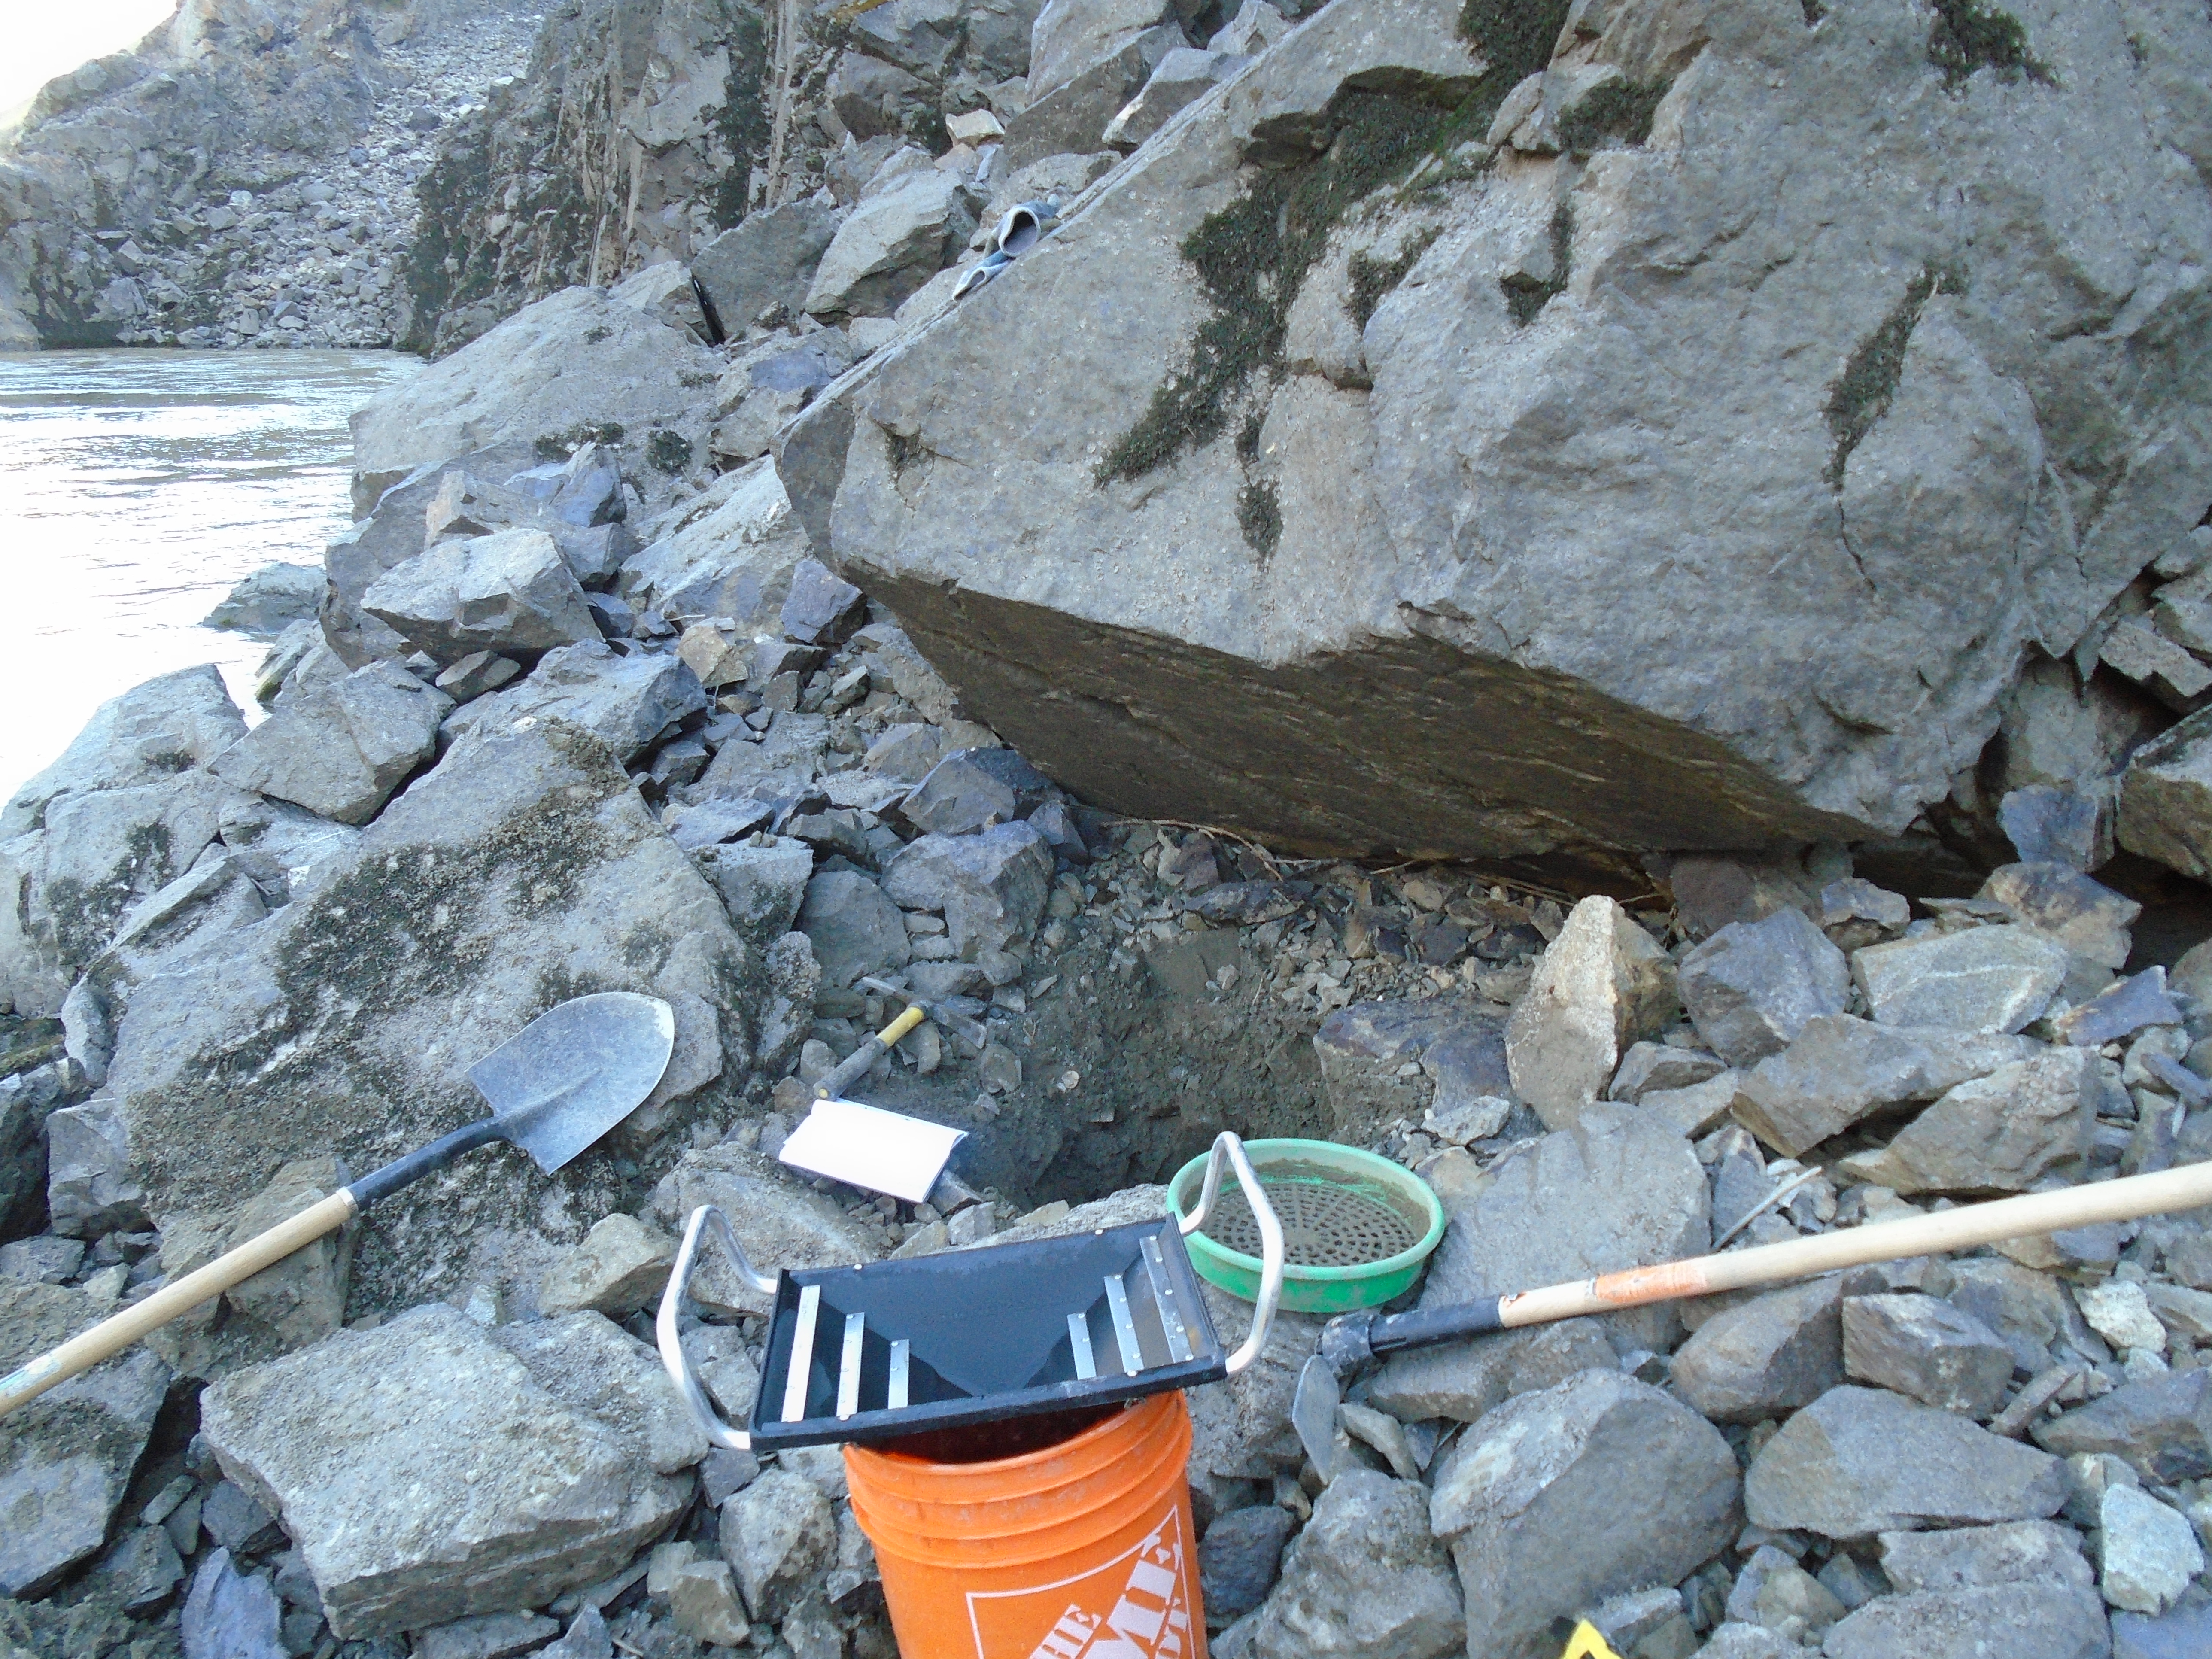
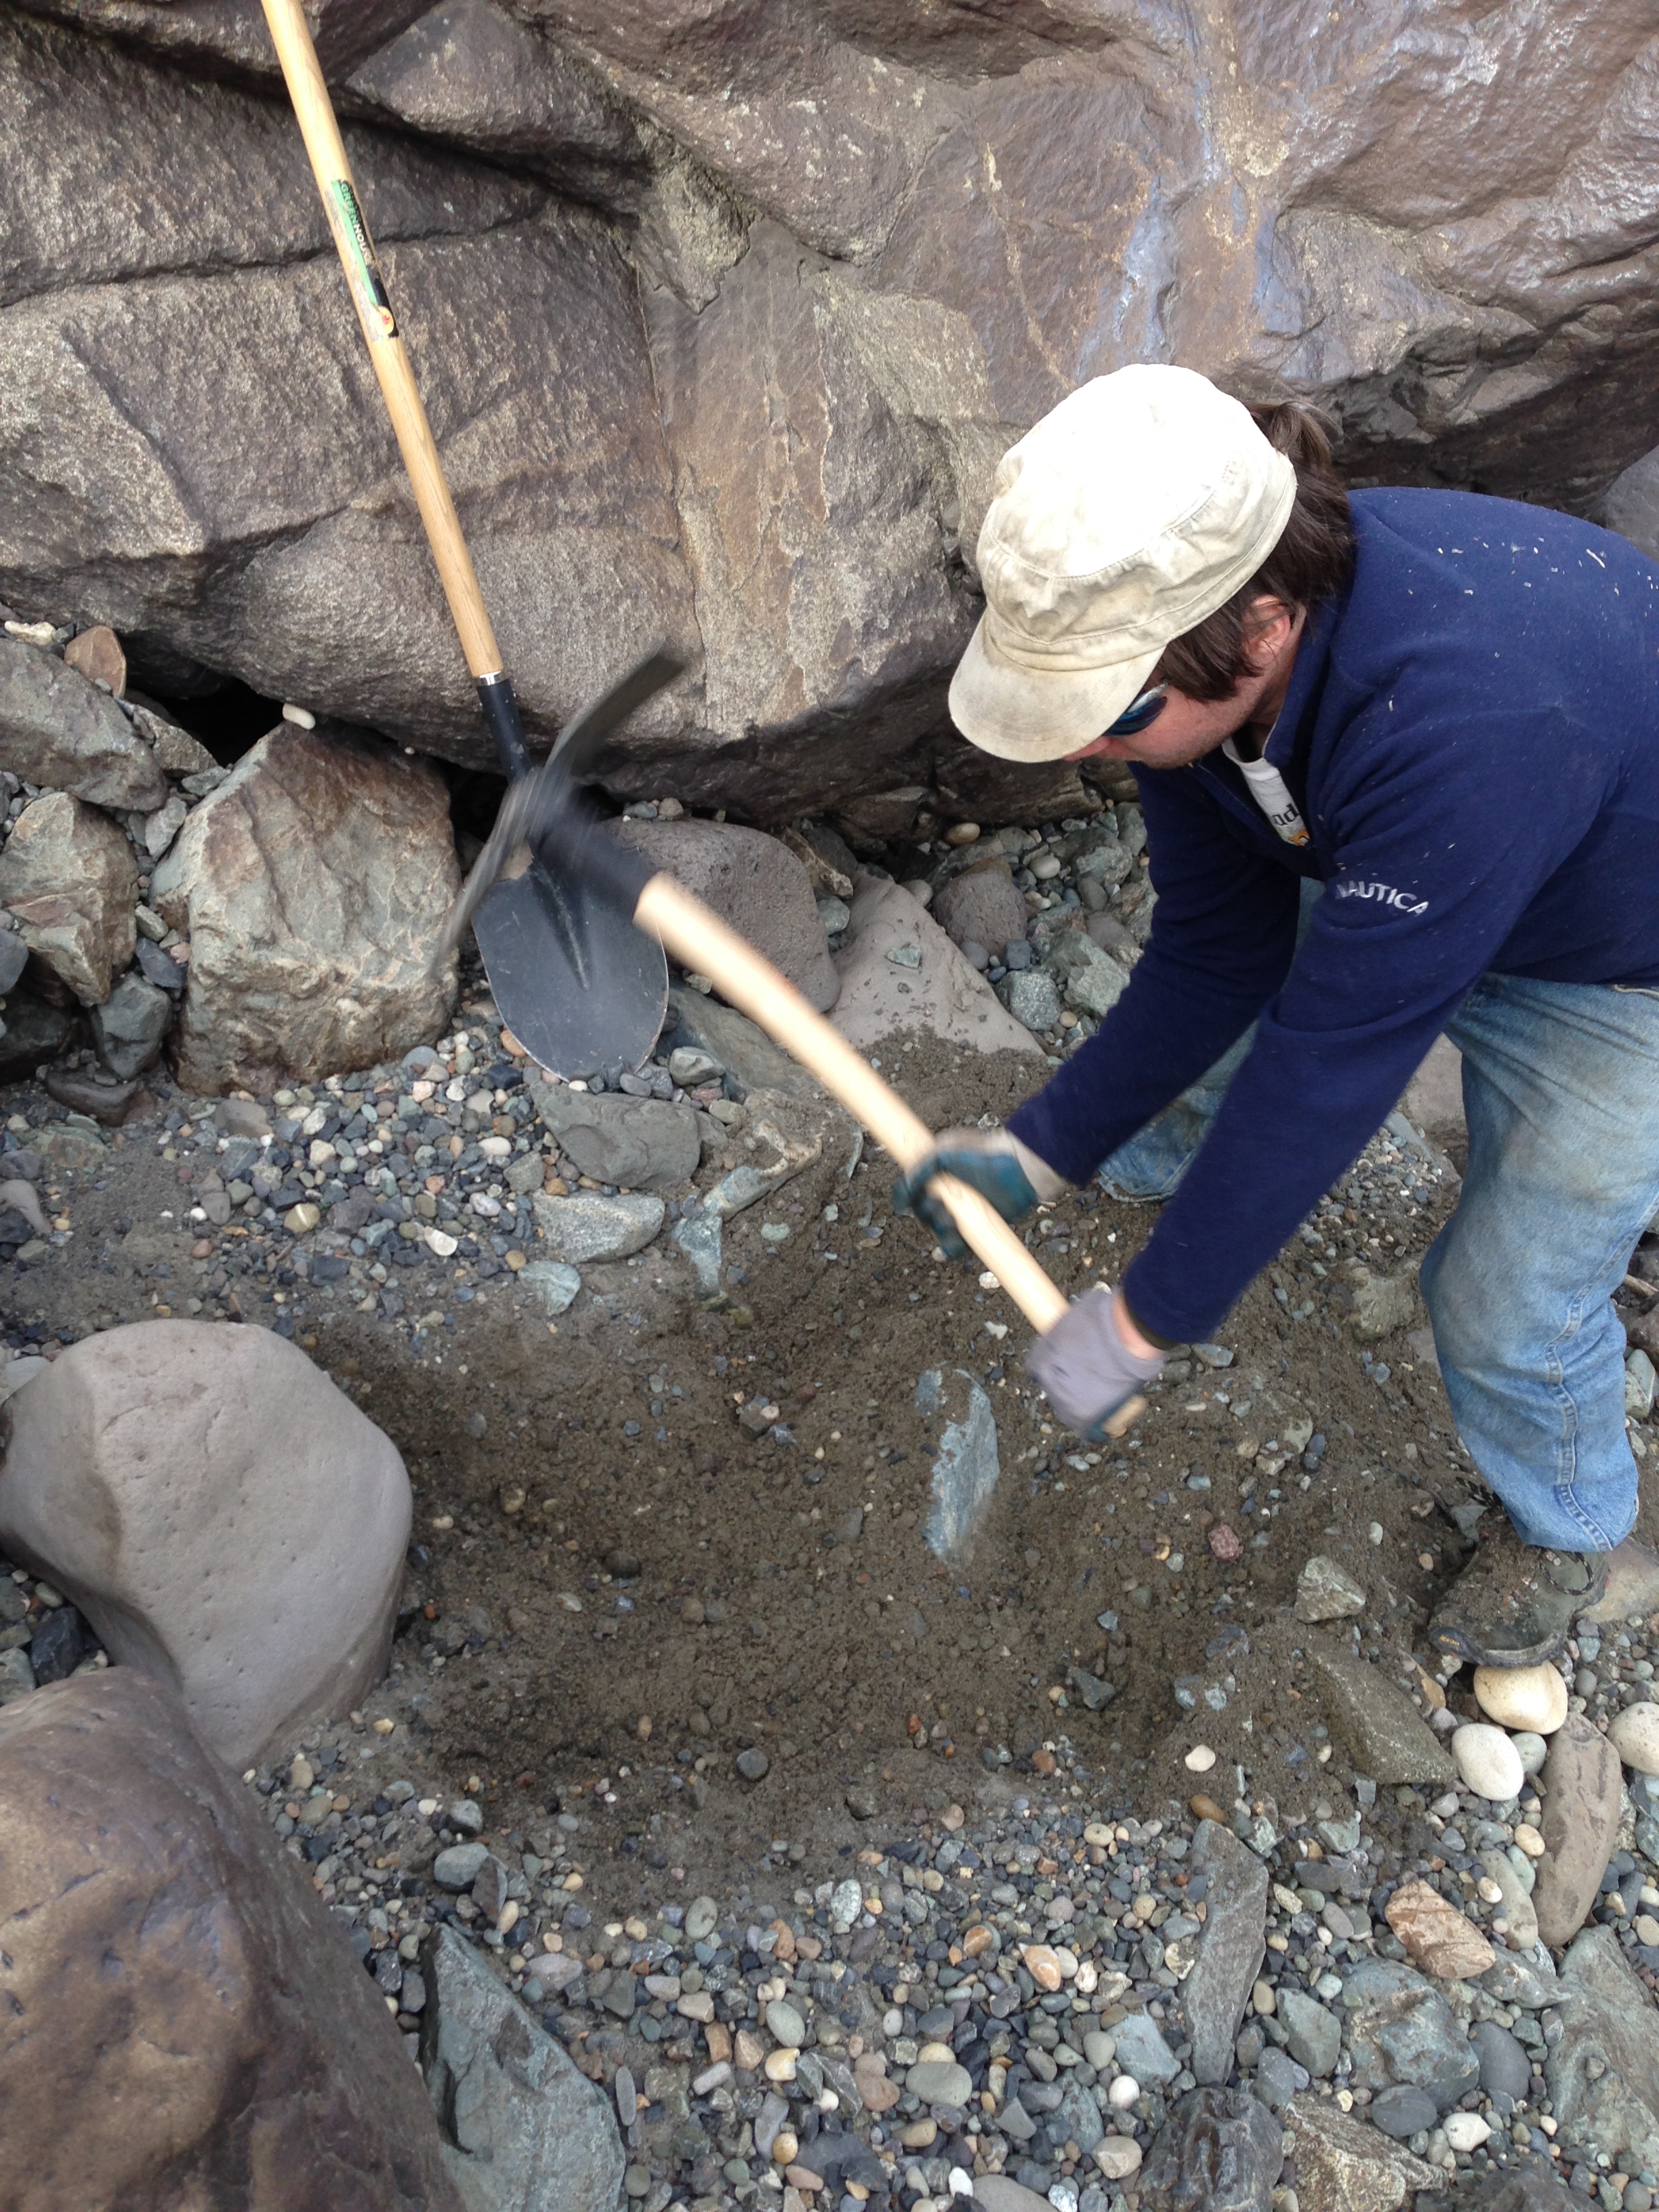
Other notable creeks in the area are Carnes Creek, Downie Creek, McCullough Creek, and the Goldstream River. A 14 ounce nugget was reported to be found on French Creek and numerous smaller nuggets were also found. In 1865 miners were bringing out multiple ounces per day to the man on some claims. On McCullough Creek pay streaks averaged 1/8 of an ounce per yard for many years. Just like other places in the late 1800s hydraulic and drift mining driven by mining companies and syndicates quickly replaced hand mining techniques. The big bend gold rush only lasted two years but mining in the area continues to this day. Several large projects and proposed mines are located in the big bend.
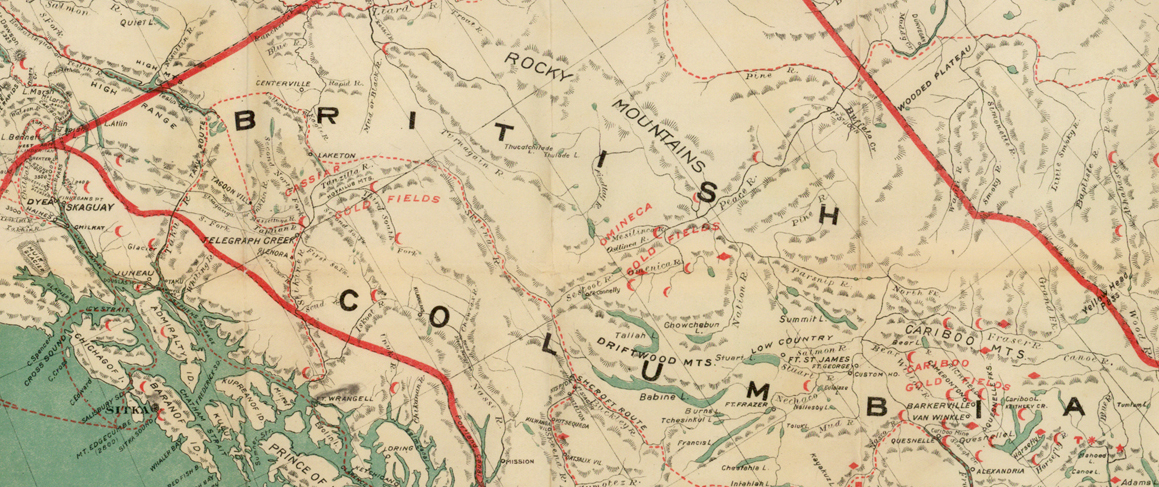
1869 Omineca Gold Rush
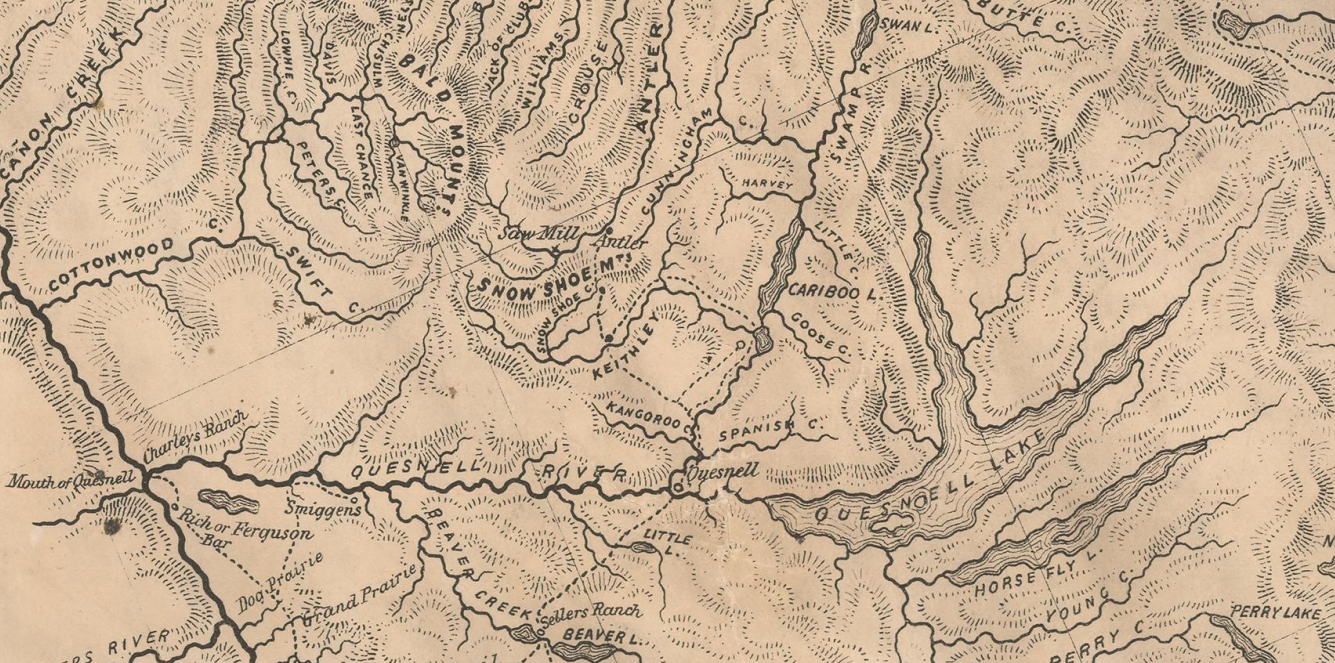
The Omineca is a huge region in Nortn-Central BC. The southern boundary is marked today by the Yellowhead highway the North boundary is the Liard Mountains. Gold was first discovered in the Omineca in 1861 but the rush didn’t take place until eight years later. The original discoveries were made on the Finlay River. In the early days there were very few people in the area due to a complete lack of trails, roads or maps and unforgiving terrain and weather. Much of the area is still wild today.
One of the first claims on the Finlay called Toy’s Bar produced 4 ounces to the man each day. Several expeditions were launched though the area searching for gold. One such party, the Peace River Prospecting Party, found a great discovery on Vital Creek in 1869. The creek was named after one of the party members, Vital Laforce who was also instrumental in exploring the Cariboo region. Vital Creek produced nearly 5000 ounces in the years following the rush.
Manson Creek and the Germansen River held the best gold deposits in the Omineca. Gold discoveries were also made on Blackjack Creek, Kildare Creek, Mosquito Creek, Slate Creek and Nugget Gulch. In the early days of the gold rush anything less than an ounce a day was considered unworthy. Many creeks were paying 100 ounces per week. If the gold rush happened today that would be well over $100,000 every week. I’d be finding my way up there any any means possible. Travelling to the Omineca in the 1800s was a feat in itself.
The discovery of gold in the Cassiar in 1873 spelled the end of the Omineca gold rush. As with all gold rushes those who held good ground stayed and kept mining while everyone else headed on to the next boom town. The Omineca is one of the least explored regions in BC today and there are still gold strikes waiting to be found.
1873 Cassiar Gold Rush
Gold was discovered on the Stikine River in 1861 and a minor rush developed. A few hundred prospectors ascended the river in search of gold. There was an existing fur trading fort at the mouth of the river called Fort Stikine which later became Wrangell, Alaska. Not enough gold was found to entice more adventurers to the region but the excitement was enough to prompt Britain into claiming the region as a colony in 1862.
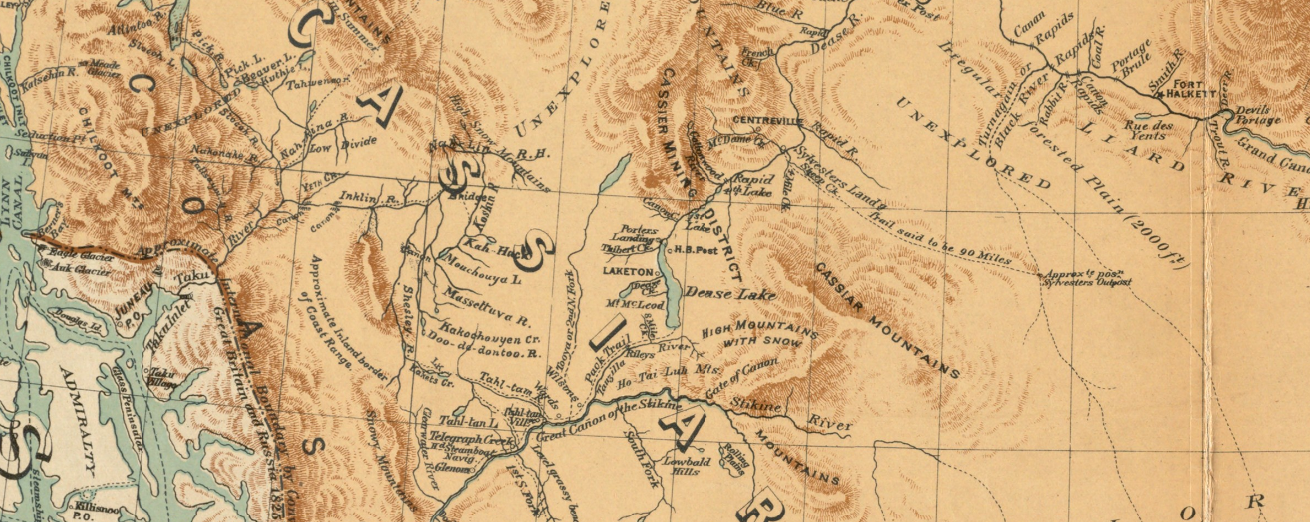
The Cassiar gold rush really took off once the high grade gold deposits in the extreme North of BC were discovered. This part of the country is extremely rugged with huge mountains, glaciers and a very cold winter. The discovery was made in the summer of 1872 by Henry Thibert and Angus McCulloch on a creek that drains into Dease Lake. The creek was named after Thibert who froze to death the following winter. Thibert Creek was very rich, in the first year miners were getting up to three ounces to the pan.

In 1874 an even bigger discovery was made further North on Mcdame Creek. The largest gold nugget ever found in BC was taken from Mcdame Creek tipping the scale at 73 ounces! Another giant nugget was found on Alice Shea Creek that weighed 52 ounces.
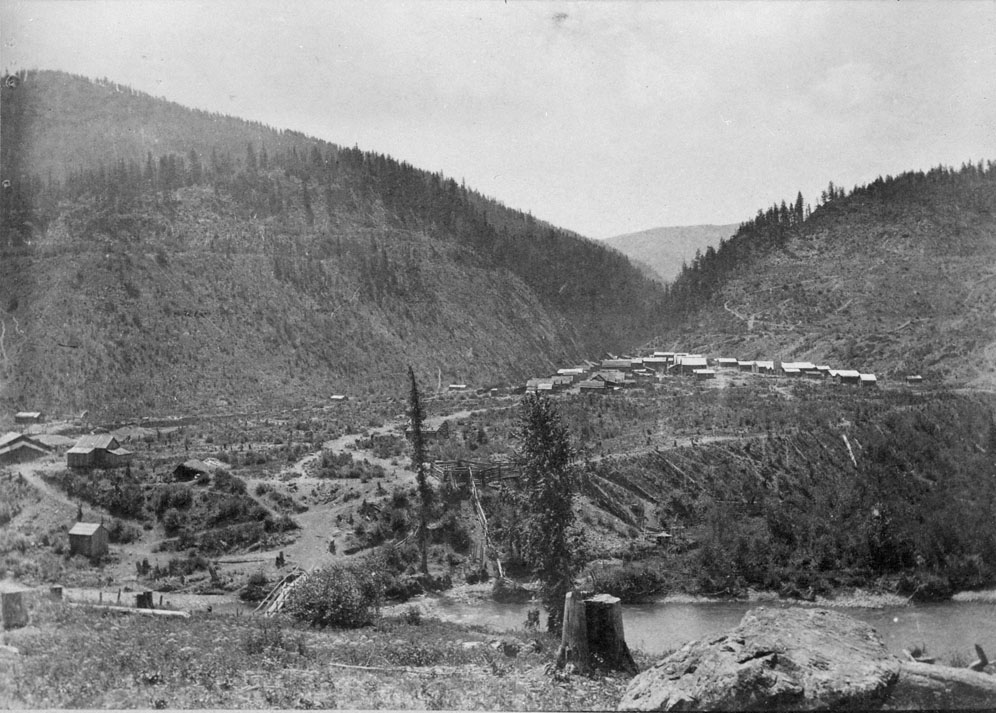
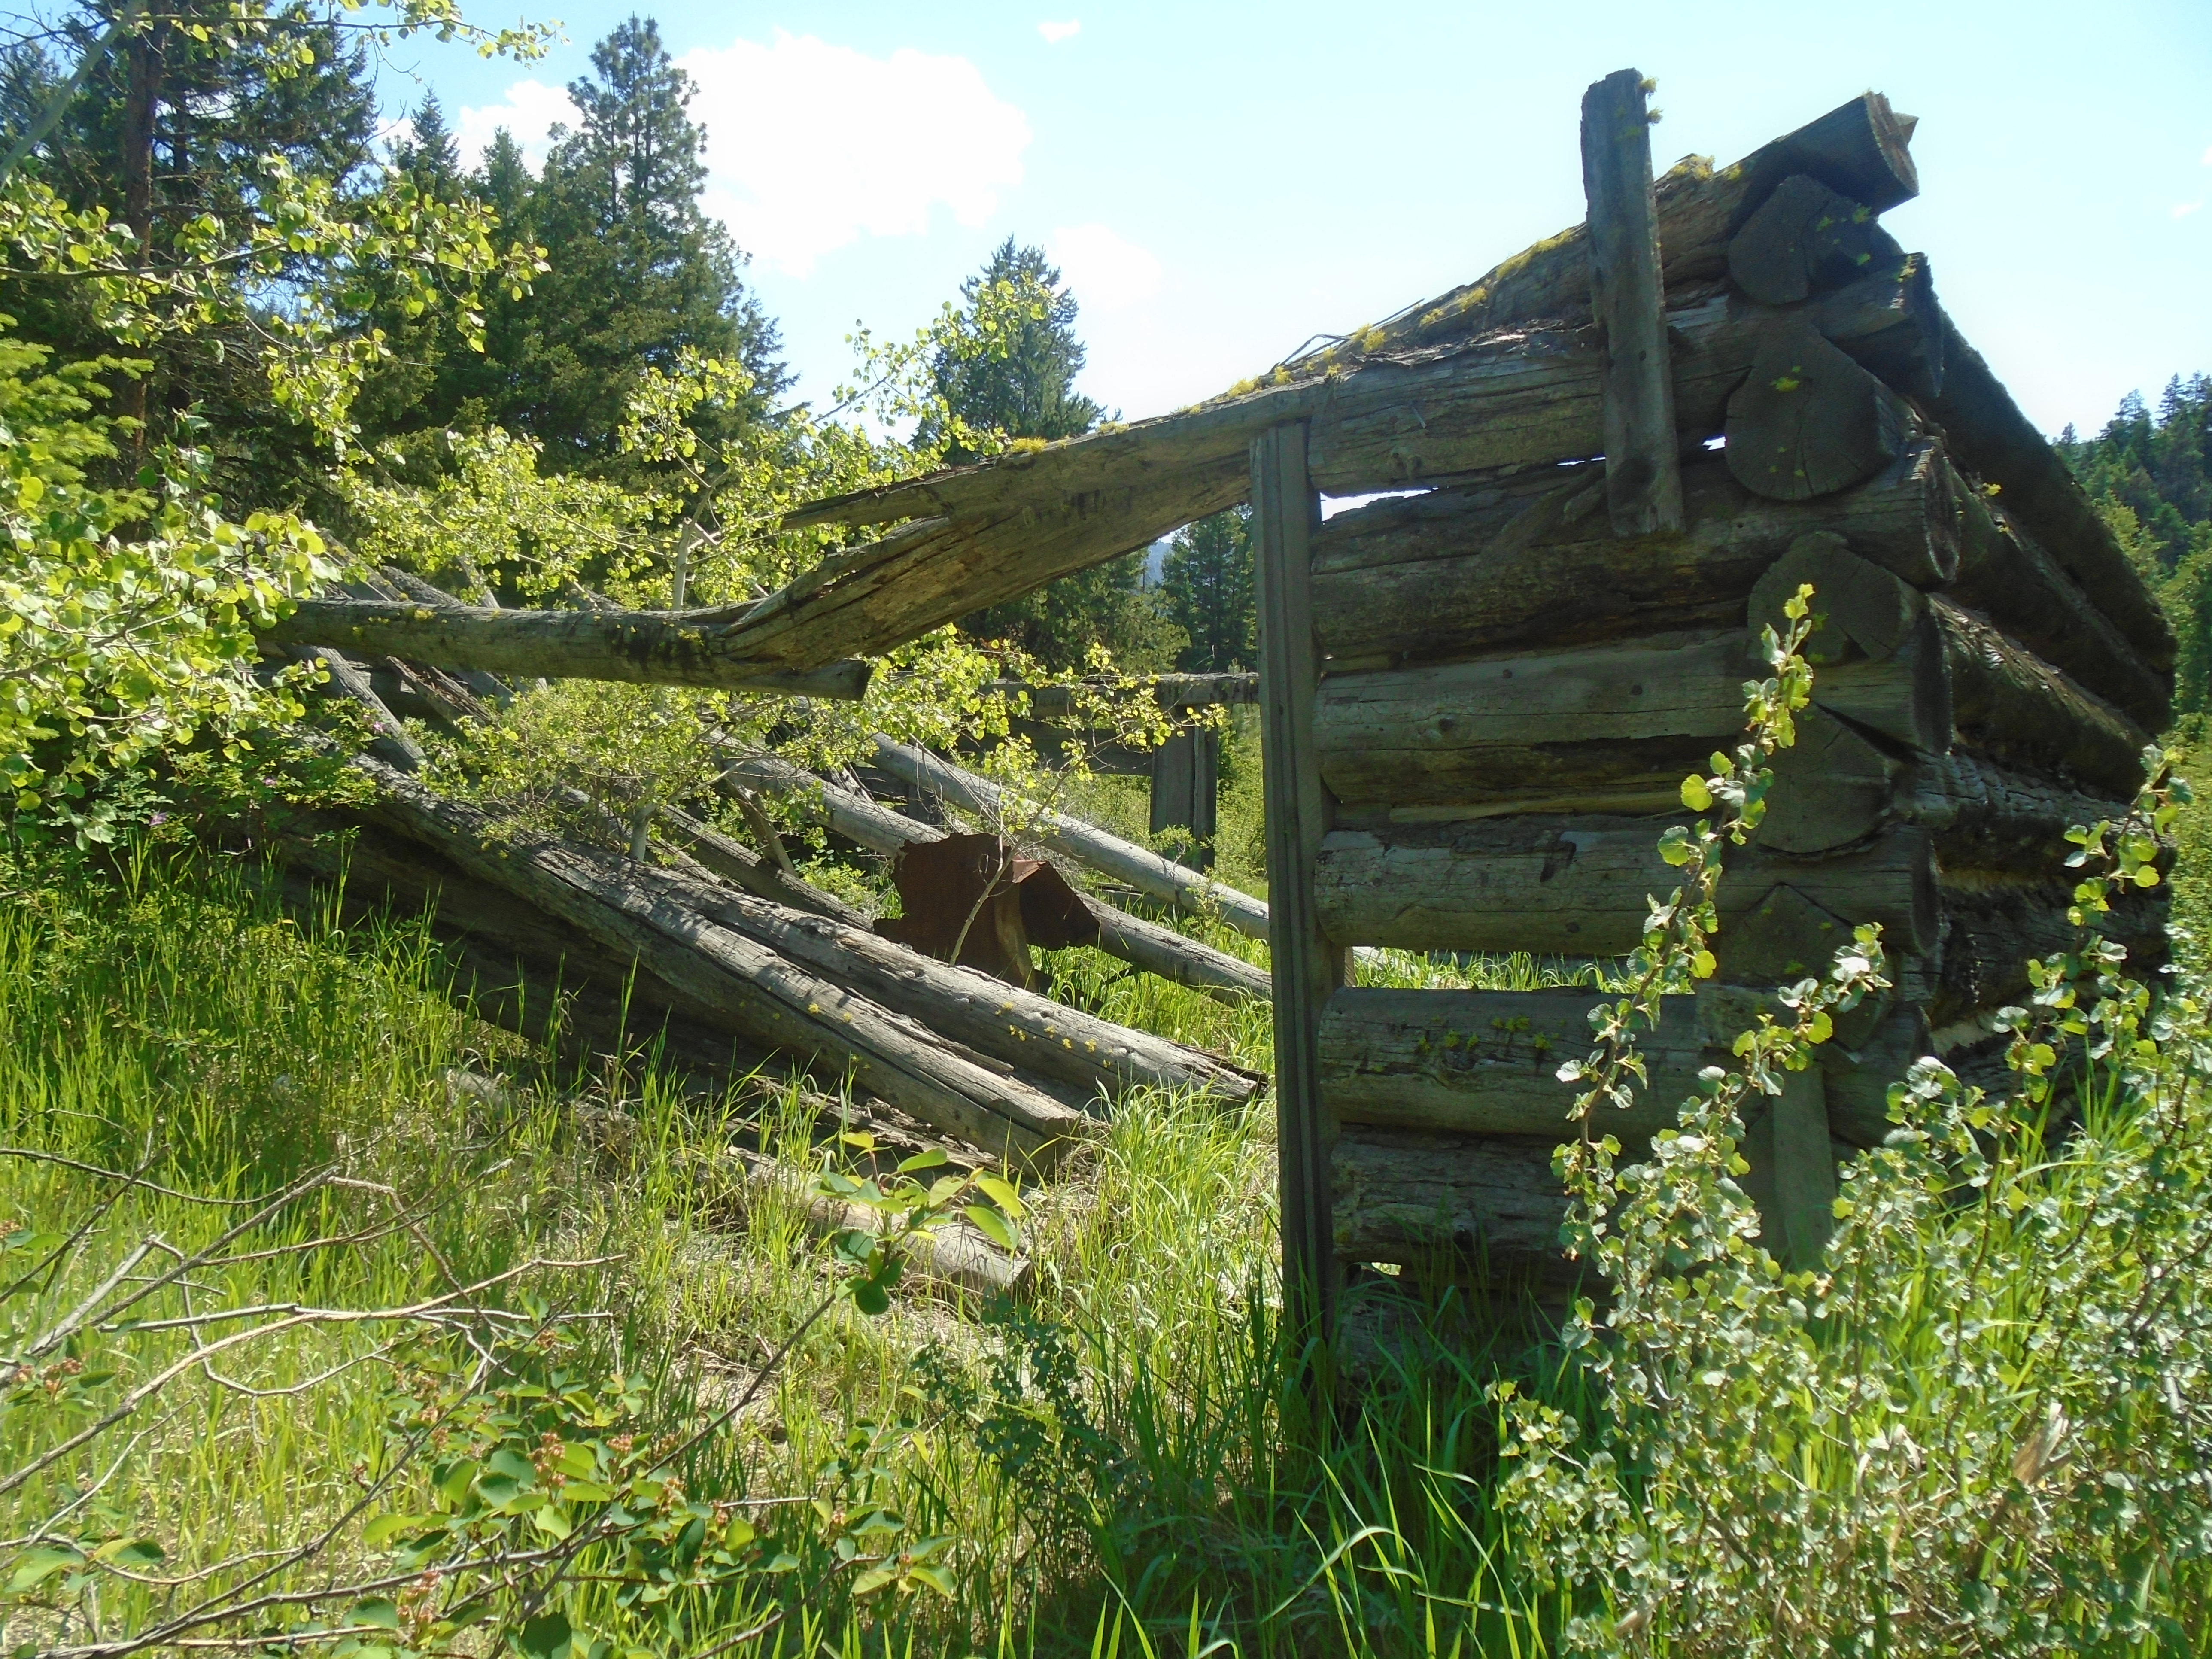
Several towns sprung up near the gold discoveries such as Laketon, Porter Landing and Centerville. They are all ghost towns now but in the height of the rush thousands of people were passing through the shops and saloons of the Cassiar. Like the Omineca much of this region is just as wild today as it was 150 years ago.
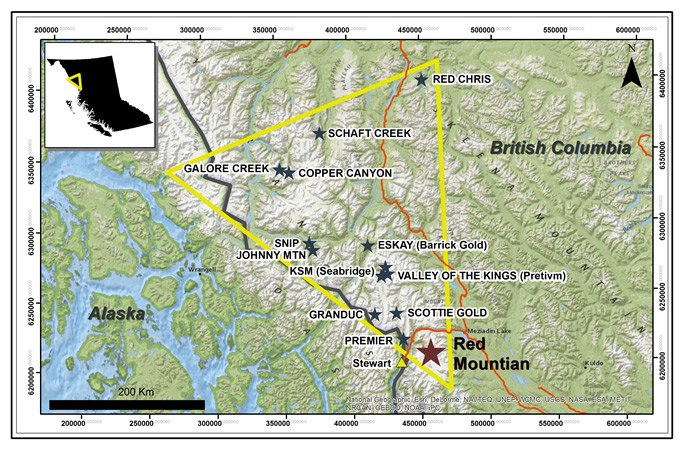
The Cassiar’s rich gold reserves have not been forgotten. There are many large mining projects under way in the region. Due to the high grade mineral deposits the area is known as BC’s “Golden Triange”.
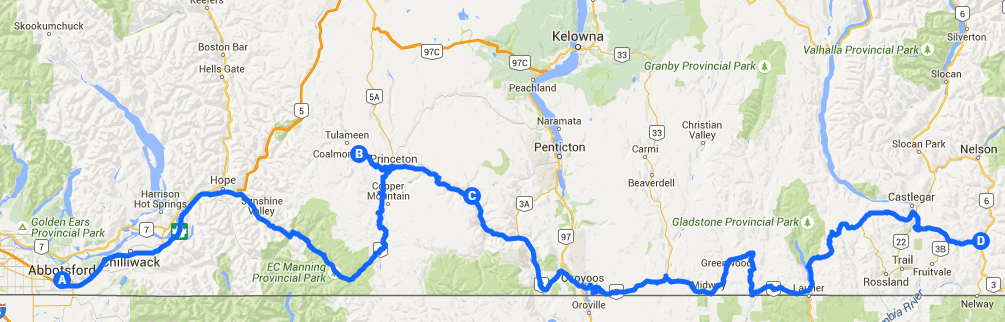
1885 Granite Creek Gold Rush
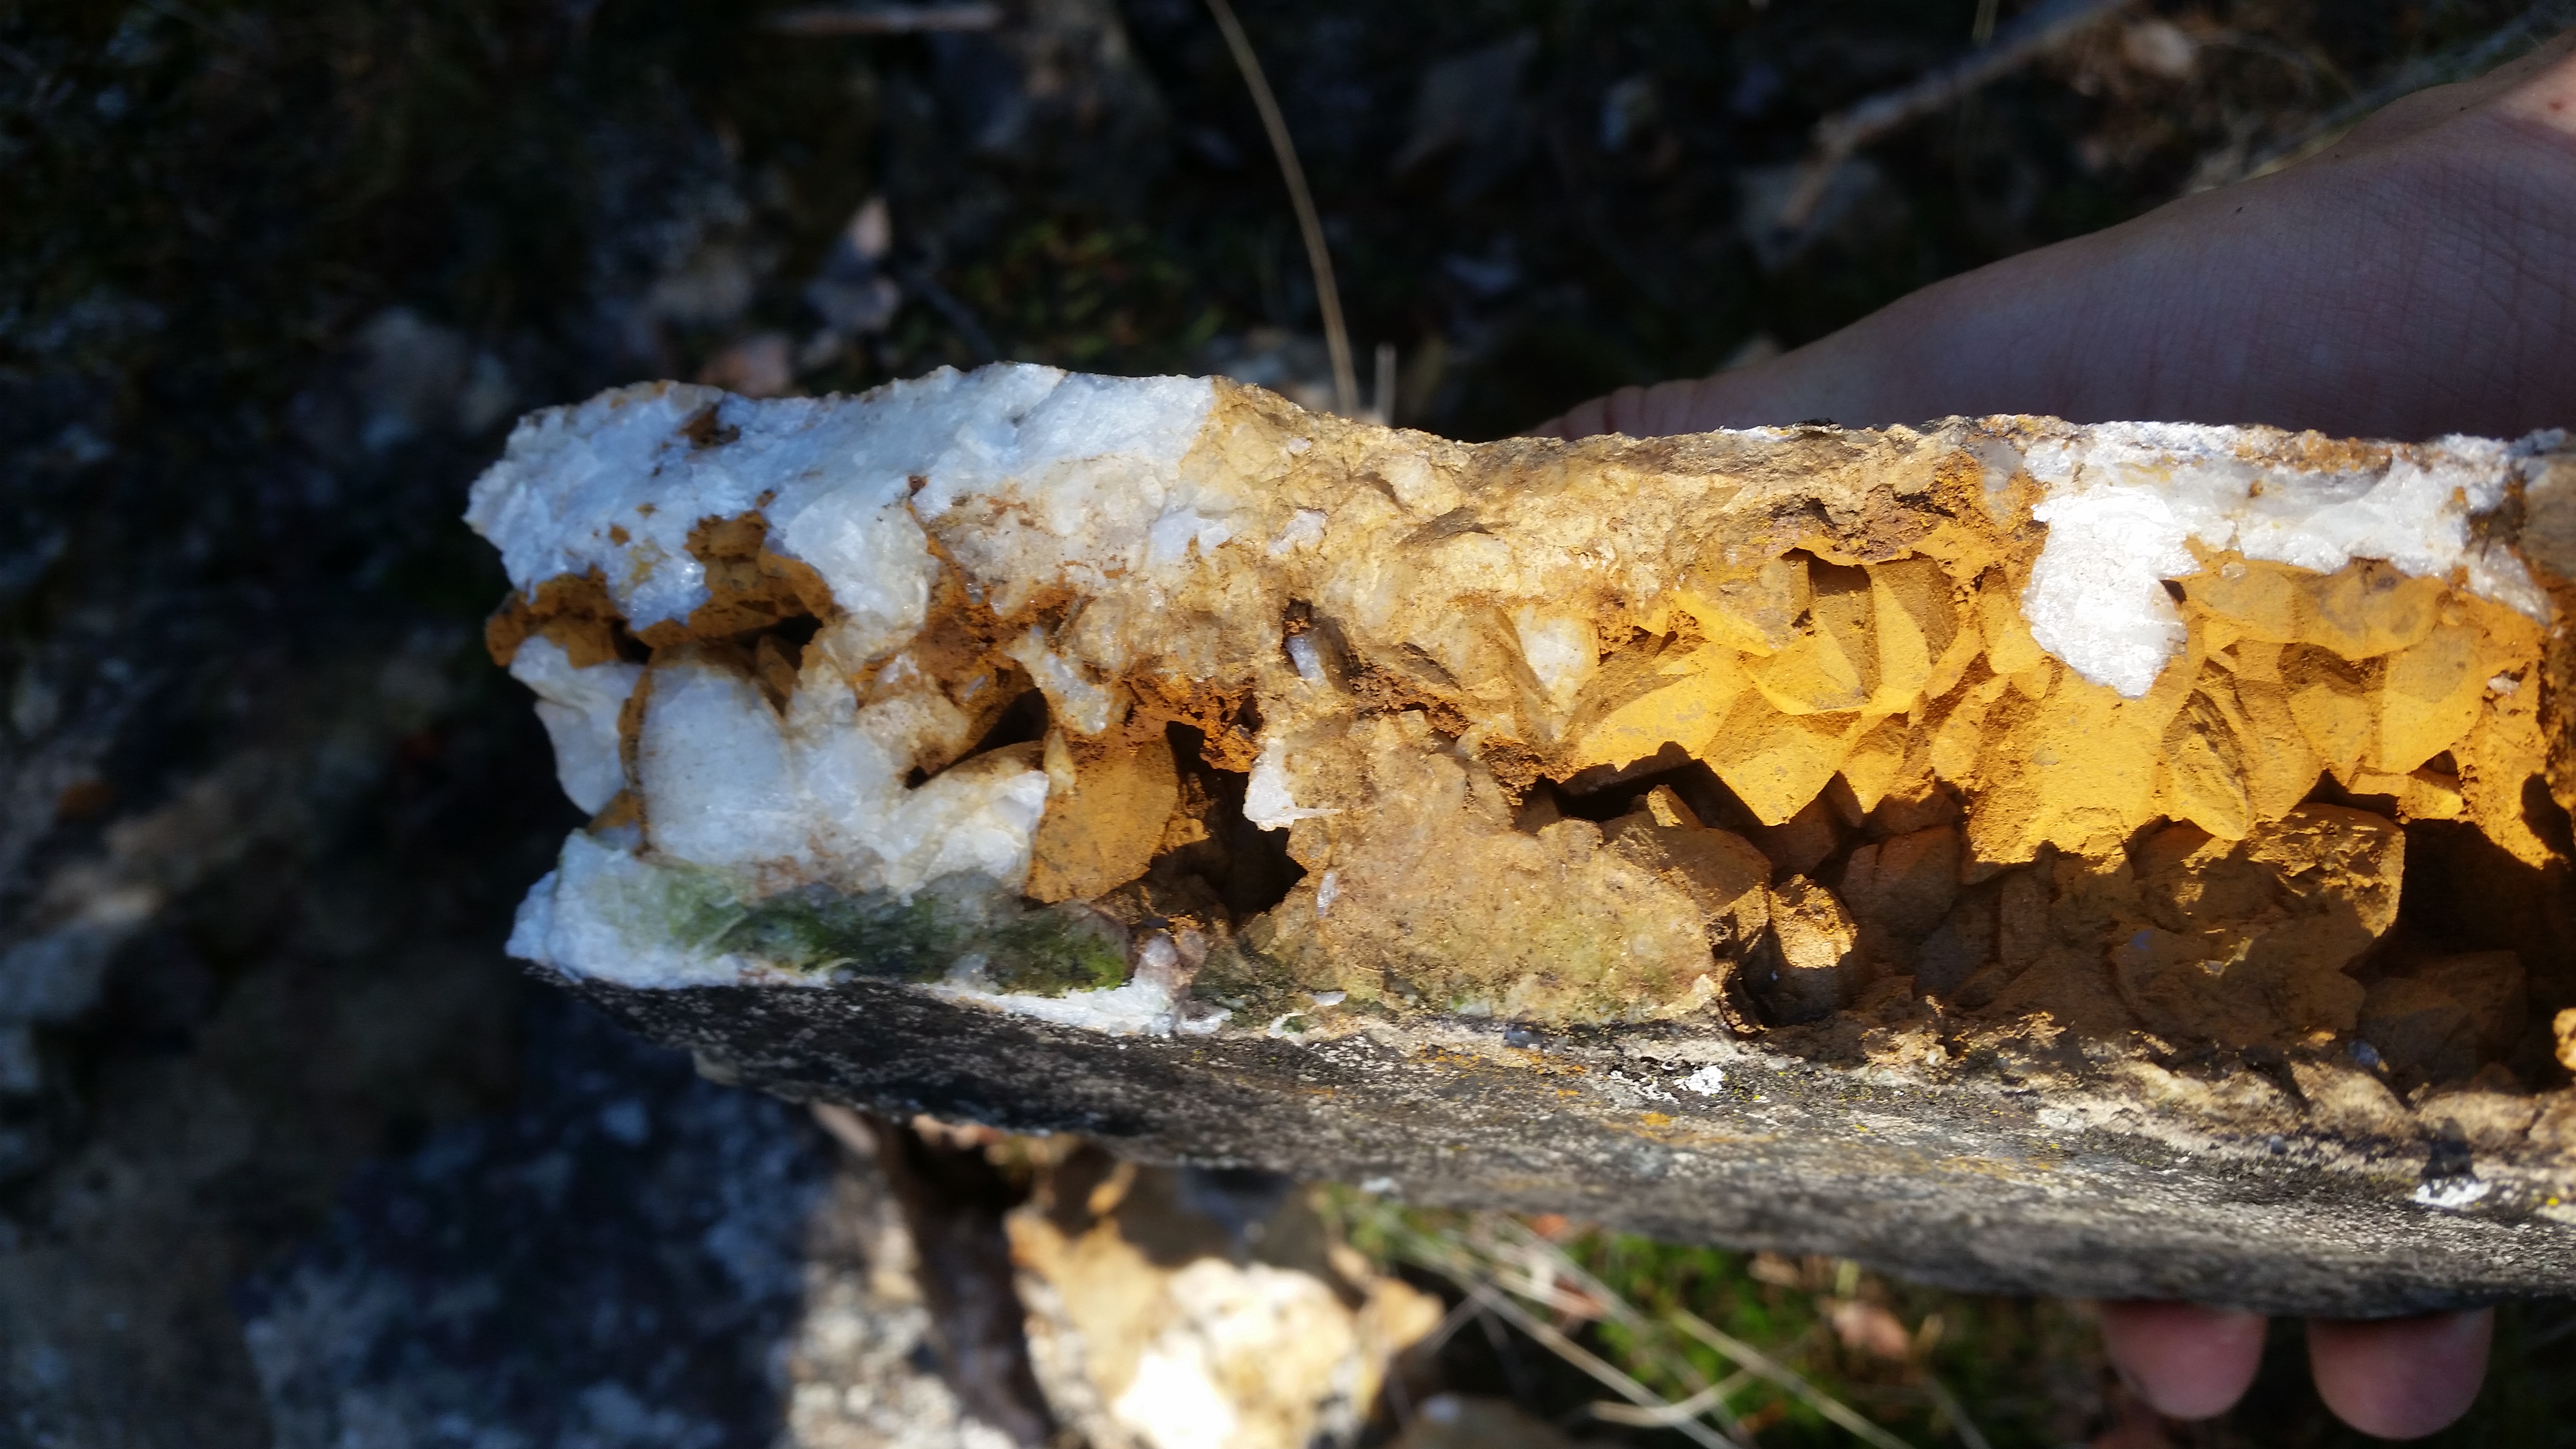
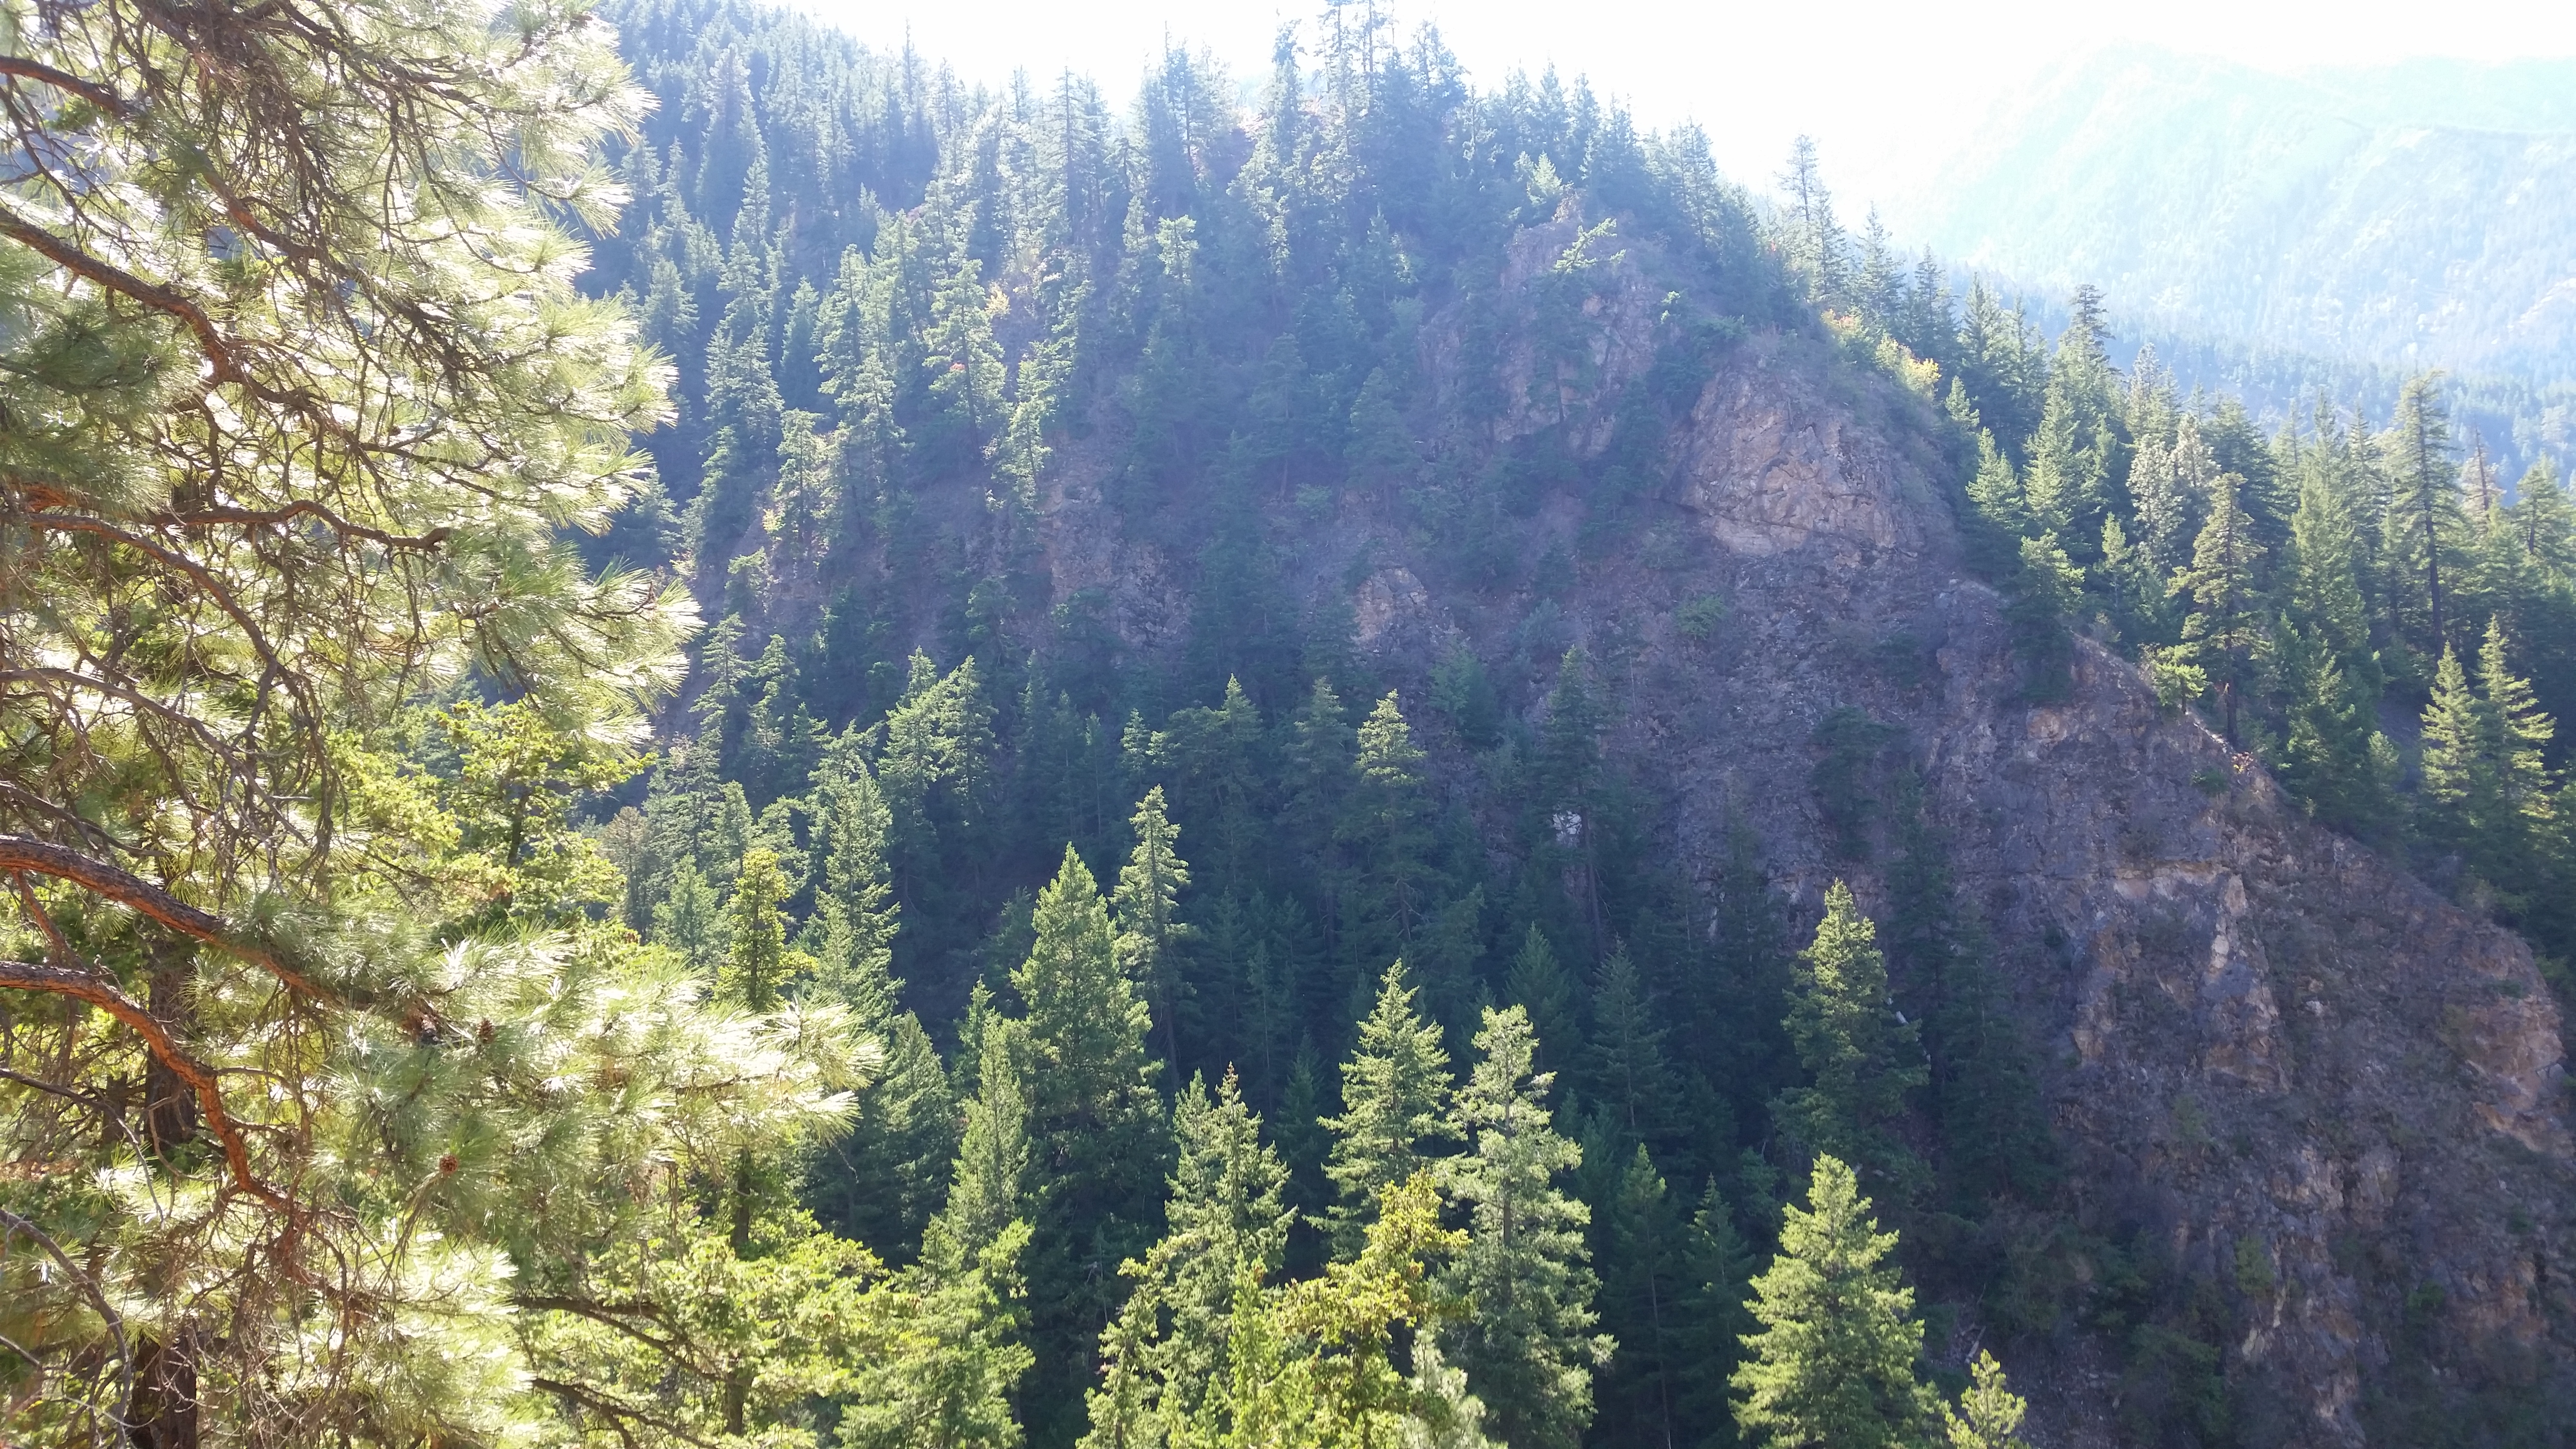
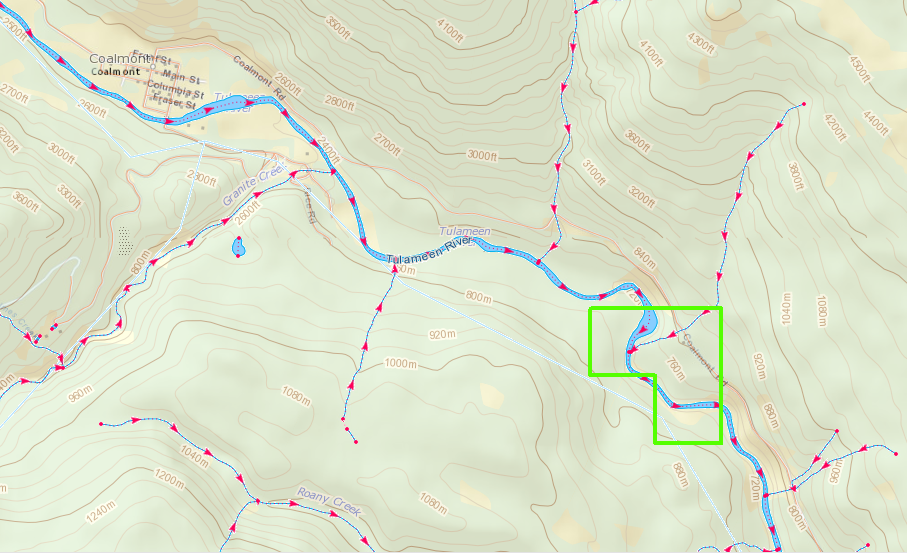
Granite Creek is a tributary to the Tulameen River. In the gold rush era of the late 1800s the Tulameen was still a remote and wild area. Like many of the best discoveries the Granite Creek gold was found by chance. In this case it was actually found by a cowboy named Johnny Chance. In the summer of 1885 Chance was delivering some horses to New Westminster and took a route through the Tulameen. True to his lazy nature he took a nap at a spot on Granite Creek on a hot day. When he woke up he happened to notice the reflection of some gold nuggets in the water.
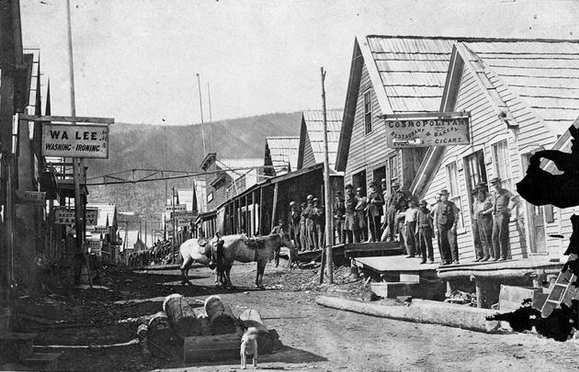
Within a year of the discovery the once vacant valley at the mouth of Granite Creek had over 2000 people living there. At the time Granite City was the third largest town in BC. There were over two hundred buildings, 13 of which were saloons. The town never had a school or a mayor though. The bars in Granite ran flat out and never closed down. It was known as one of the wildest towns in the West.
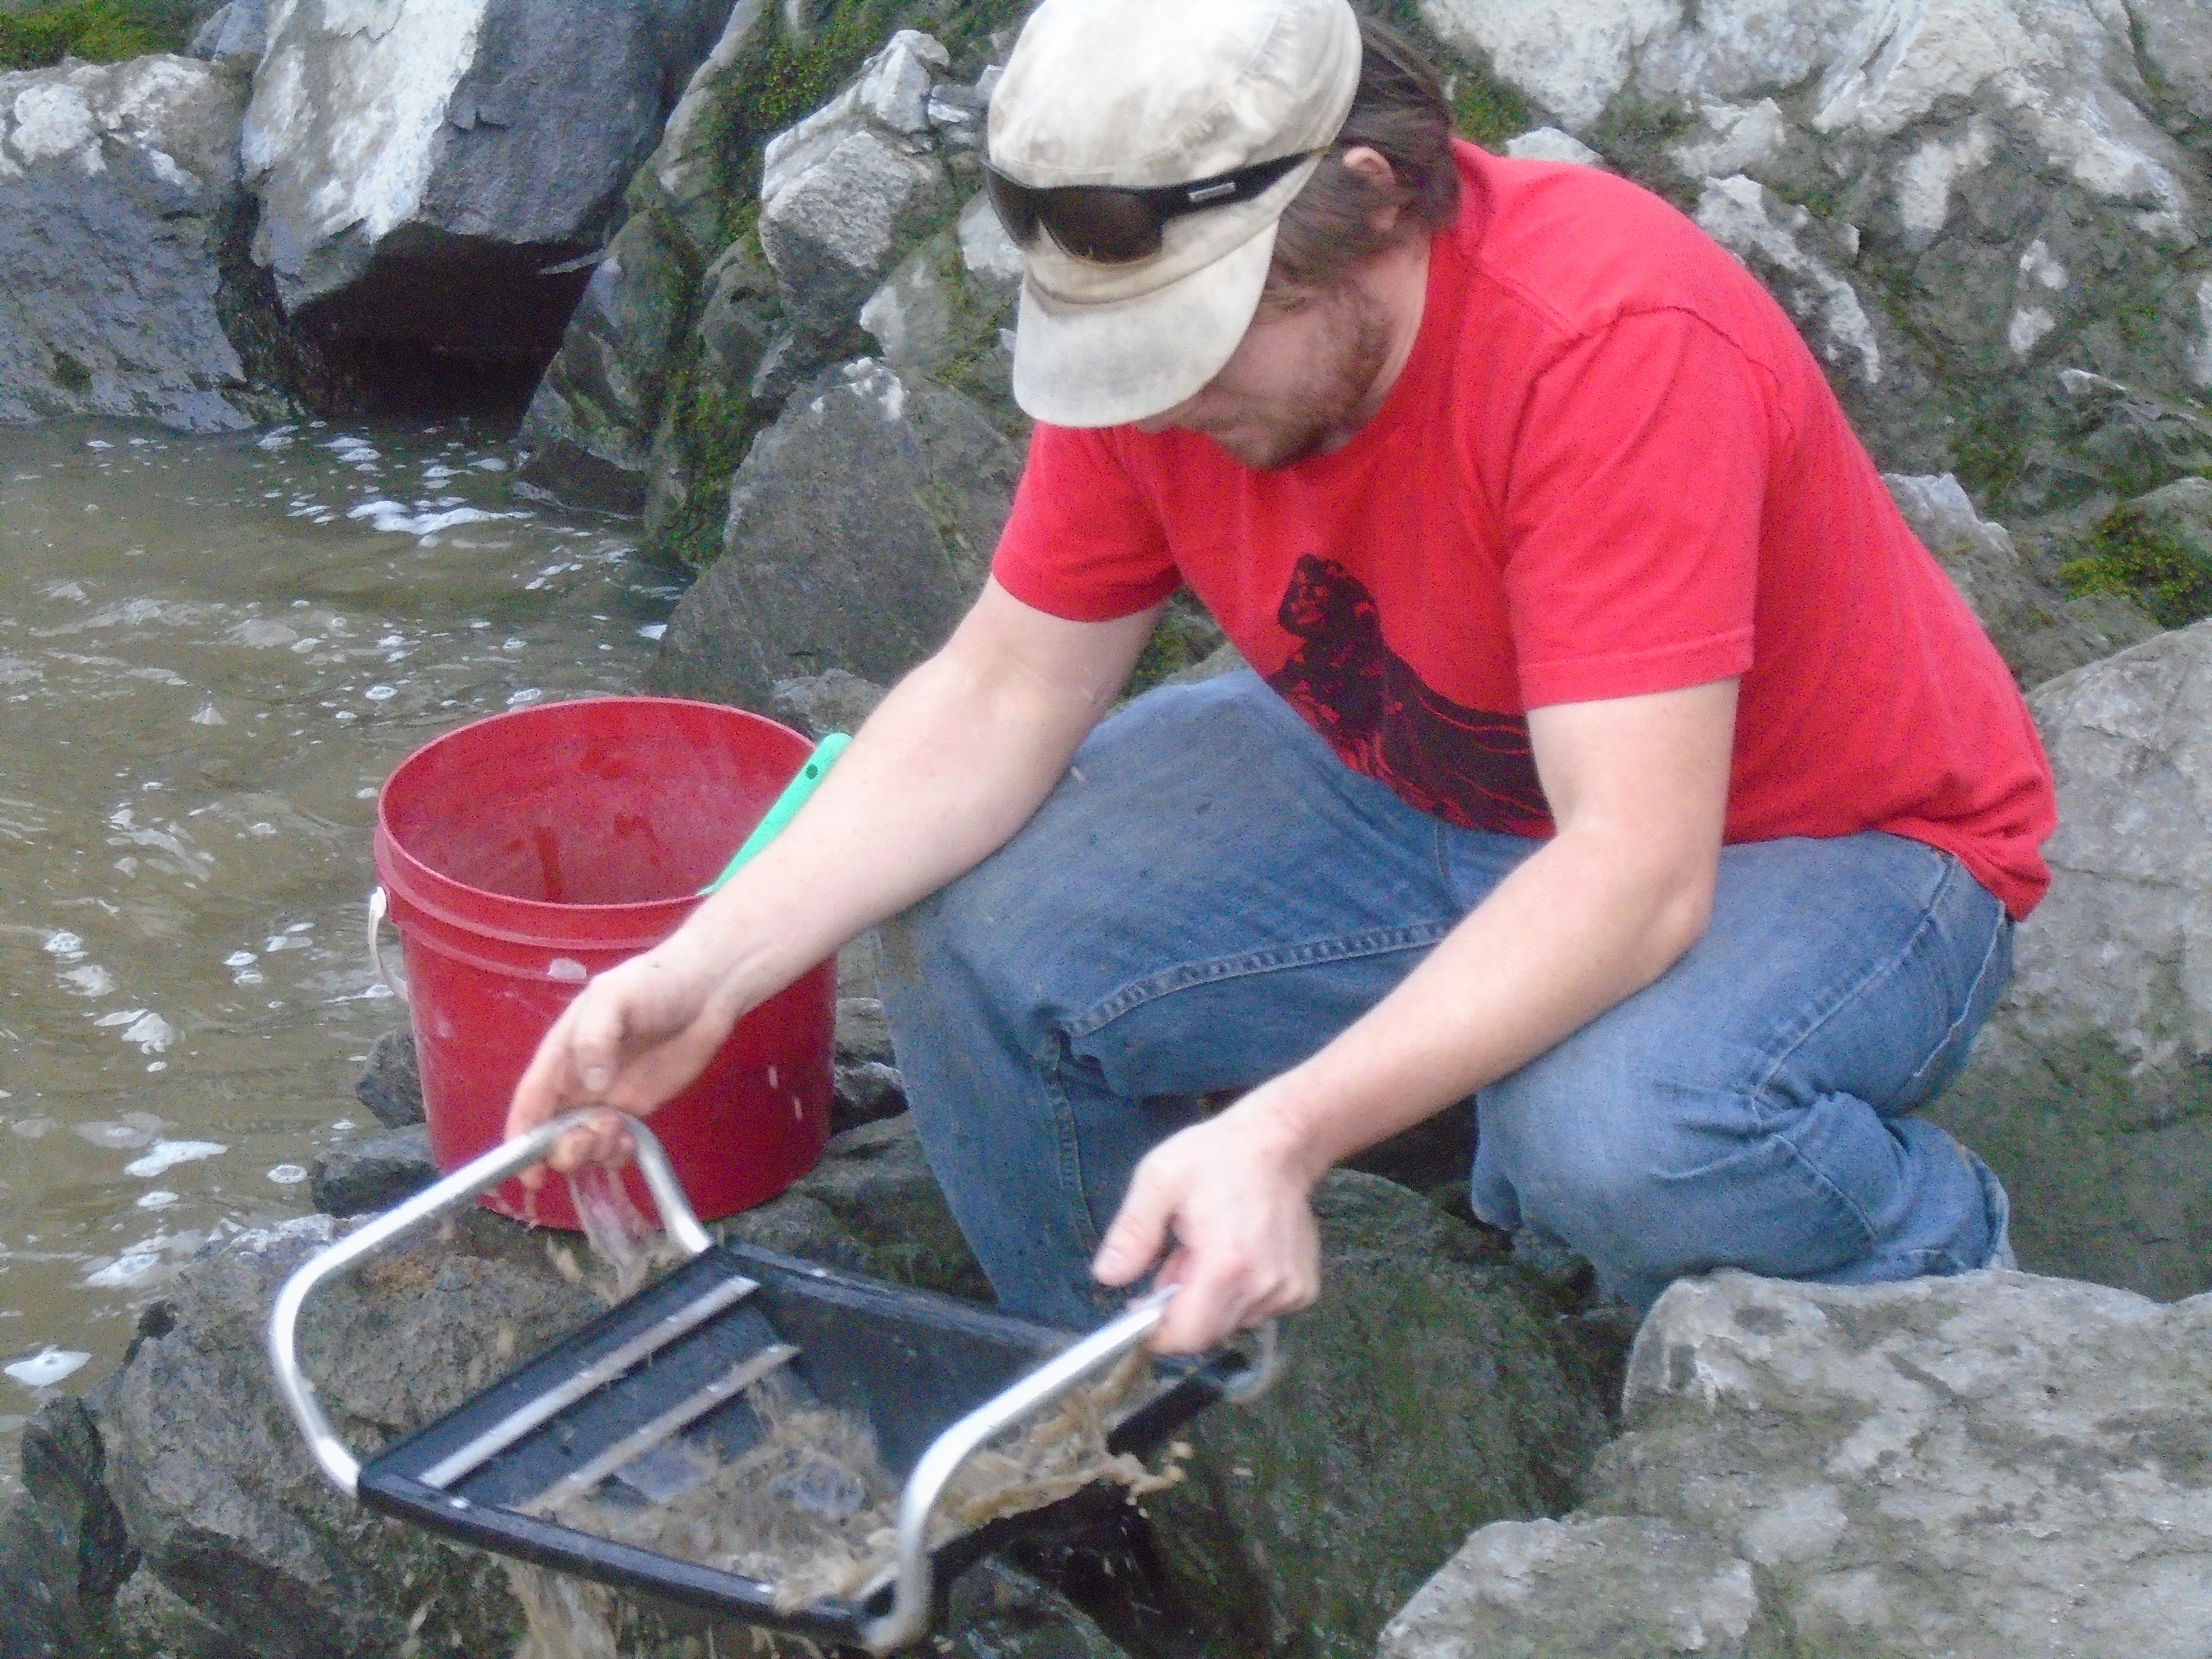
In the early days gold nuggets weighing 5-10 ounces were commonly found. Platinum was also prevalent on the creek. Miners were producing equal weights of platinum and gold. Interestingly for the first few years the Granite Creek miners had no idea what platinum was and most of them threw it back into the creek. At today’s prices gold is going for $1077/oz and platinum is at $870/oz.
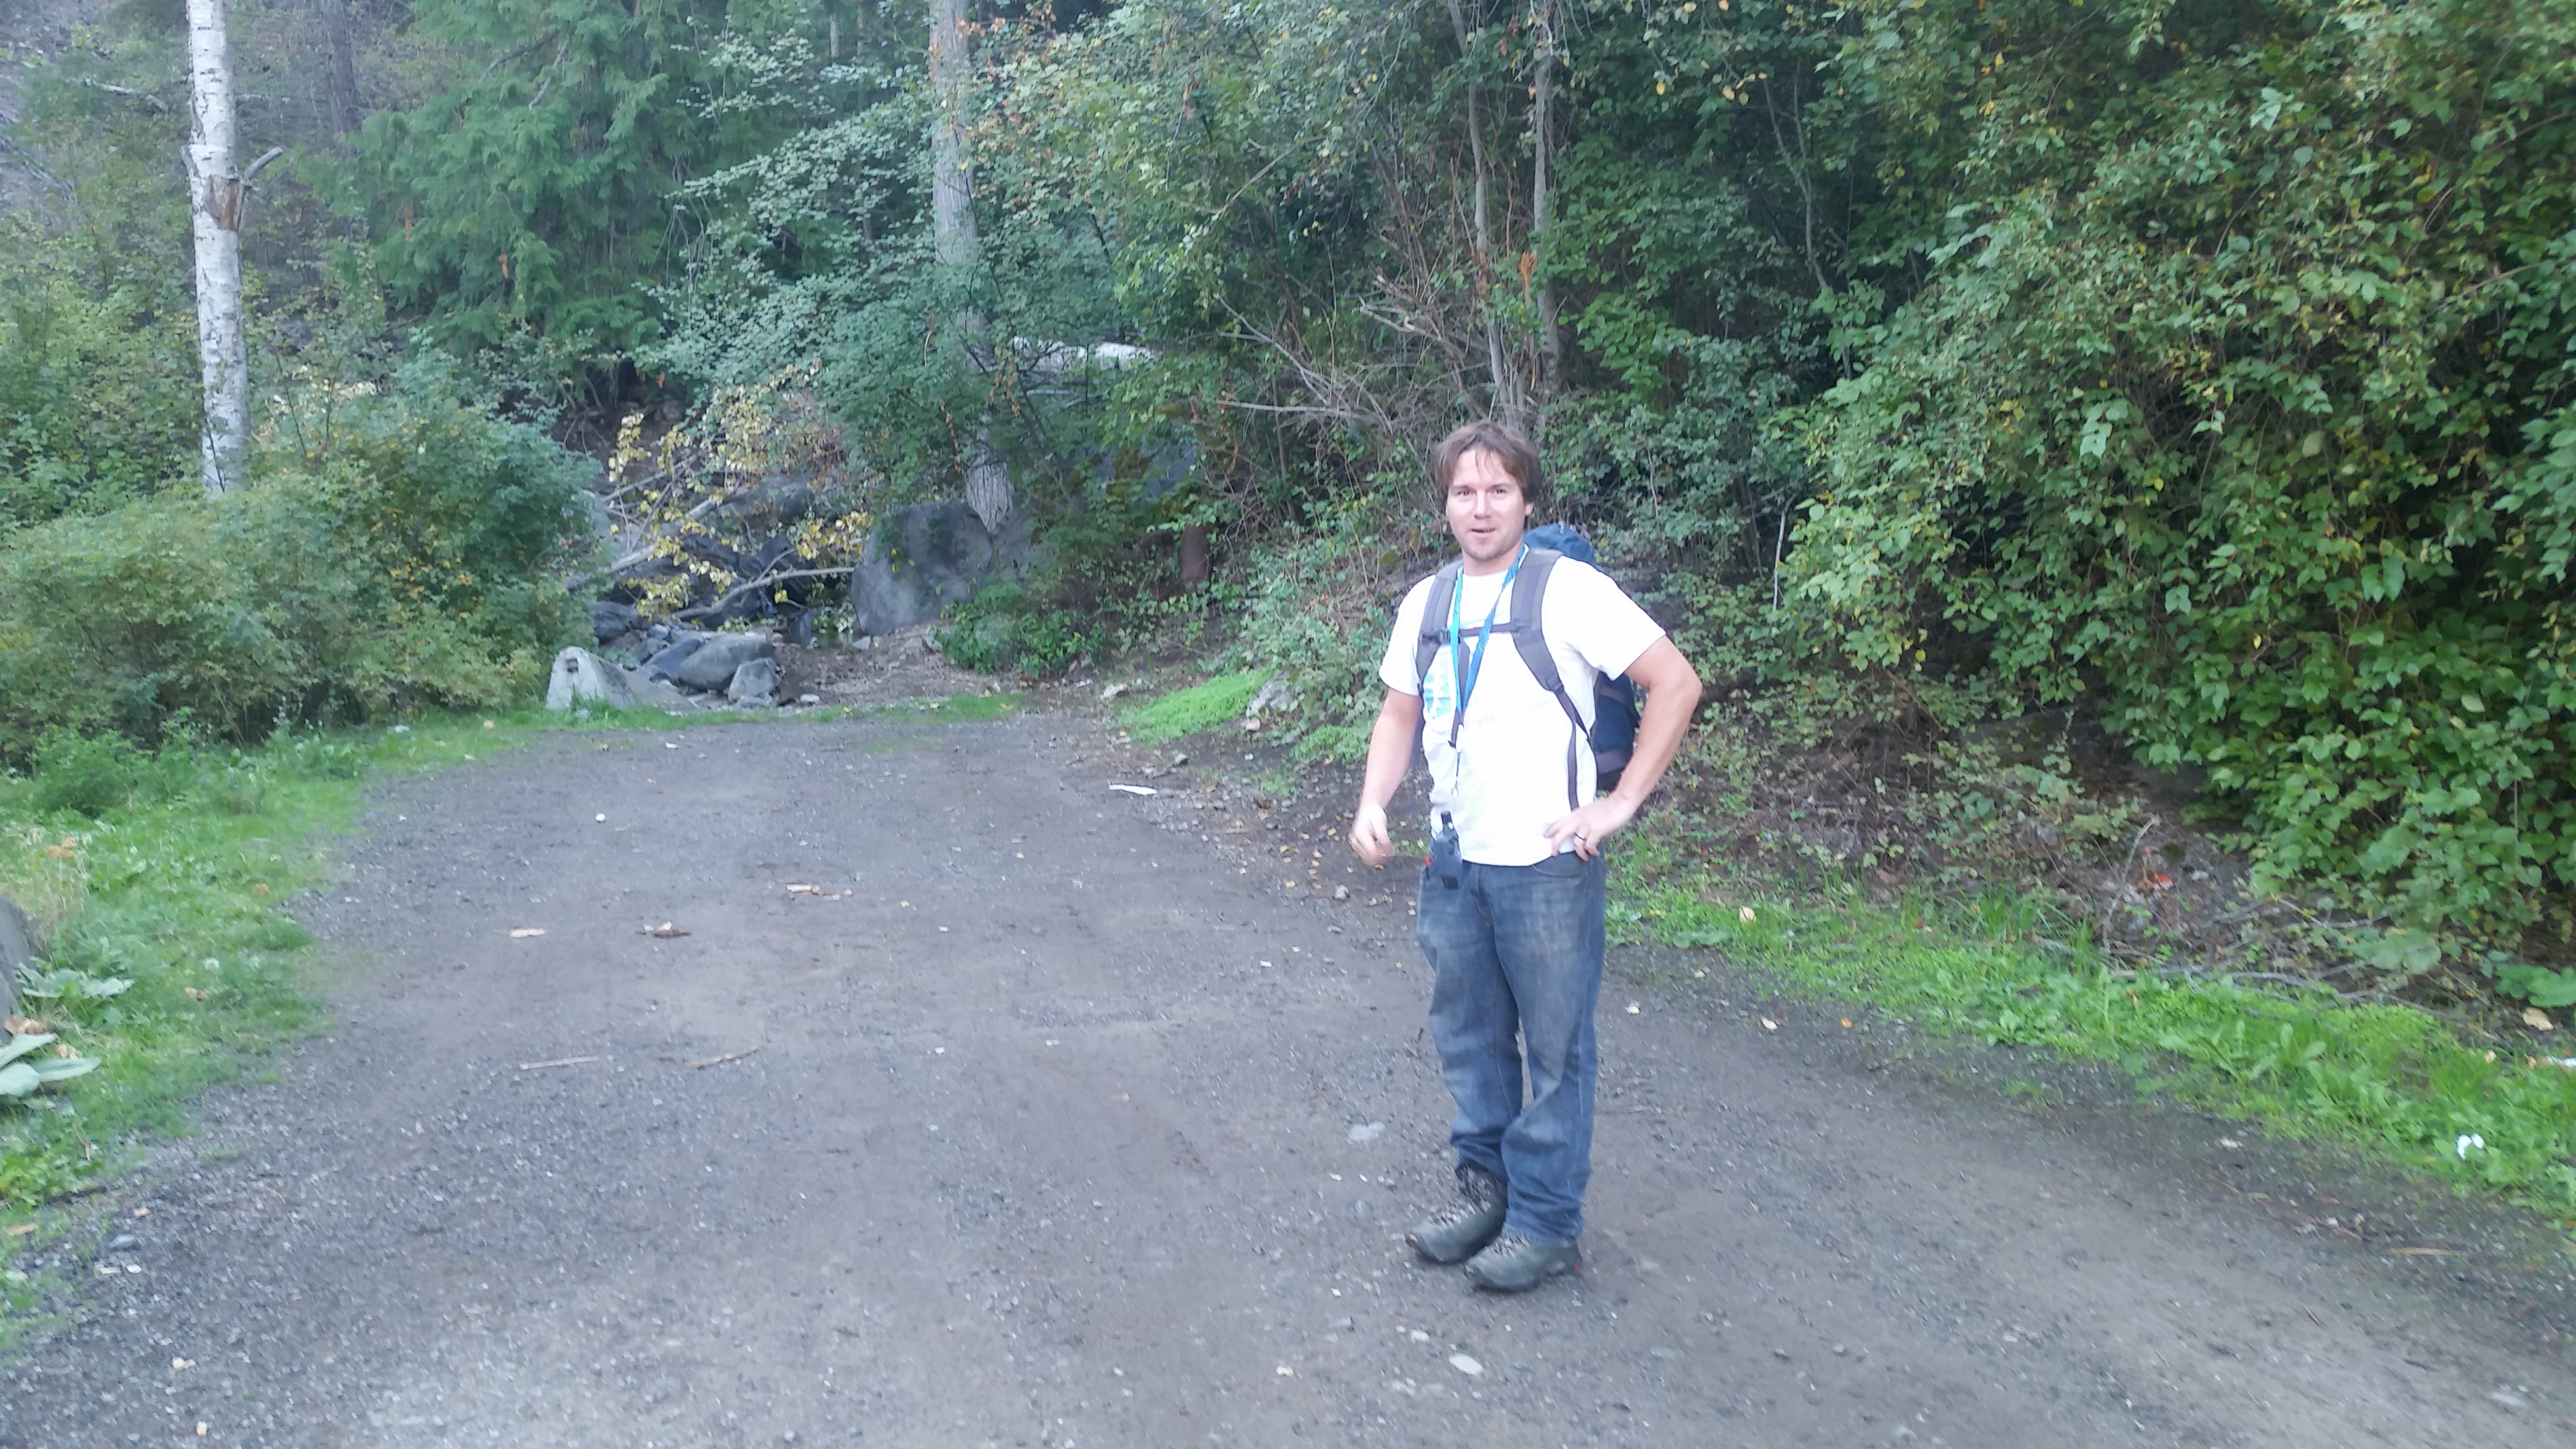
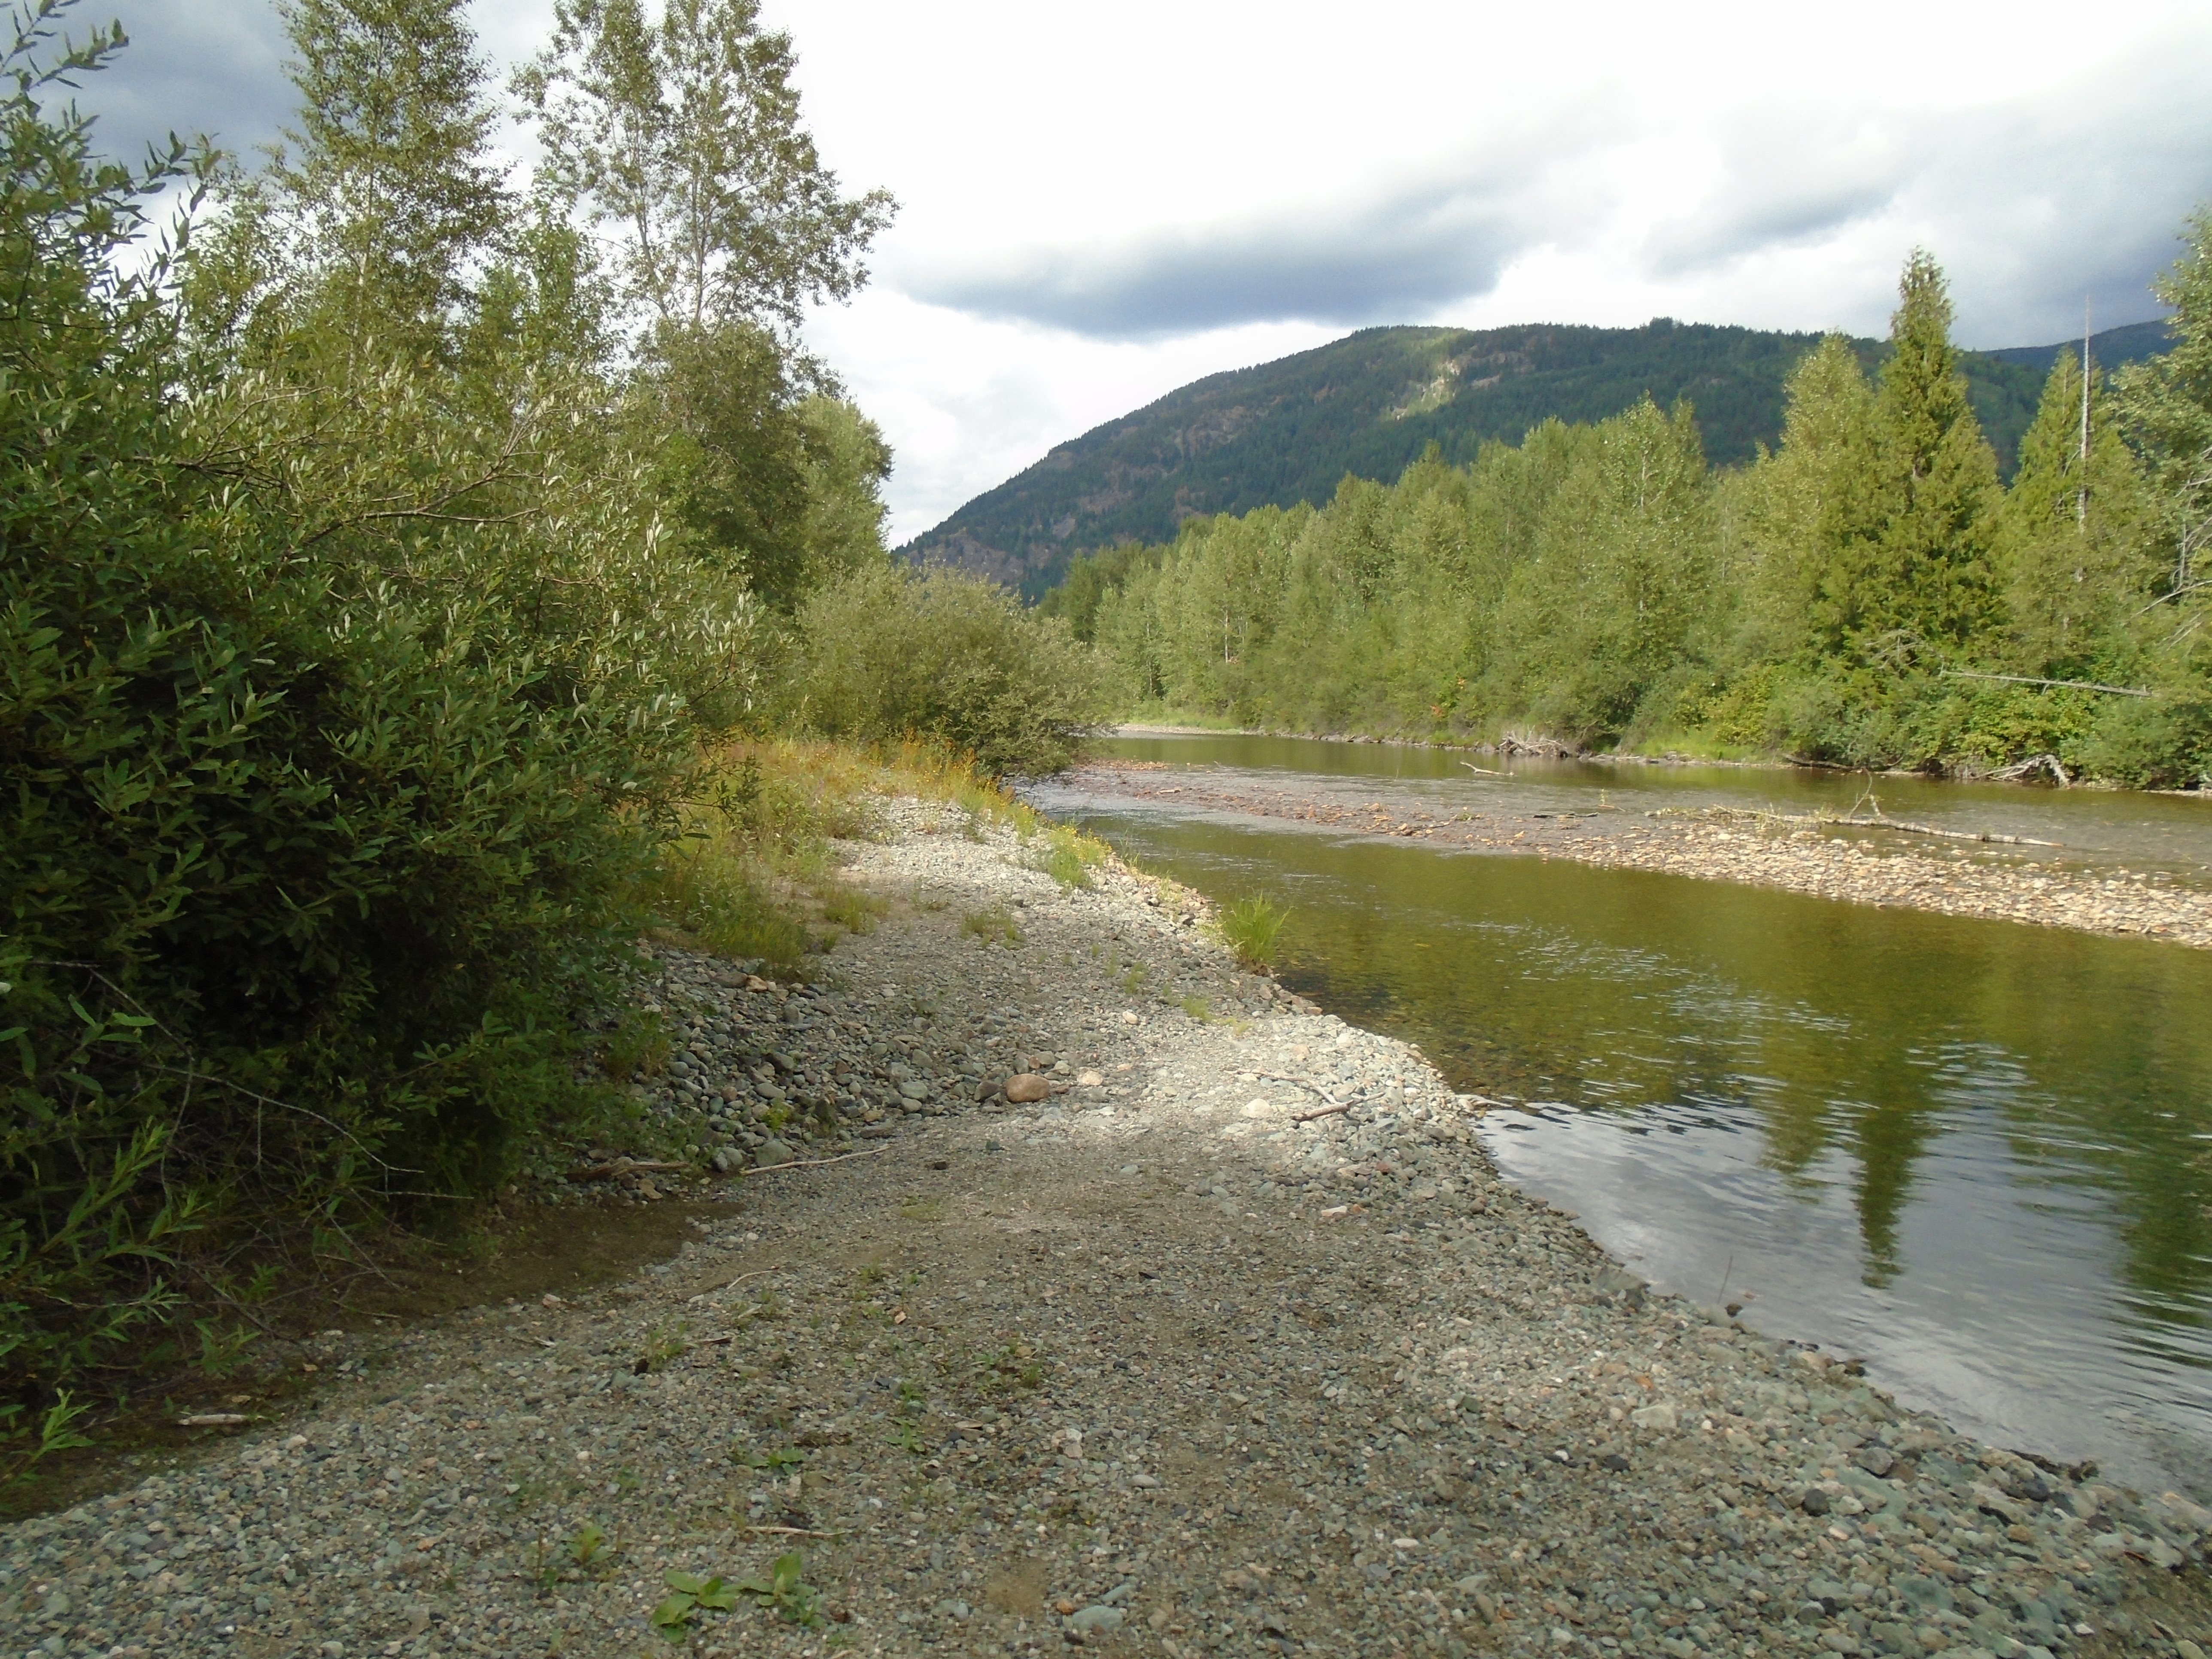
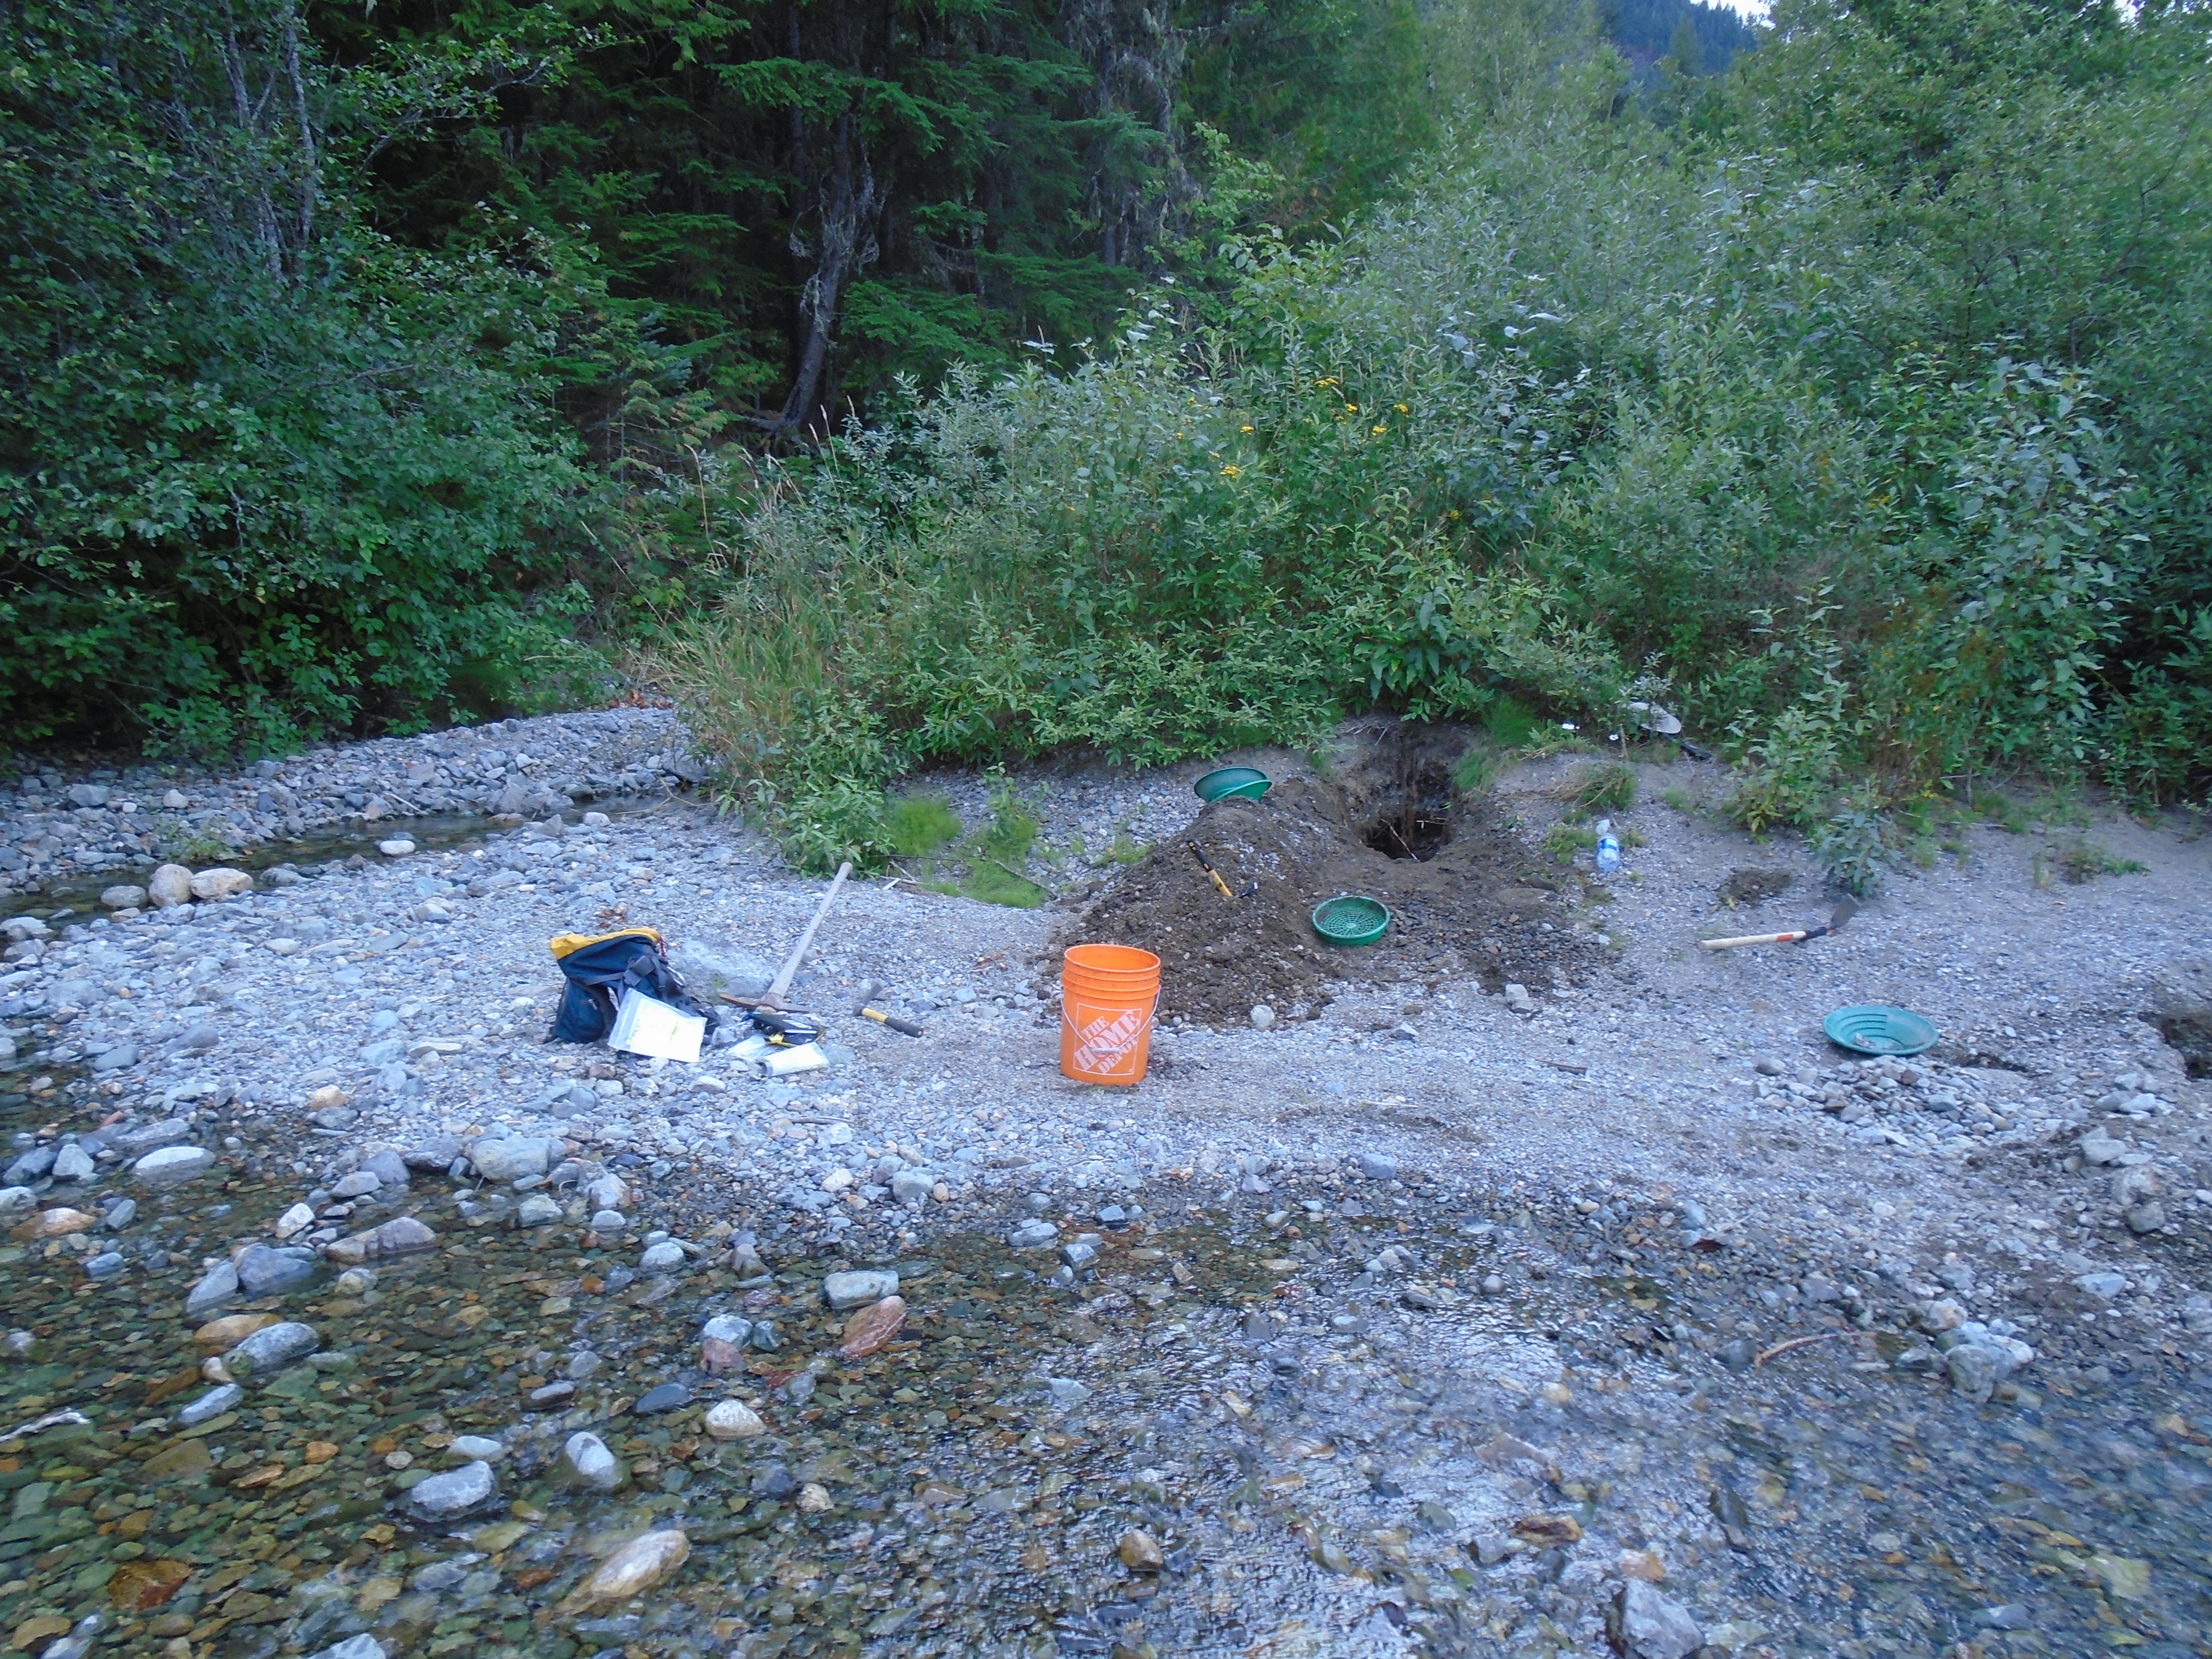
The Granite Creek rush brought attention to the surrounding area as well. Other notable creeks in the Tulameen are Slate Creek, Lawless Creek, Lockie Creek and the Tulameen River. Gold and platinum are still being produced today. I heard from a Princeton local that the biggest nuggets to come out of the Tulameen this year were over an ounce. I have some claims on Granite Creek and the Tulameen River myself. Check this post from earlier this year Tulameen Prospecting Trip.
By the end of the 1890s the population of Granite City began to decline. The easy gold was all claimed and in the process of being mined. Those that didn’t already hold good ground headed North to try their luck in the Atlin and Klondike gold rushes that followed.
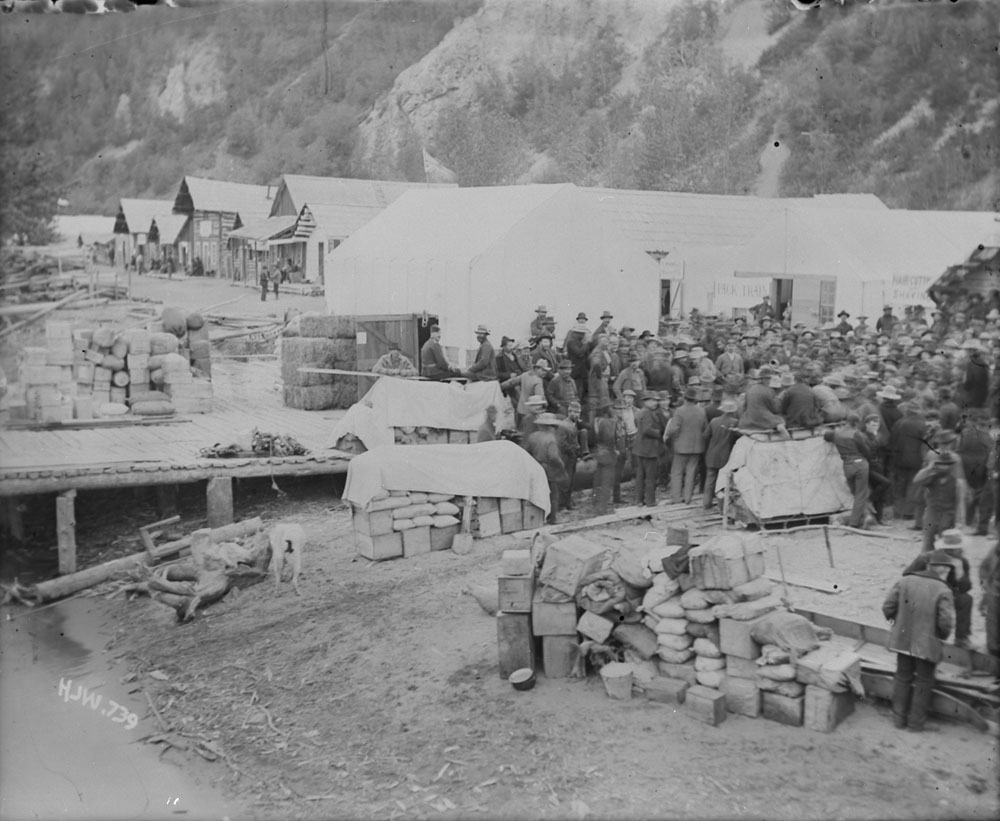
1898 Atlin Gold Rush
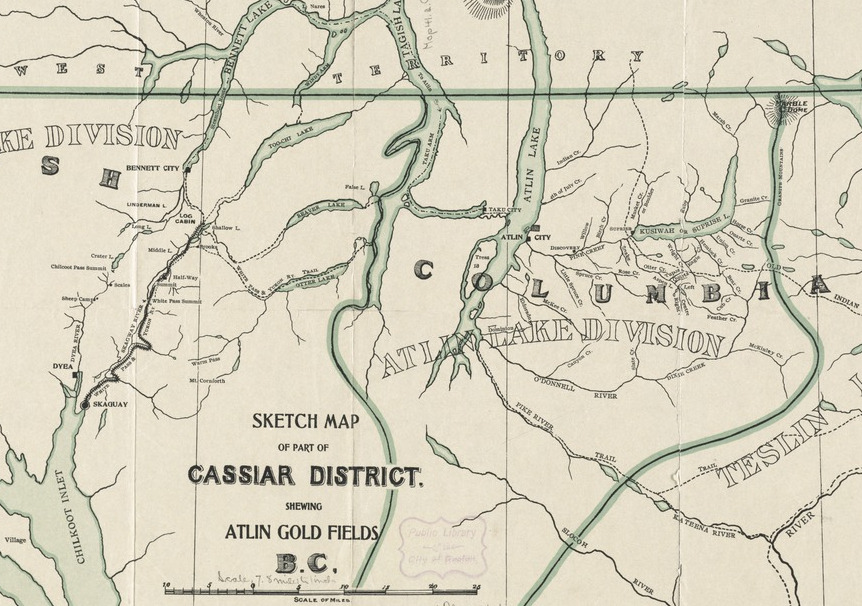
The Atlin gold rush was the last one to take place in BC. It was a direct offshoot of the Klondike gold rush that took the world by storm. The Klondike was the mother of all gold rushes, over 100,000 adventurers poured into Dawson City, YK from all over the world. Some of the adventurous prospectors took a different route and ended up in Atlin.
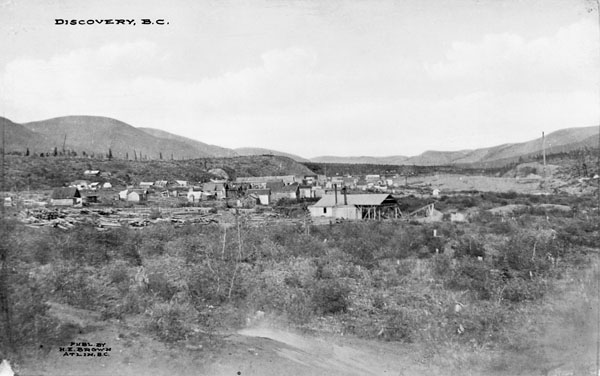
The first big discovery was on Pine Creek. A town was set up on Pine Creek aptly named Discovery. At it’s peak there were over 10,000 people living in Discovery which was rivalled only by the infamous Dawson City. Discovery had all the excitement of Dawson. There were saloons, brothels, and gambling available at all hours of the day. Discovery is a ghost town today, it was replaced by the town of Atlin.
The gold that was found in the Atlin area was truly legendary. It is estimated that over 1.5 million ounces of placer gold have been produced from the creeks. Some giant nuggets were found too. Several creeks are known to have produced nuggets in excess of 50 ounces! The best placer gold creeks were Pine Creek, Spruce Creek, Ruby Creek, McKee Creek, Birch Creek, Boulder Creek, Otter (Surprise) Creek, and the McDonnel River.
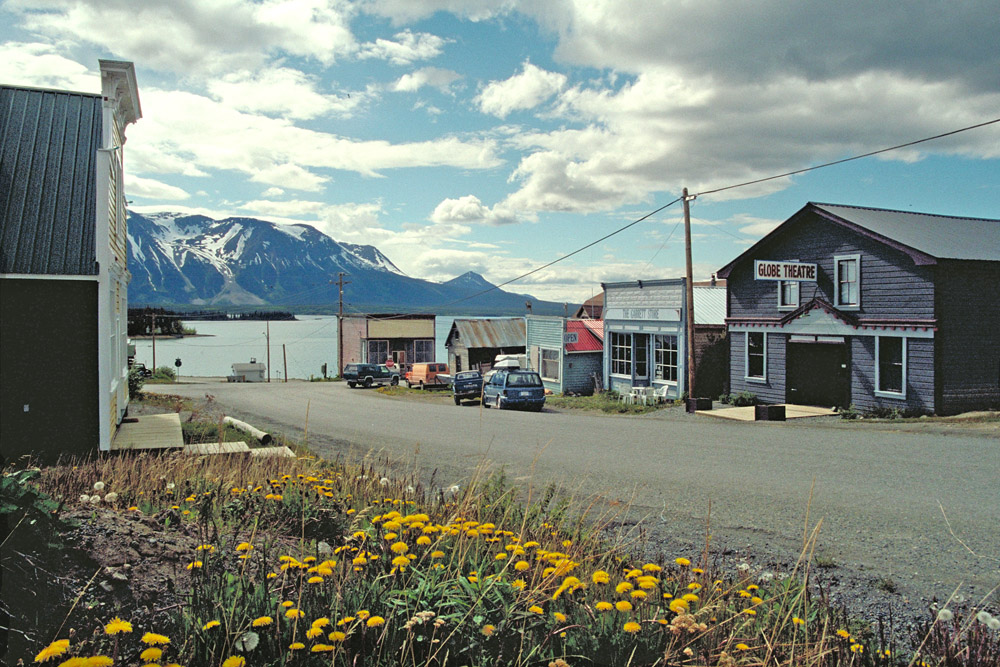
Atlin is a beautiful town, I had the pleasure of working up there a few years ago. In the early 1900s it was nicknamed the “Switzerland of the North” due to the picturesque mountain setting. In many ways Atlin is like Dawson City’s little brother. The music festival is smaller, the gold rush was smaller, less gold was produced but the Klondike is nowhere near as scenic.
Gold mining in Atlin has never stopped. Every time the gold price spikes the area receives another mini gold rush. There are a lot of large hard rock mining prospects in the area as well. The region is not far from the golden triangle and benefits from similar underlying geology. Due to its remote location the area is very under explored and has outstanding potential for exploration.
The BC gold rush period lasted just 50 years. Many of the participants experienced more than one rush in their lifetime. It would have been an amazing time to be a prospector. Here’s a recap of the top ten BC gold rushes:
- 1851 Haida Gwaii Gold Rush
- 1858 Fraser River Gold Rush
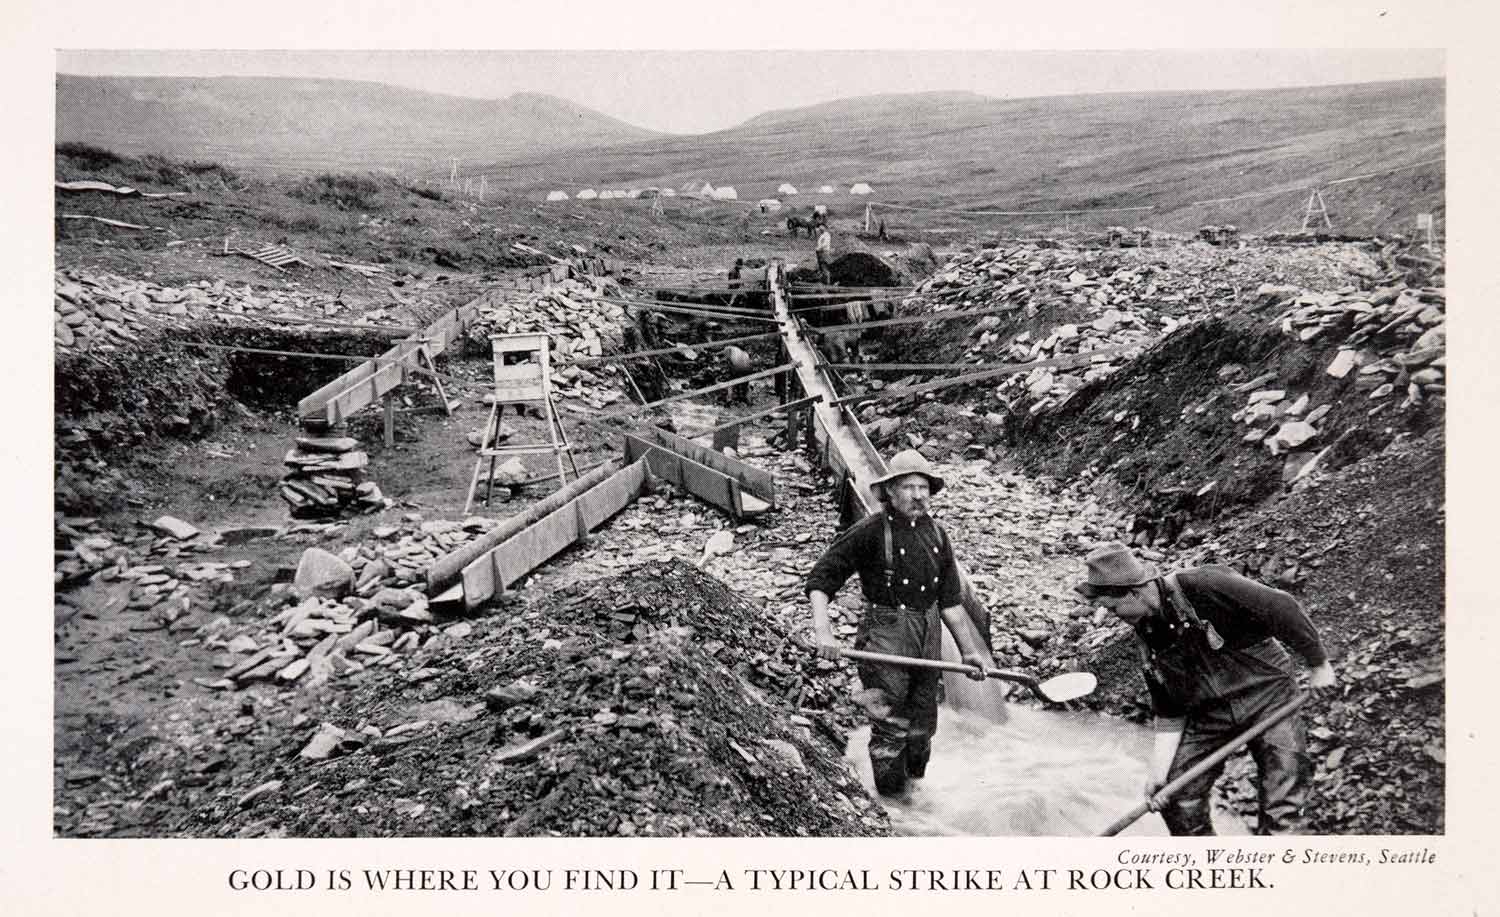
- 1858 Rock Creek Gold Rush
- 1859 Cariboo Gold Rush
- 1863 Wild Horse River Gold Rush
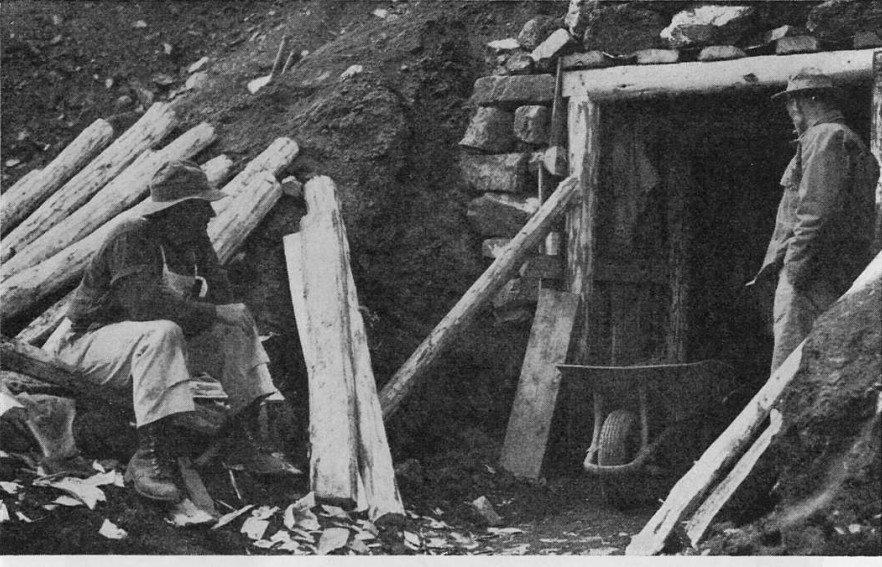
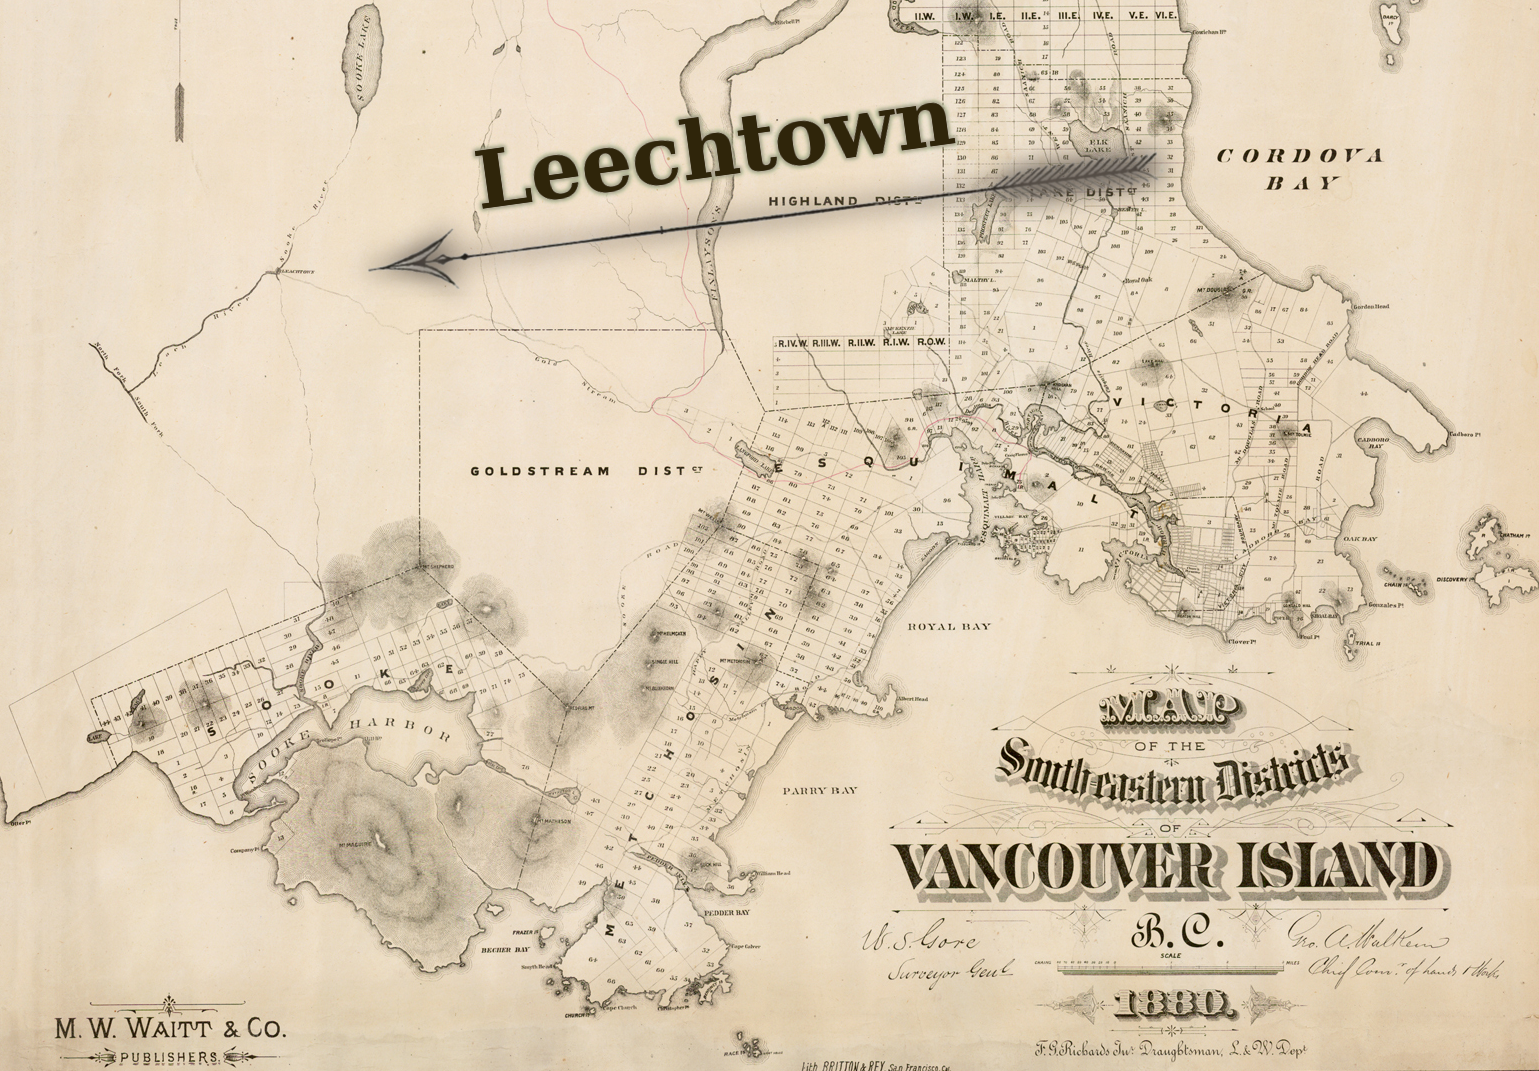
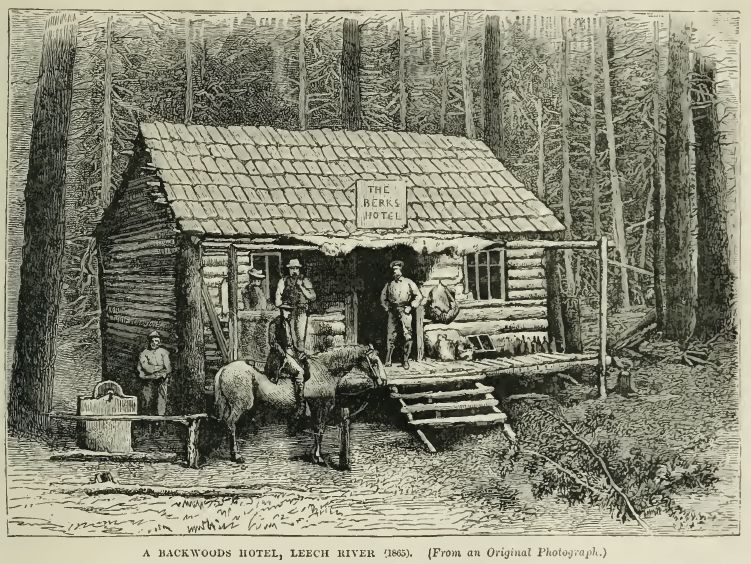
- 1864 Leech River Gold Rush
- 1865 Big Bend Gold Rush
- 1873 Cassiar Gold Rush
- 1885 Granite Creek Gold Rush
- 1898 Atlin Gold Rush