Prior to the gold rushes in BC this part of the country remained almost entirely unexplored. The Clovis people and their descendants the North American Indians were the first settlers of North America. The Clovis crossed the Beringia Land Bridge from Siberia to present day Alaska approximately 13,500 years ago. When Europeans began exploring the area, first by sea in the late 1700s and later by canoe, they encountered aboriginal groups covering much of the province. Many Indians had seen gold in creeks but had little use for it. They did not have the knowledge or motivation to mine gold until they came into contact with Europeans. After learning the value of gold to the British they began to mine it and trade for goods.
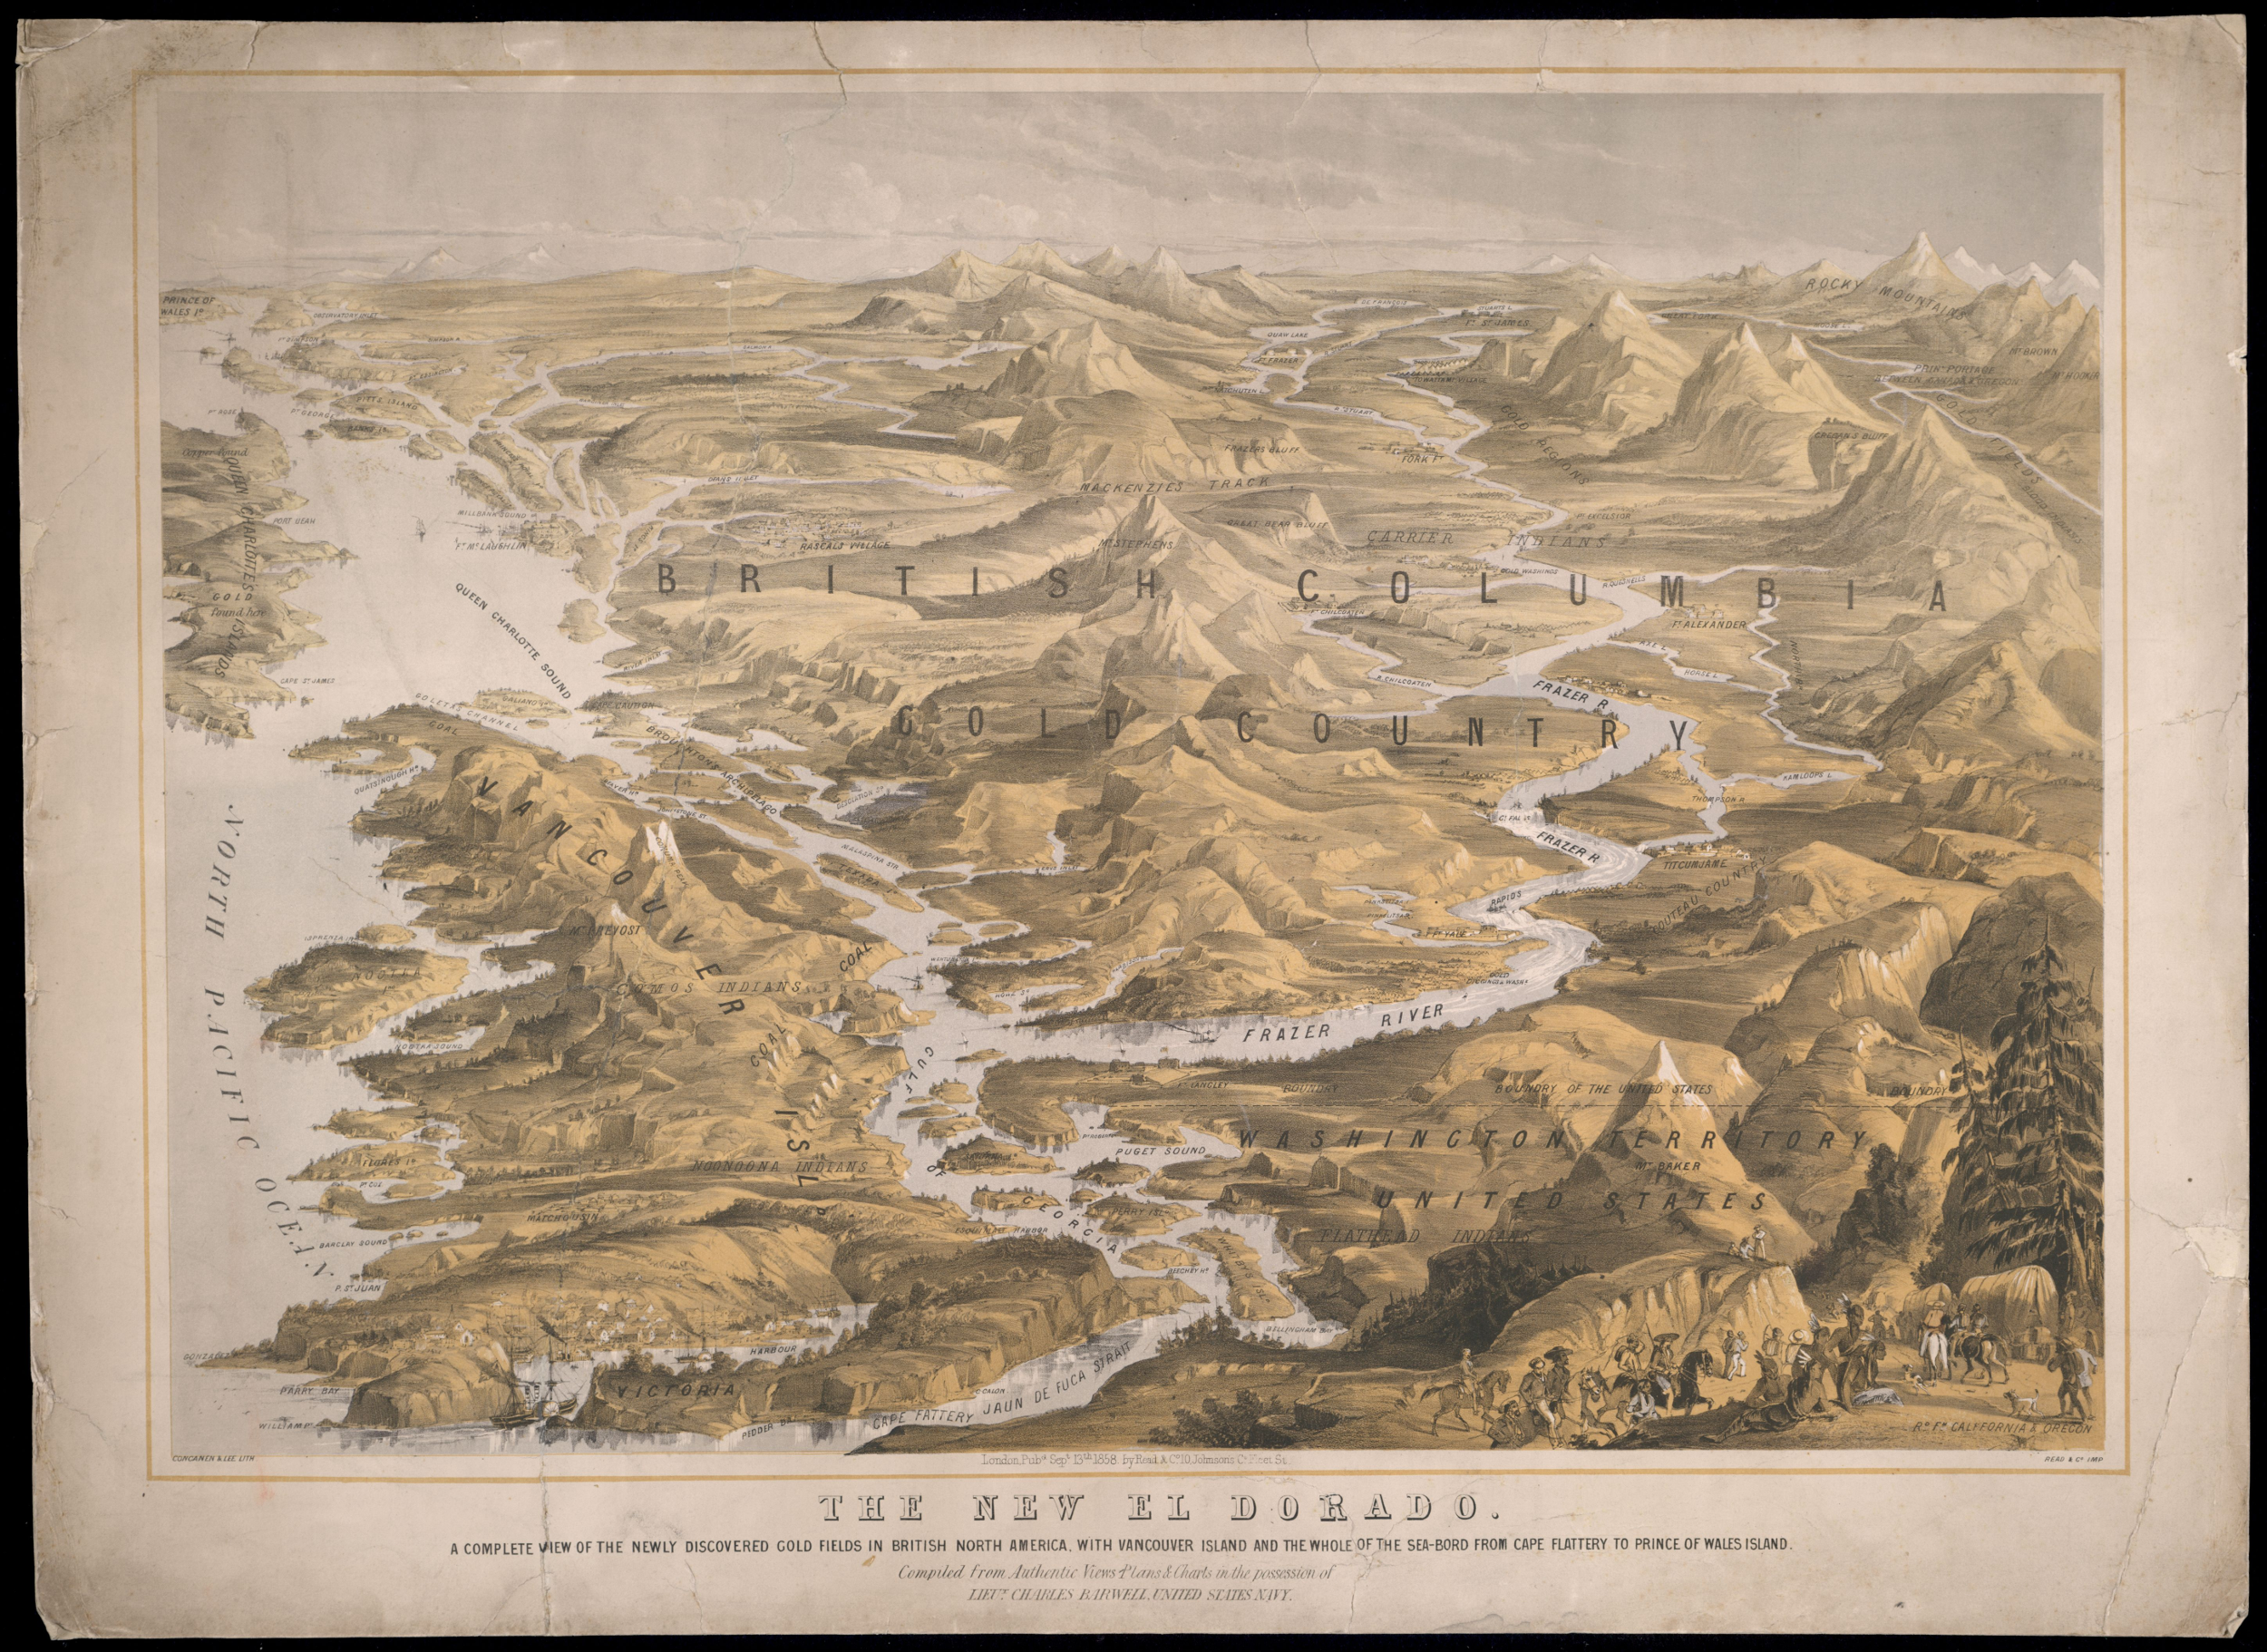
The Spanish explorers on the other hand were completely obsessed with the yellow metal. Spanish explorers were motivated primarily by legends of “El Dorado” in their search of the Americas. Each Spanish explorer had the ultimate goal of returning to Spain with a ship full of gold. Most of their attention was focussed in South America where their superior weaponry, armour and small pox allowed them to quickly decimate tribal empires and steal their gold. There is evidence of Spanish gold exploration in BC as well. Most of the Spanish exploration took place on Vancouver Island and other coastal areas such as Haida Gwaii. One Spanish expedition travelled inland as far as the Okanagan and Similkameen regions.
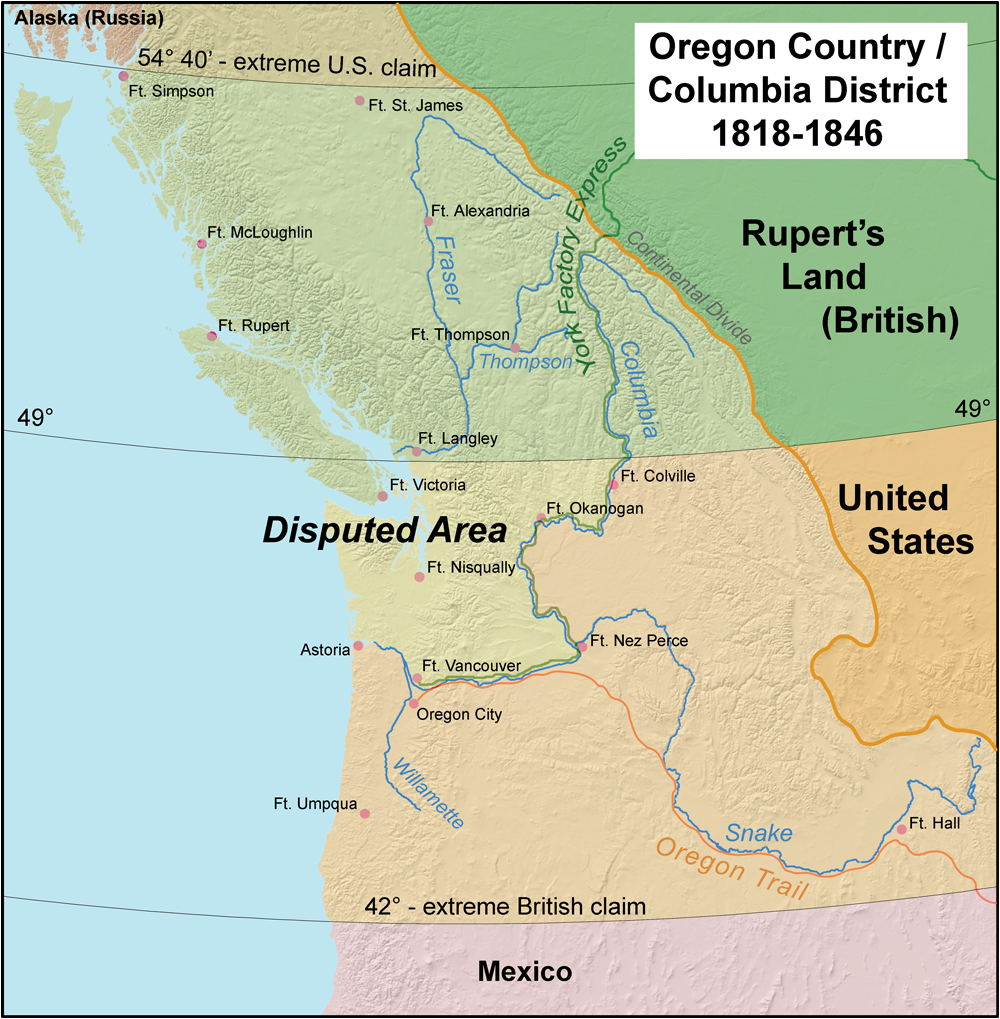
Fur trading is what led to the first European settlement of British Colombia but the impact remained relatively small. The first settlements were established by early explorers such as Simon Fraser, Alexander Mackenzie, and David Thompson. Early forts were established along the river routes that these explorers used as well as along the coast. The area became a recognized fur trading district called New Caledonia and it held that name until it became a British Colony in 1858.
Fort St. James was founded in 1806 and was the first major inland fur trading post in BC and still bears that name. Other notable early forts are Ft. George (now Prince George), Ft. Kamloops, Ft. Langley and Ft. Victoria (1844). During the fur trade the European population slowly grew to a few hundred people but little effort was put into exploring new ground outside of the established trade routes.
1851 Haida Gwaii Gold Rush
The Haida Gwaii gold rush was the first recorded gold rush in BC but was very short lived due to hostilities with the local natives. The rush began in 1851 when a Haida man traded a 27 ounce nugget for 1500 blankets in Fort Victoria. A Hudson’s Bay Company ship was sent up there soon after and discovered a very high grade lode deposit.
The HBC crew began mining the lode deposit but the Haida Indians soon turned against them and prevented further mining. In 1852 a ship with 35 adventurers from San Francisco set out for the islands. They arrived at “Gold Harbour” in the Tasu Sound but did not have much luck finding gold. They did however manage to trade with the Haida Indians for gold.
1857 Gold Found At the Nicoamen River
Placer gold was discovered in Nicoamen River which is a tributary to the Thompson River. The Nicoamen enters the Thompson about 12 kilometers up stream from the confluence with the Fraser River at Lytton. A local Indian discovered gold there by chance and soon the majority of the tribe was mining the area. This discovery is credited with igniting the Fraser River gold rush.
1858 Fraser River Gold Rush
The Fraser River gold rush involved one of the largest populations of migrant prospectors in history. It is estimated that around 30,000 people rushed to the lower Fraser River in 1858. The rush began after an 800 ounce gold sample was sent from Fort Victoria to San Francisco for assay.
Soon after a shipload of 800 American prospectors from California arrived in Victoria to hunt for gold on the Fraser River. The influx of American prospectors overwhelmed the small government that managed the territory. HBC Governor James Douglas requested immediate help from Britain to control this massive foreign population . The British Government responded by formally claiming BC as sovereign British Colony in 1858. The new government quickly enacted mining laws to prevent the mayhem that took place in the California goldfields. Along with the declaration came British military support and the Royal Engineers who went on to build several major road systems including the Cariboo Wagon road and Dewdney Trail.
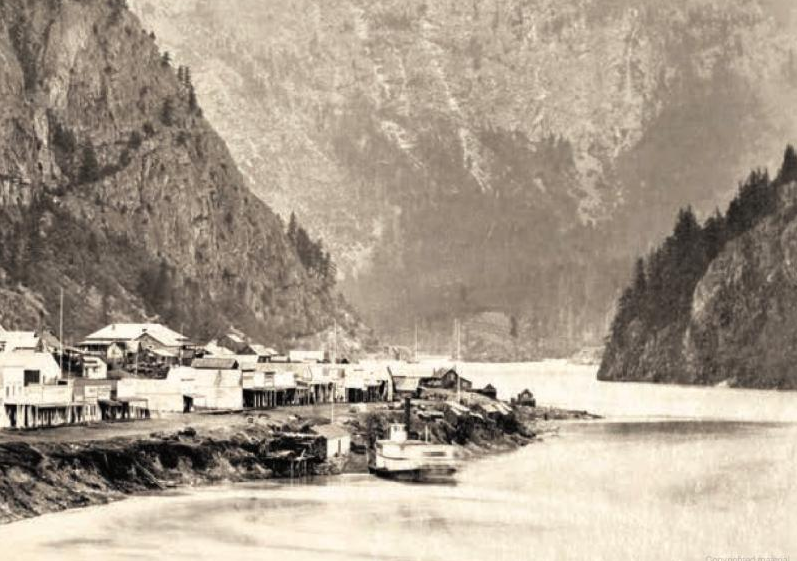
The early work centred around the community of Hope where steamboats allowed for easy access. The majority of the gold rushers were participants in the California gold rush that fizzled out a few years earlier. As a result the population of Yale was largely american and the town was modelled after San Francisco.
A story in the San Francisco Bulletin is credited with igniting the rush. According to the newspaper:
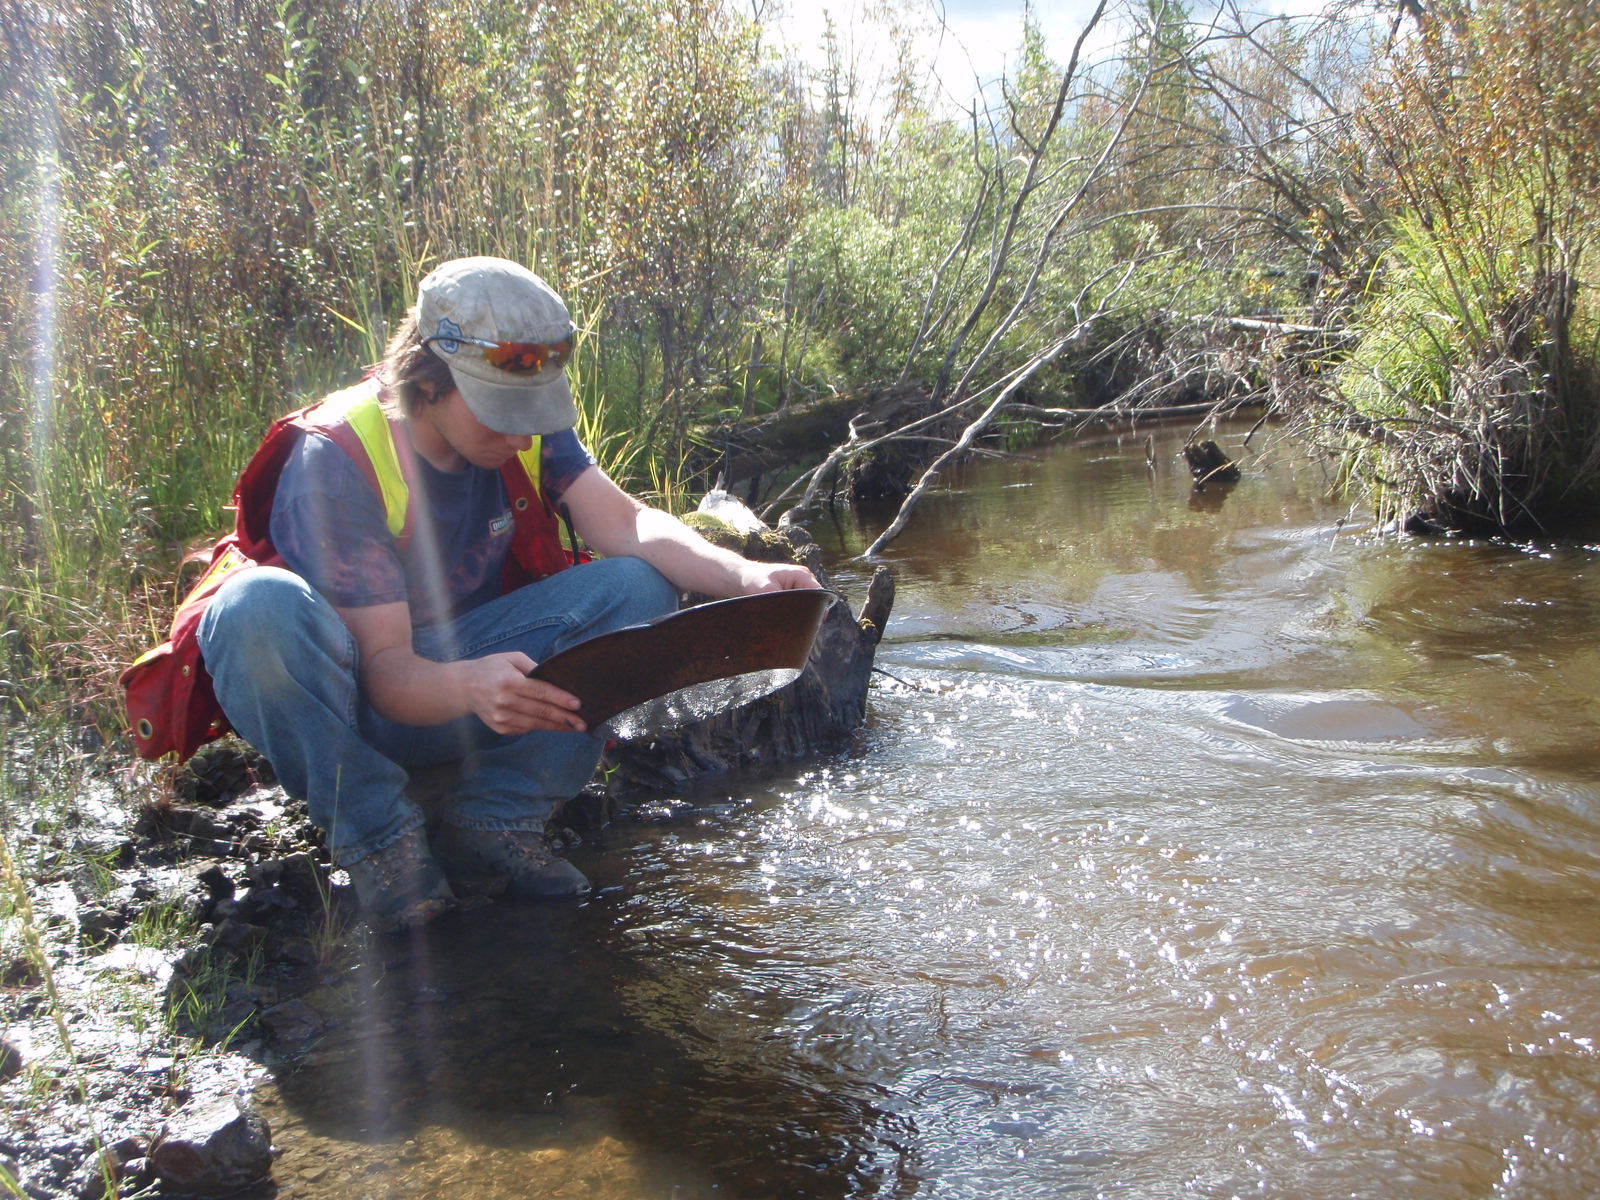
“In one month the Hudson’s Bay Company fort in Victoria had received 110 pounds of gold dust from the Indians … (prospected) without aid of anything more than … pans and willow baskets.”
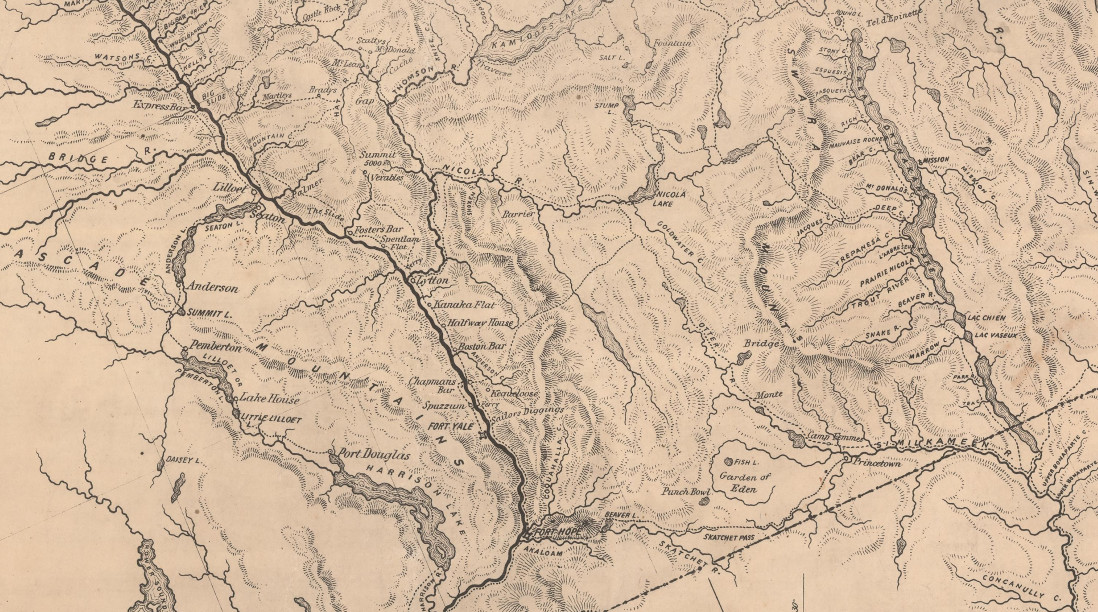
Numerous bars were prospected and mined between Hope and Lytton. Some communities along the Fraser are still named after the bars that were mined such as “Boston Bar”. Like most gold rushes the men who arrived first snapped up the good claims and the the majority of the adventurers ended up working for them.

The British Royal engineers developed a route from Port Douglas at the head of Harrison Lake to Lillooet to accommodate the influx of miners. Many new communities popped up and some are still settled today.
The Fraser rush brought people from all over the world but the bulk of the miners came from California. At the peak of the rush there were over 10,000 miners operating on the section of river form Hope to Lillooet. The bars depleted rapidly and by 1860 most of the miners continued on the other gold rushes in BC.
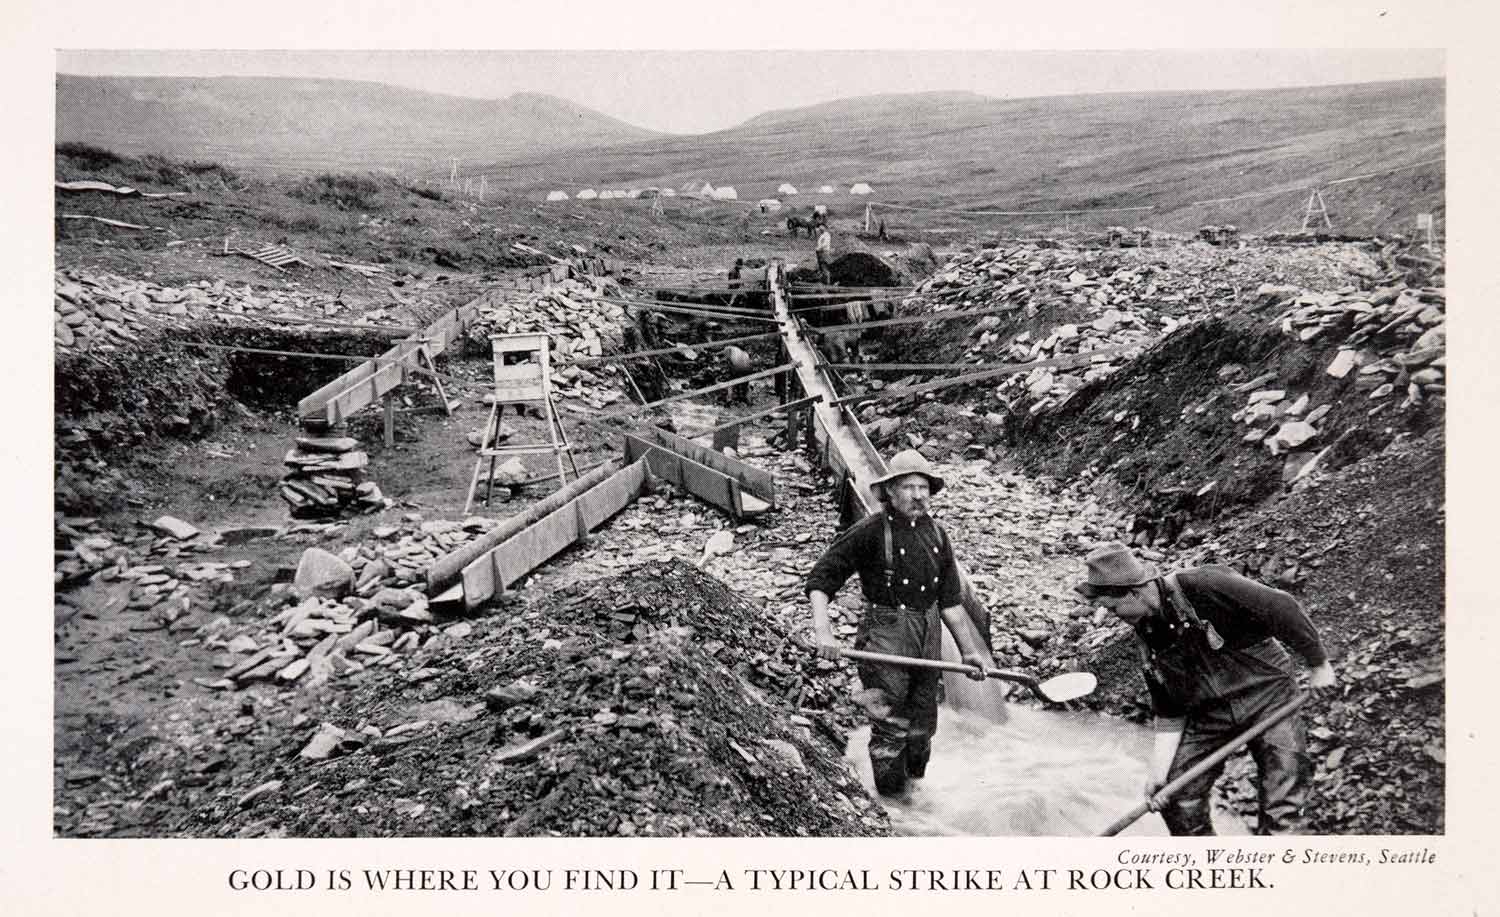
1858 Rock Creek Gold Rush
Gold was discovered in Rock Creek in 1858 soon after miners rushed in from the United States and the rest of the world. The Rock Creek rush was also instrumental in the development of British Columbia. The discovery was made by two American soldiers who were chased North of the boarder by a band of Indians. Just 5km from the border where an unnammed creek entered the Kettle River they found gold.
At the time of the discovery the colony of British Columbia was only a year old. American miners tried to claim the area as part of the United States due to the high grades and the fact that it was discovered by Americans. The Rock Creek claim issues prompted the construction of the Dewdney Trail as a means to separate the new colony from the United States. The Dewdney Trail snaked its way from New Westminster all the way to Wild Horse in the Kootenay region staying just North of the Canada-US border.
Soon after the discovery an estimated 5,000 prospectors migrated to the newly established town of Rock Creek. In the beginning there were two saloons, a butcher’s shop, a hotel and five stores. Within the first year a revolt broke out due to tensions between Chinese and American miners and refusal to pay for mining licences. The incident became known as the Rock Creek War. The governor of British Columbia Sir James Douglas travelled there from Victoria to straighten out the miners. He threatened to send in 500 British soldiers if they couldn’t behave themselves. Sir Douglas was successful and soon the miners paid their claim fees and mined the creeks in peace.
There were some amazing claims on Rock Creek. Adam Beame’s claim on Soldier’s Bar in 1859 allegedly netted $1,000 in six weeks. That gold would be worth $70,500 today! Other bars such as Denver Bar and White’s Bar produced similar results.
1859 Cariboo Gold Rush
Gold was discovered on the Horsefly River in 1859 by prospectors who participated in the Fraser River rush. They were guided by a local Indian and shown a spot on the Horsefly River with abundant gold and nuggets the size of wheat kernels. The rush was on as more miners from the Fraser River rush migrated North to the Cariboo. Soon a town was erected near the strike that exists today.
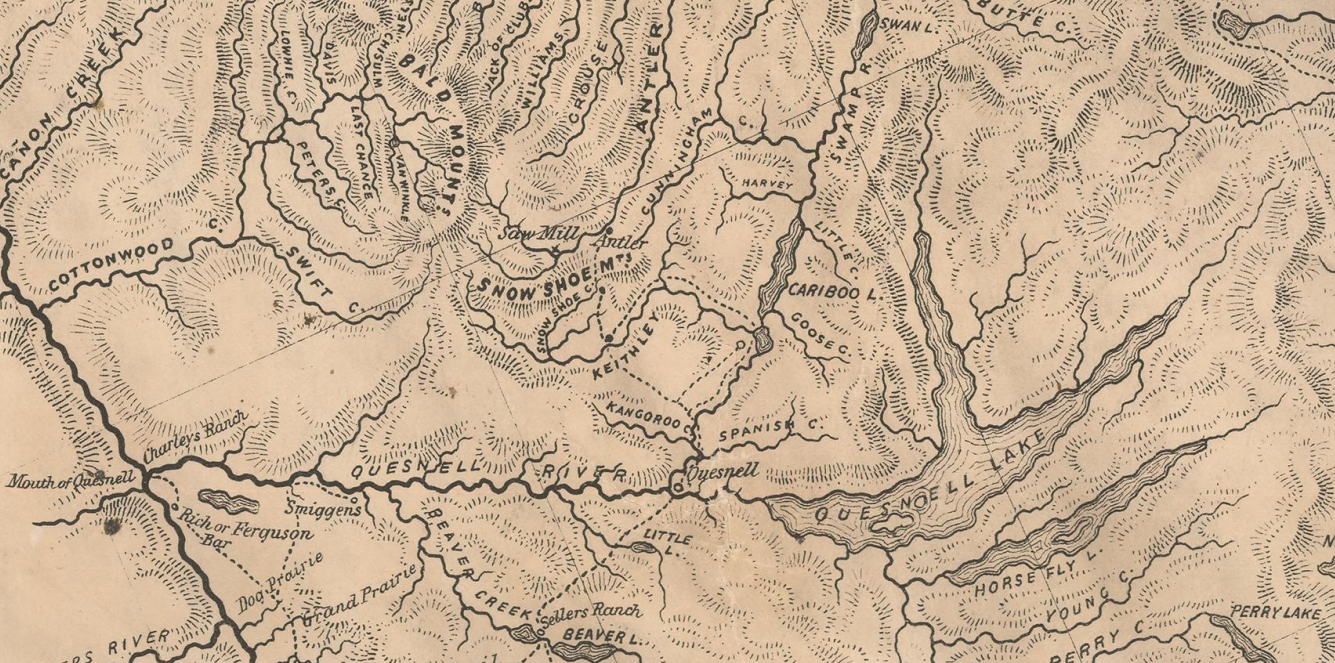
In 1860 gold was discovered on Keithly and Antler creeks to the North of Horsefly. Other notable creeks of the region are Lightning, Lowhee, and Williams Creeks, the Quesnel River and Parsnip River. Towns popped up all over the place with the most exciting being Barkerville. That town was named after a British prospector named Billy Barker and had a popluaton of 10,000 at its peak. His claim on Willams Creek was one of the greatest gold producers in history yielding an estimated 37,500 ounces of gold. Barkerville was restored in 1997 as a tourist historic town that is a popular attraction in the area.
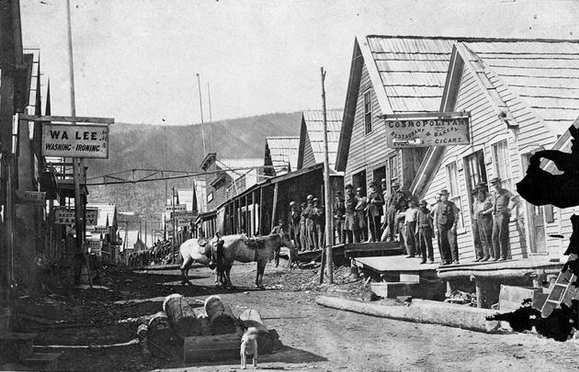
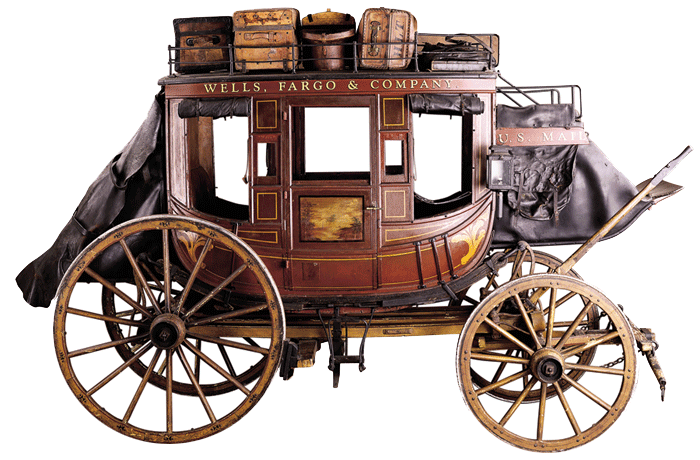
The Cariboo gold rush saw 100,000 people flood into the area during 1862-70 from all over the world. By 1864 the Cariboo Wagon Road was completed from New Westminster all the way to Barkerville. This allowed for easy travel of people and supplies, wich substantially brought down the costs. It also allowed for stage coaches to securely move gold from the mines. The stagecoaches operated on this road from 1863 to 1917 carrying people, mail, express packages and of course gold. The stagecoaches saw surprisingly few hold ups, even though they carried literally tons of gold. There are only five hold ups on record, two of which were successful.
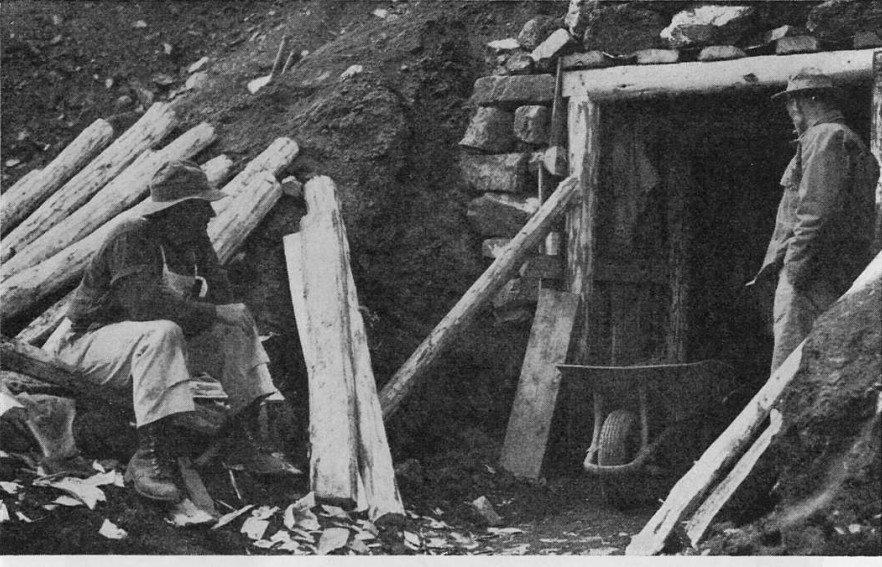
By 1870 the gold rush had largely fizzled out. The good claims were now owned by mining companies who could gather the money needed to undertake underground drift mining. Those who didn’t stick around to work in underground mines spread around other parts of BC’s North and some sparked gold rushes in new areas. Others settled in and started up cattle ranches or logging companies. Gold mining in the Cariboo is still active today, as a matter of fact I have a couple claims near Keithly Creek.
1863 Wild Horse River Gold Rush
Gold was discovered on the Wild Horse River in the Kootenay region in 1863 once again by American prospectors. The Wild Horse held great gold reserves and still does today. Early in the rush huge nuggets were found with the biggest tipping the scale at 36 ounces. The first town that was built was called Fisherville. Apparently after one resident found a nugget under his house the size of his fist the whole town burned their houses down to dig underneath.
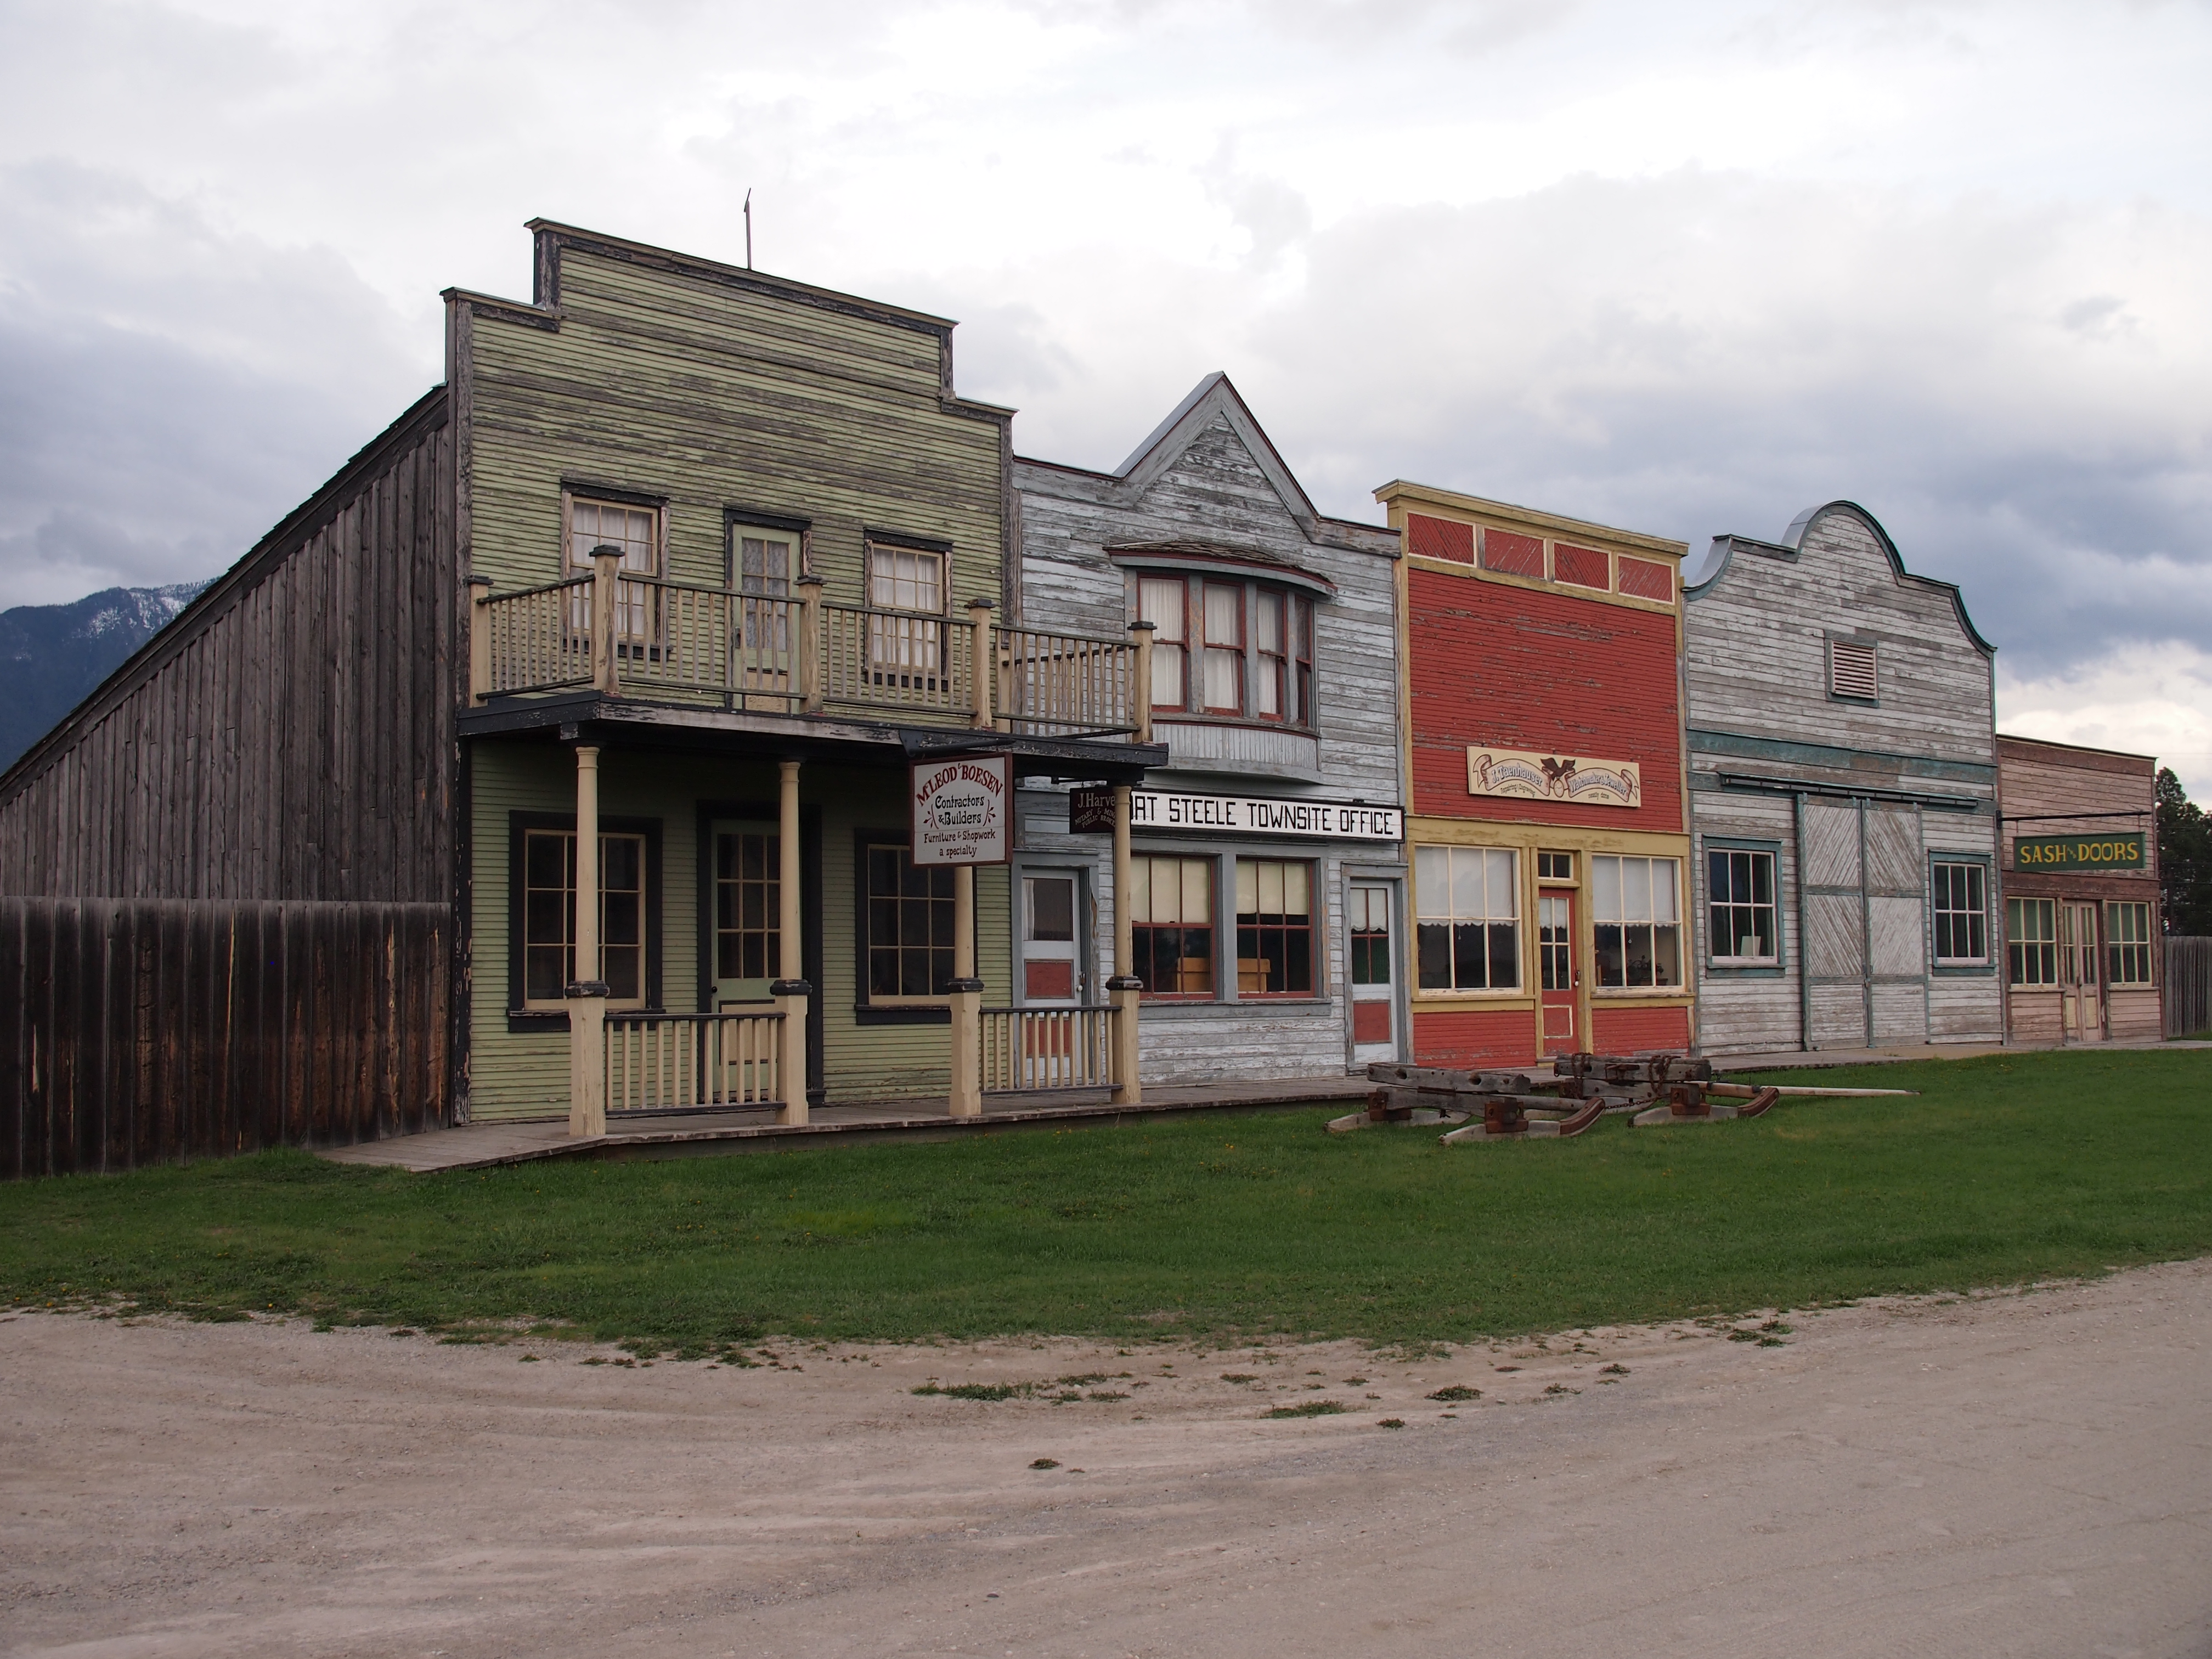
A town was erected named Galbraith’s Ferry, named after John Galbraith who operated a ferry across Kootenay lake. Later the town was re-named Fort Steele after the legendary Sam Steele. A second gold rush broke out in the same area in 1885. Later hard rock silver rushes spread around the region.
The Wild Horse River is estimated to have produced over $7,000,000 in the initial gold rush which would be worth about $490,000,000 today. There is a very well preserved historic town at Fort Steel that is a popular tourist spot with many actors playing the roles of old time blacksmiths, prospectors, sheriffs and so on. It is located North of Cranbrook at the intersection between Highway 93 and 95.
The initial gold rush ended after about 6 years but soon the great silver rush would flood the region. Places like Nelson, Kaslo, Slocan grew out of the silver rushes that blanketed the Kootenay region.
1864 Leech River Gold Rush
The Leech River gold rush started with a letter from Robert Brown who was Commander of the Vancouver Island Exploring Expedition. Yes that was the correct name of the VIEE expedition. The expedition was launched by the British government in Victoria.
A letter from Brown published in the British Colonist newspaper on July 29, 1864 ignited the rush. Here are some exerpts from the letter:
..the intelligence I have to communicate is of too important a nature to bear delay in forwarding to you, even for one hour…
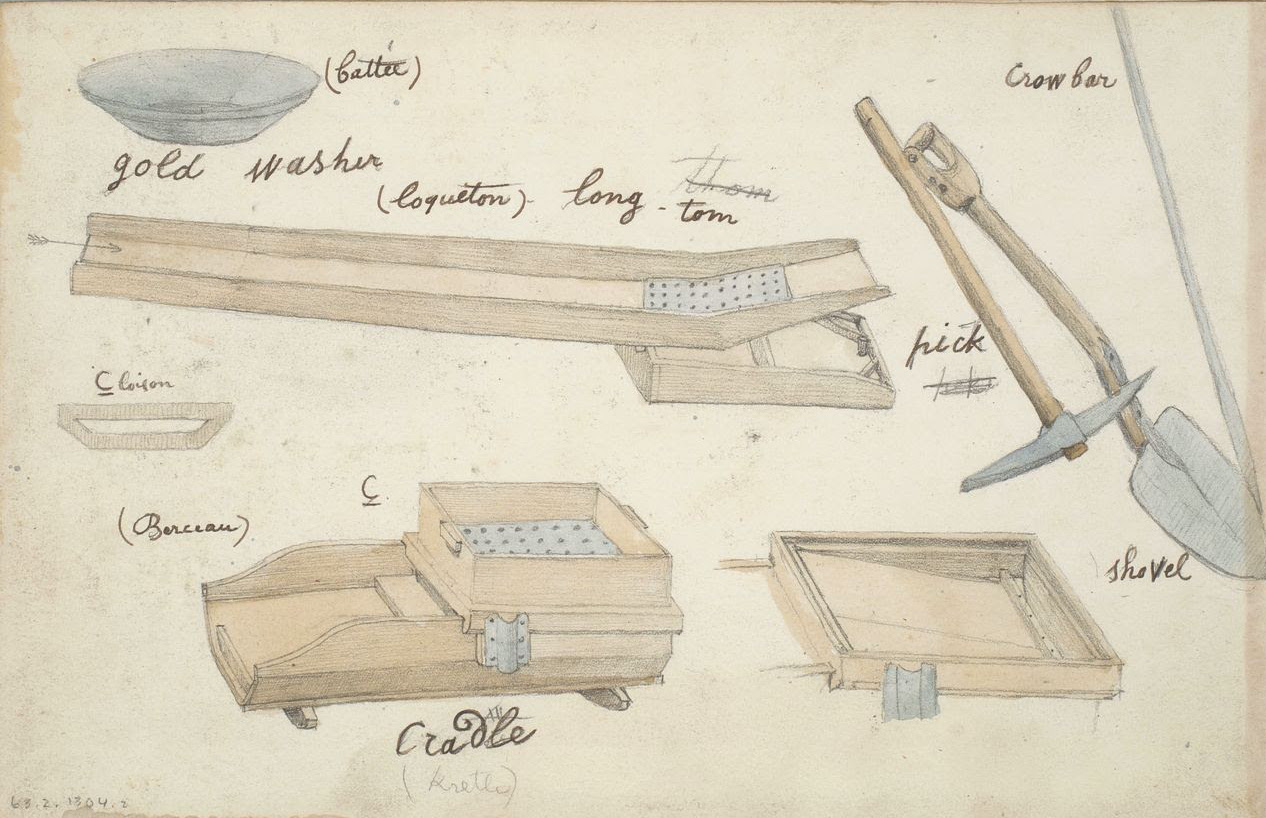
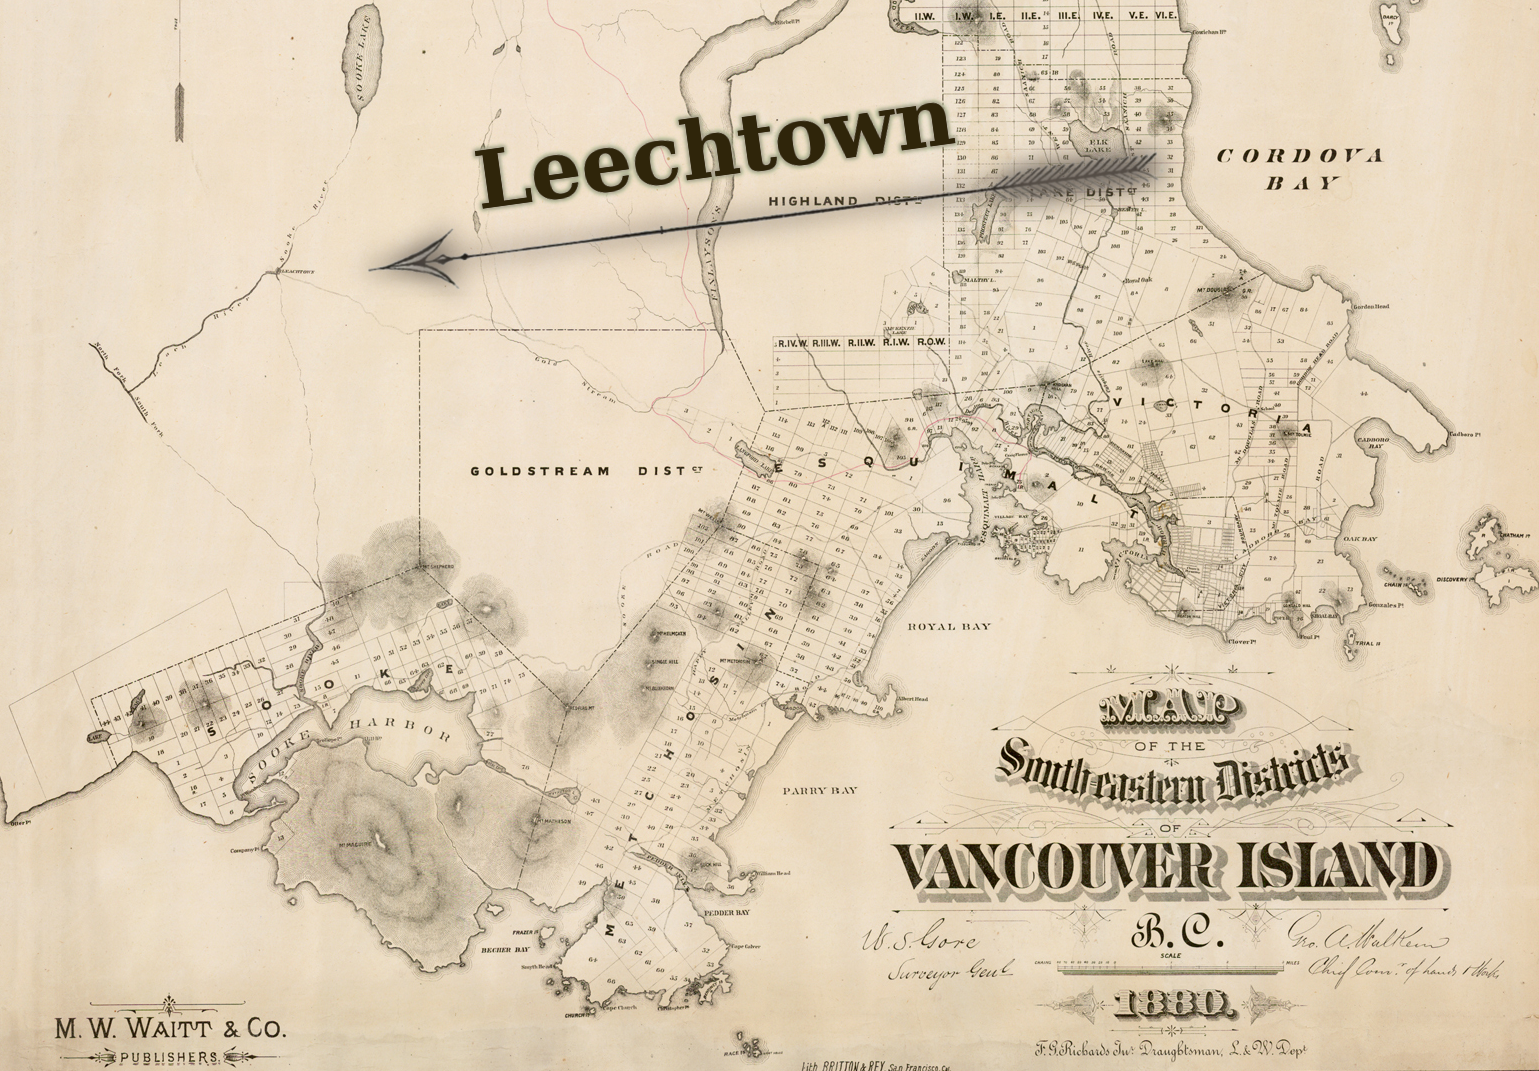
The discovery which I have to communicate is the finding of gold on the banks of one of the Forks of the Sooke River, about 12 miles from the sea in a straight line, and in a locality never hitherto reached by white men, in all probability never even by natives. I forward anquarter eighth of an ounce (or thereabouts) of the coarse scale gold, washed out of twelve pans of dirt, in many places 20 feet above the river, and with no tools but a shovel and a gold pan. The lowest prospect obtained was 3 cents to the pan, the highest $1 to the pan, and work like that with a rocker would yield what pay you can better calculate than I can, and the development of which, with what results to the Colony you may imagine.
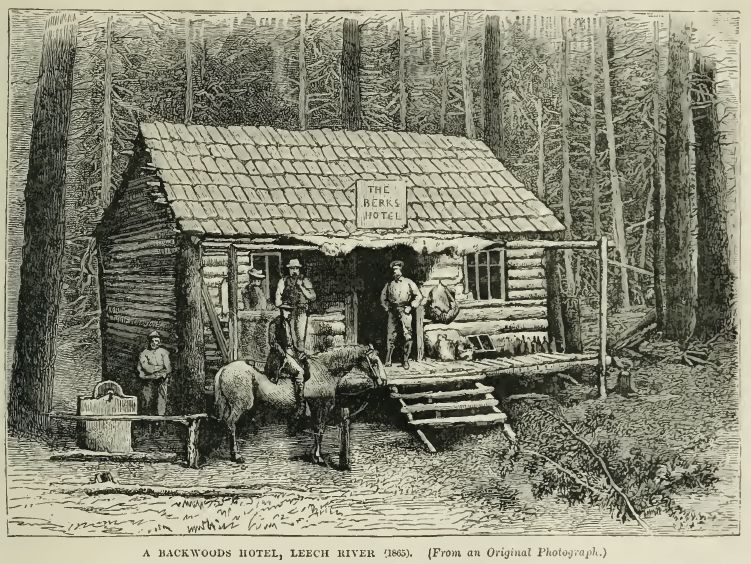
A town called Leechtown was built near the discovery. By November that year there were an estimated 6 general stores, 3 hotels and over 1,200 miners at work in the area. By 1866 an estimated 200,000 ounces of gold had been produced in the area and the gold rush had passed its peak. It was over in a flash as the Leech and Sooke river placer deposits, although high grade, were limited in size.
In the span of one decade gold rushes turned the vast unexplored fur trading district of New Caledonia into a sovereign British Colony. By the end of the 1860’s the new region had gone from a population of under one thousand people to a colony with several major wagon roads and towns covering much of the Southern half of BC. The gold rushes continued and led to more development in British Columbia. Stay tuned for part 2.
Check out part two here: