7 Common Mistakes Made by New Placer Miners

7 Common Mistakes Made by New Placer Miners

Placer mining is an exciting activity.  It brings us out into the wilderness often to the road less traveled.  There is a certain charm associated with the hunt for gold.  In some ways it feels like an exclusive club where the only entry requirements are the knowledge, skills and the will to take on the challenge of finding precious metal on the earth’s surface.  For those starting out there is a lot to learn and all too often a novice miner’s decisions are influenced by greed or the infamous gold fever.  Here’s a list of some of the most common mistakes made by new gold miners.

  1. Buying too much equipment too early

    LotsOfGear
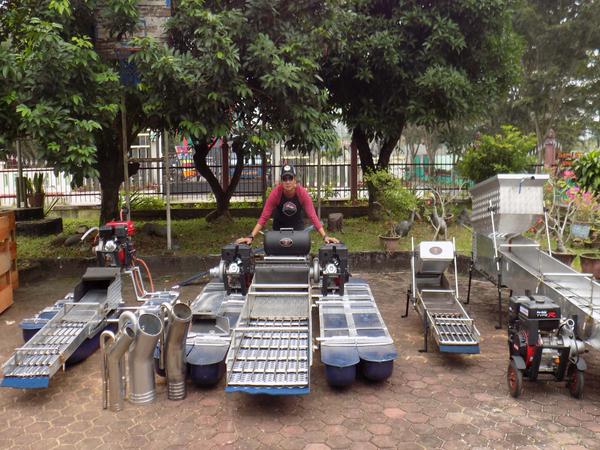
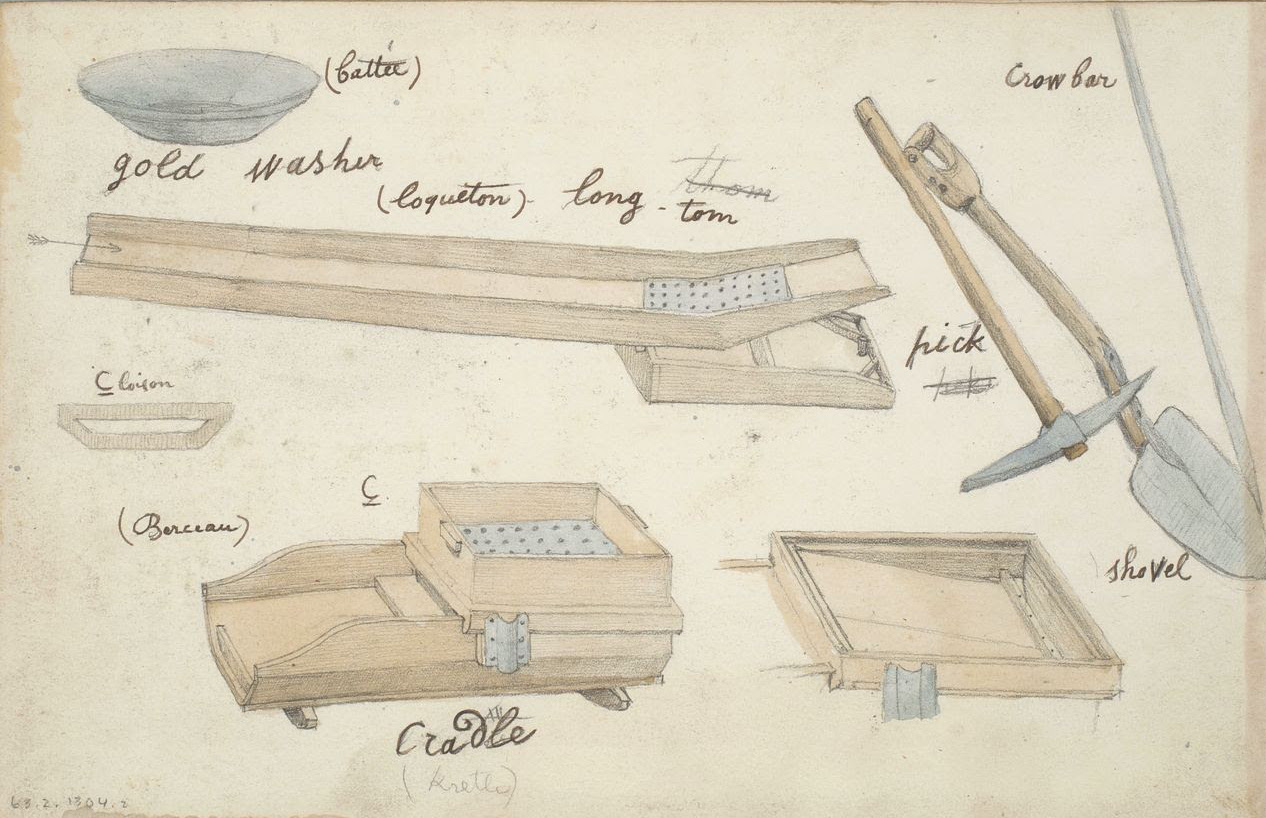
    Photo Source: www.tambang.id

    Placer miners are total gear nuts, myself included.  To run even a small operation you need a fair amount of gear.  Pans, sluices, digging tools, camping equipment, 4×4 truck, etc.  And there is plenty of gear on the market to spend your money on.

    However more equipment will not necessarily make you more money.  Often its quite the opposite.  In our fast paced consumer focused economy it is tempting to look for a quick fix.  There is no substitute for hard work though. You need to put in the time and effort to find that gold.  I have met several people who have purchased a brand new floating dredge with nowhere to use it.  Fortunately their equipment quickly finds its way onto craigslist at a discounted price.

    Prospecting starts with a gold pan, other tools that help are classifiers, snuffer bottles, and an accurate scale.  Once you have proven gold in an area you can look at moving on to something that can move more material.  The next progression would be a highbanker or a small diameter dredge (if they’re legal in your area).  If you have found enough gold and can’t move material fast enough the next steps are moving to a larger wash plant and possibly heavy equipment.  At each step along the way you need to assess the quantity of gold on your claim and the costs of getting it out.

  2. Buying the first claim that’s available

    ClaimPost
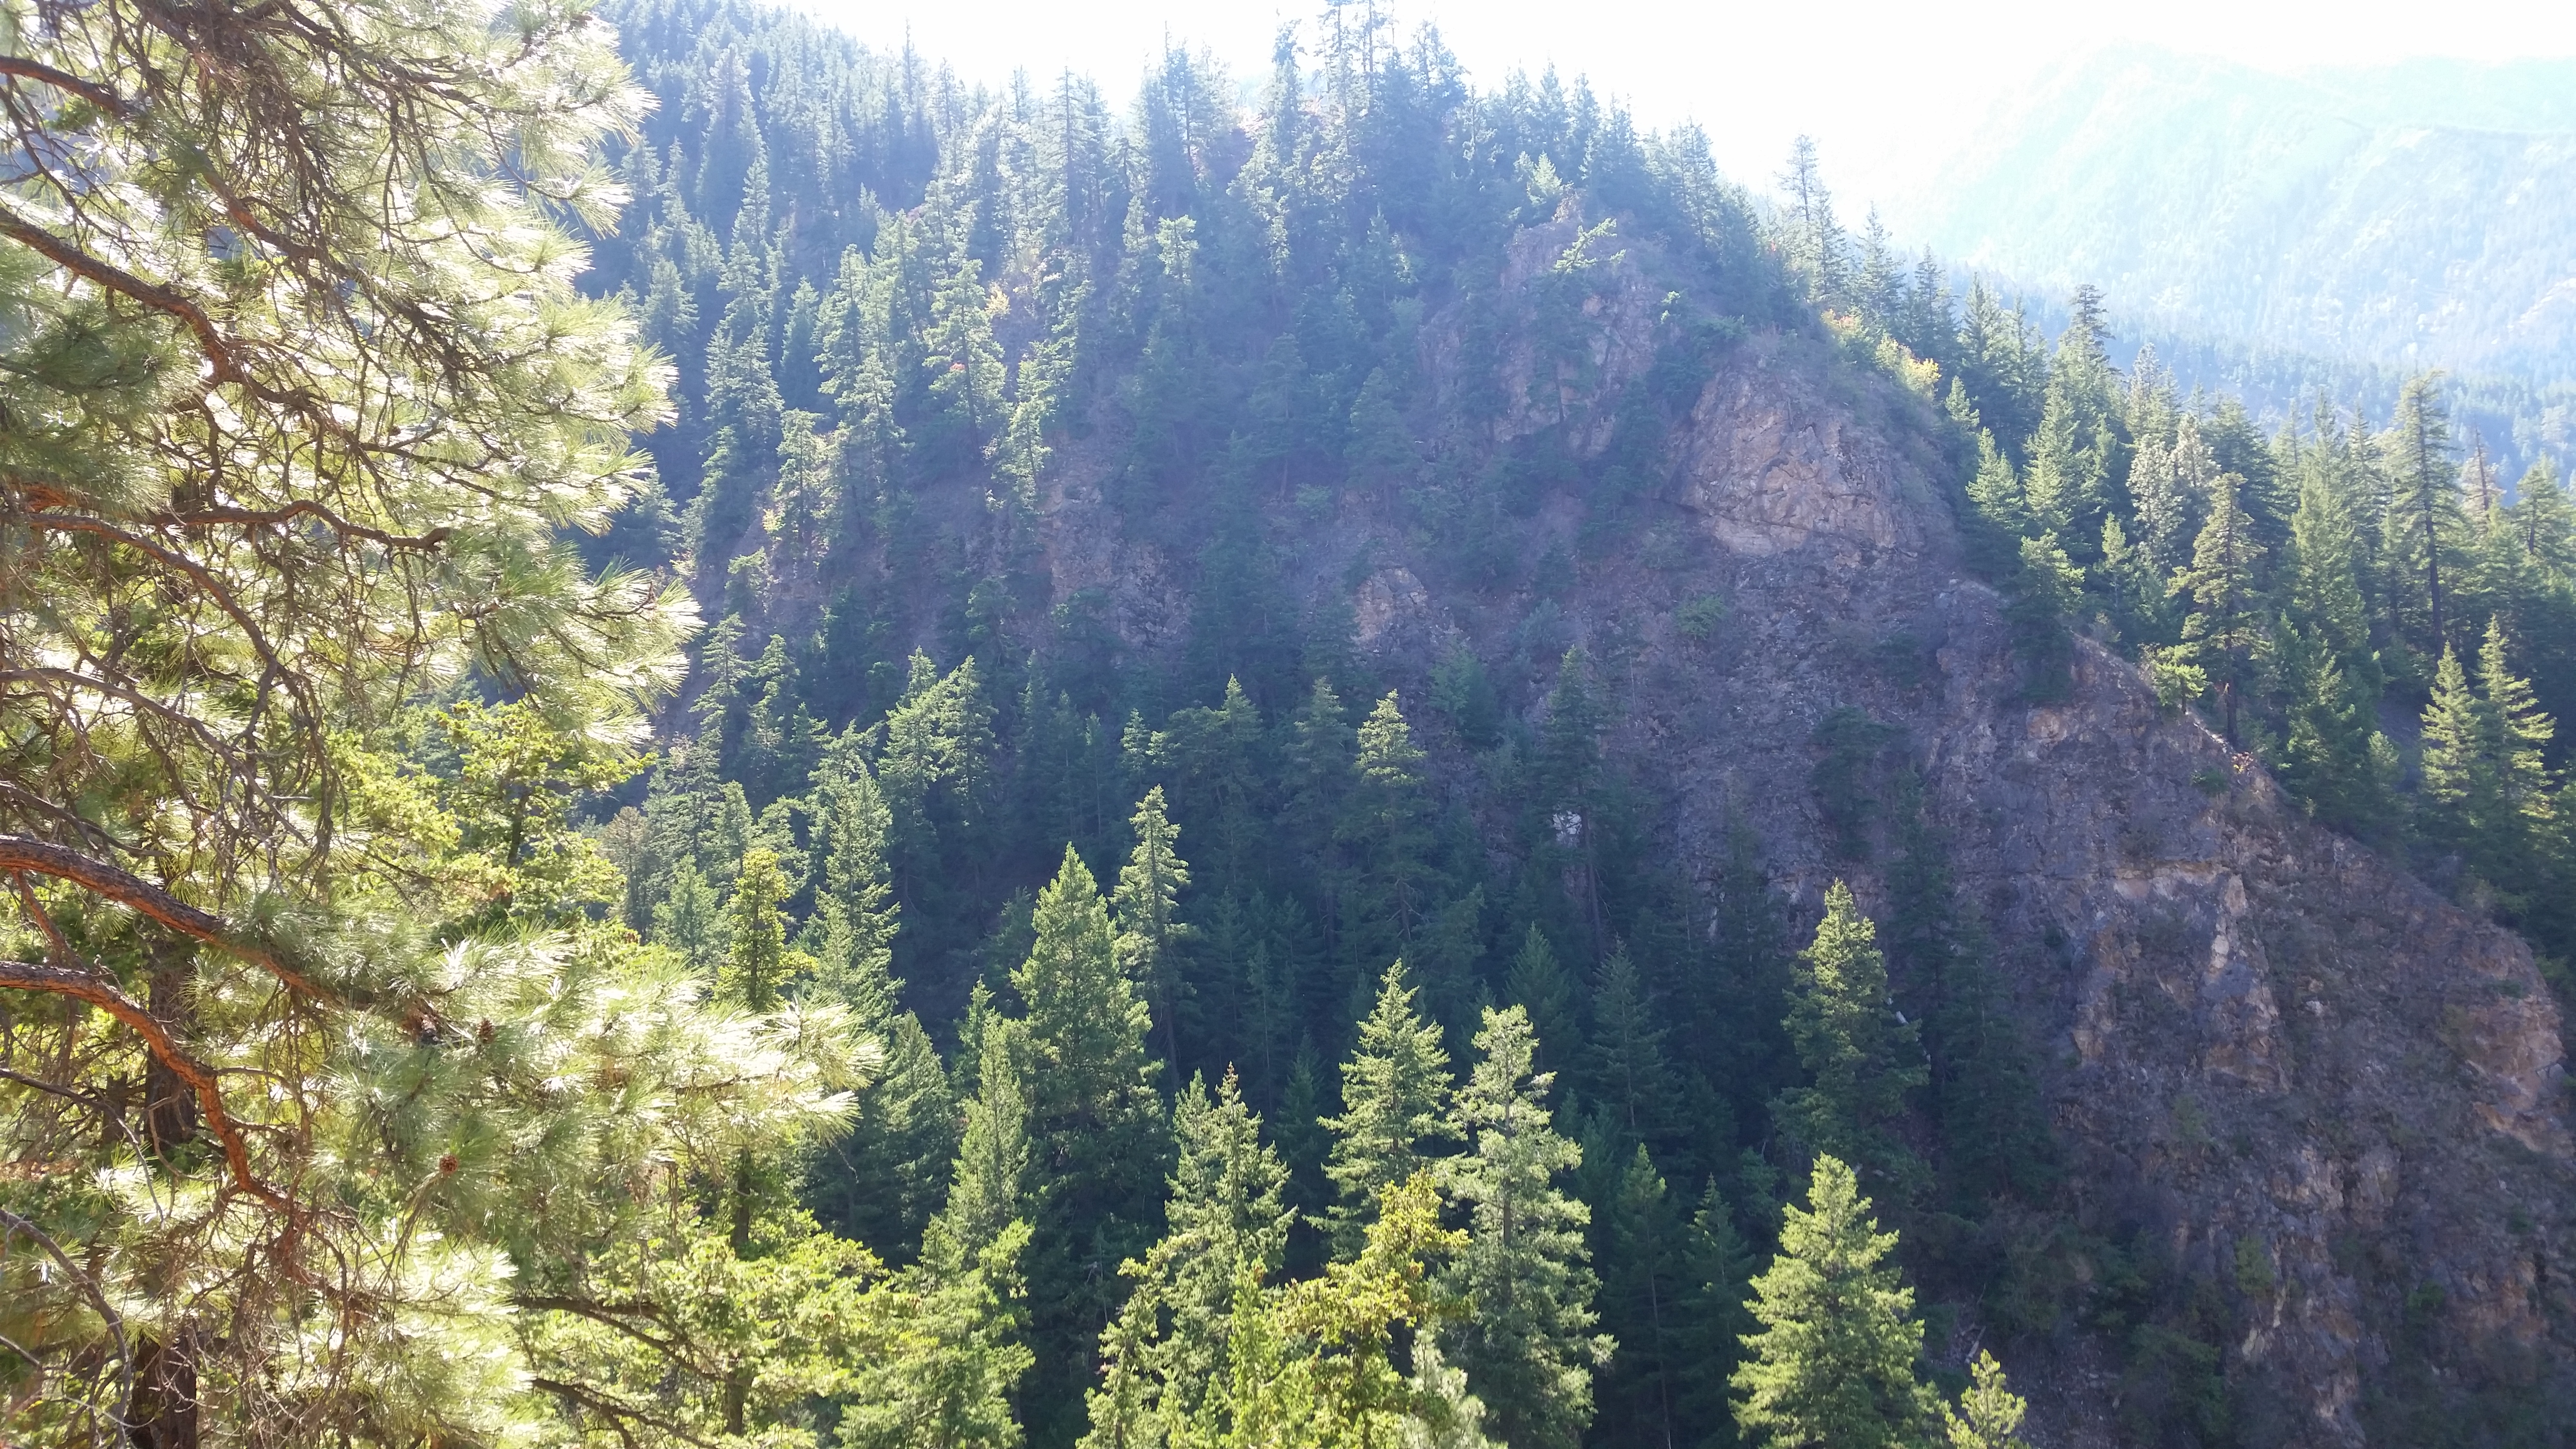
Its pretty exciting to have the rights to your first claim.  You start dreaming of all the riches that are now yours for the taking.  Its tempting to snap up the first claim that is available.  Especially in areas with online staking, its a lot like buying concert tickets.  Unlike concert tickets though gold claims are usually available for a reason.  Perhaps the claim has poor access, little to no gold, or has already been mined to death.

    Do some research before you pull the trigger.  Read up on the history of the area to make sure it hasn’t been thoroughly mined already.  Make sure it has good access roads or trails.  Find info on previous production in the area and if possible sample the claim before you buy it.  Check some maps to make sure the claim is not on a park, reserve or private land.

  3. Poor or No Sampling

    SamplesApril

    Effective sampling is absolutely essential to run a profitable placer mining operation. You wouldn’t buy a car without taking it for a test drive.  It is tempting to show up at a claim and start running a highbanker on the first gravel that you see.  Even some larger operations forgo proper sampling in the rush to get mining and lose a lot of money because of it.

    Sampling is not glamorous and you won’t get a lot of nuggets to show your friends but you need to know how much an area will pay before you spend time and money to produce it.Once you have thoroughly sampled an area and have calculated the pay per yard you will know how much you can spend to produce the gold.  For example if an area pays $100 to the cubic yard and your cost is $40/yd to produce it you will certainly make a profit.  Your proven reserve is sort of like a bank account.  You don’t want to spend more money on equipment than your reserves will justify.

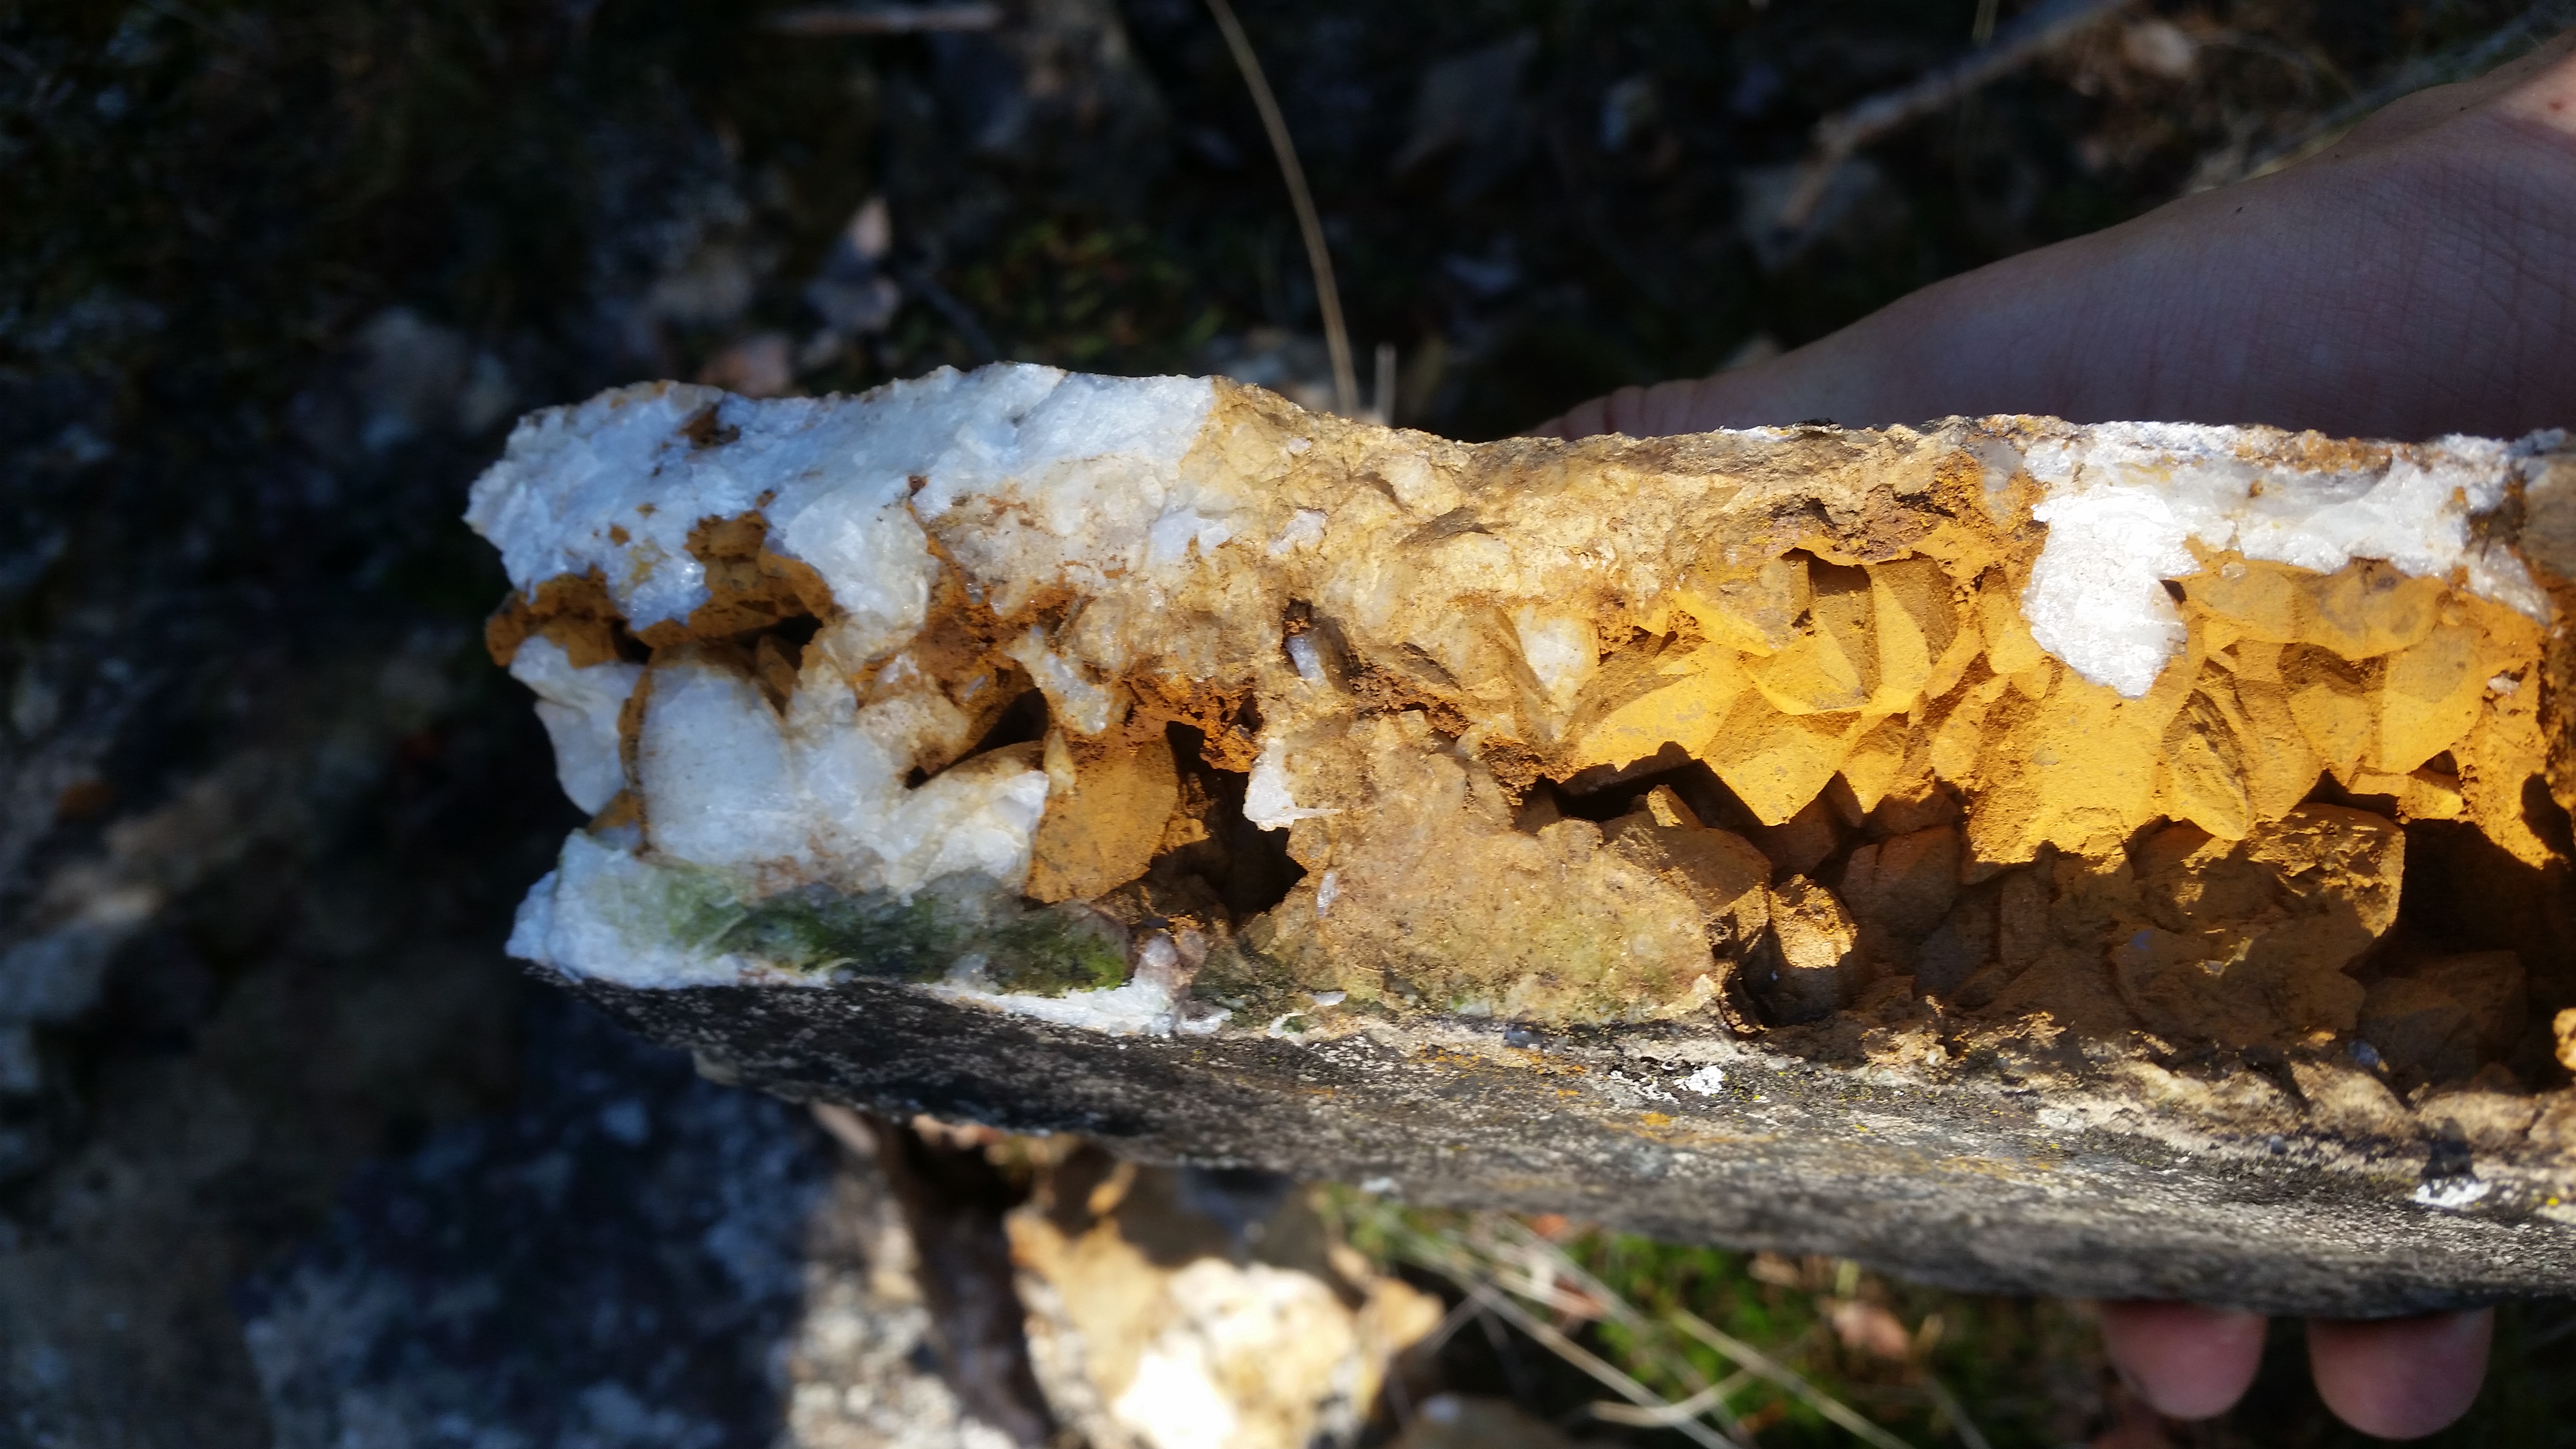
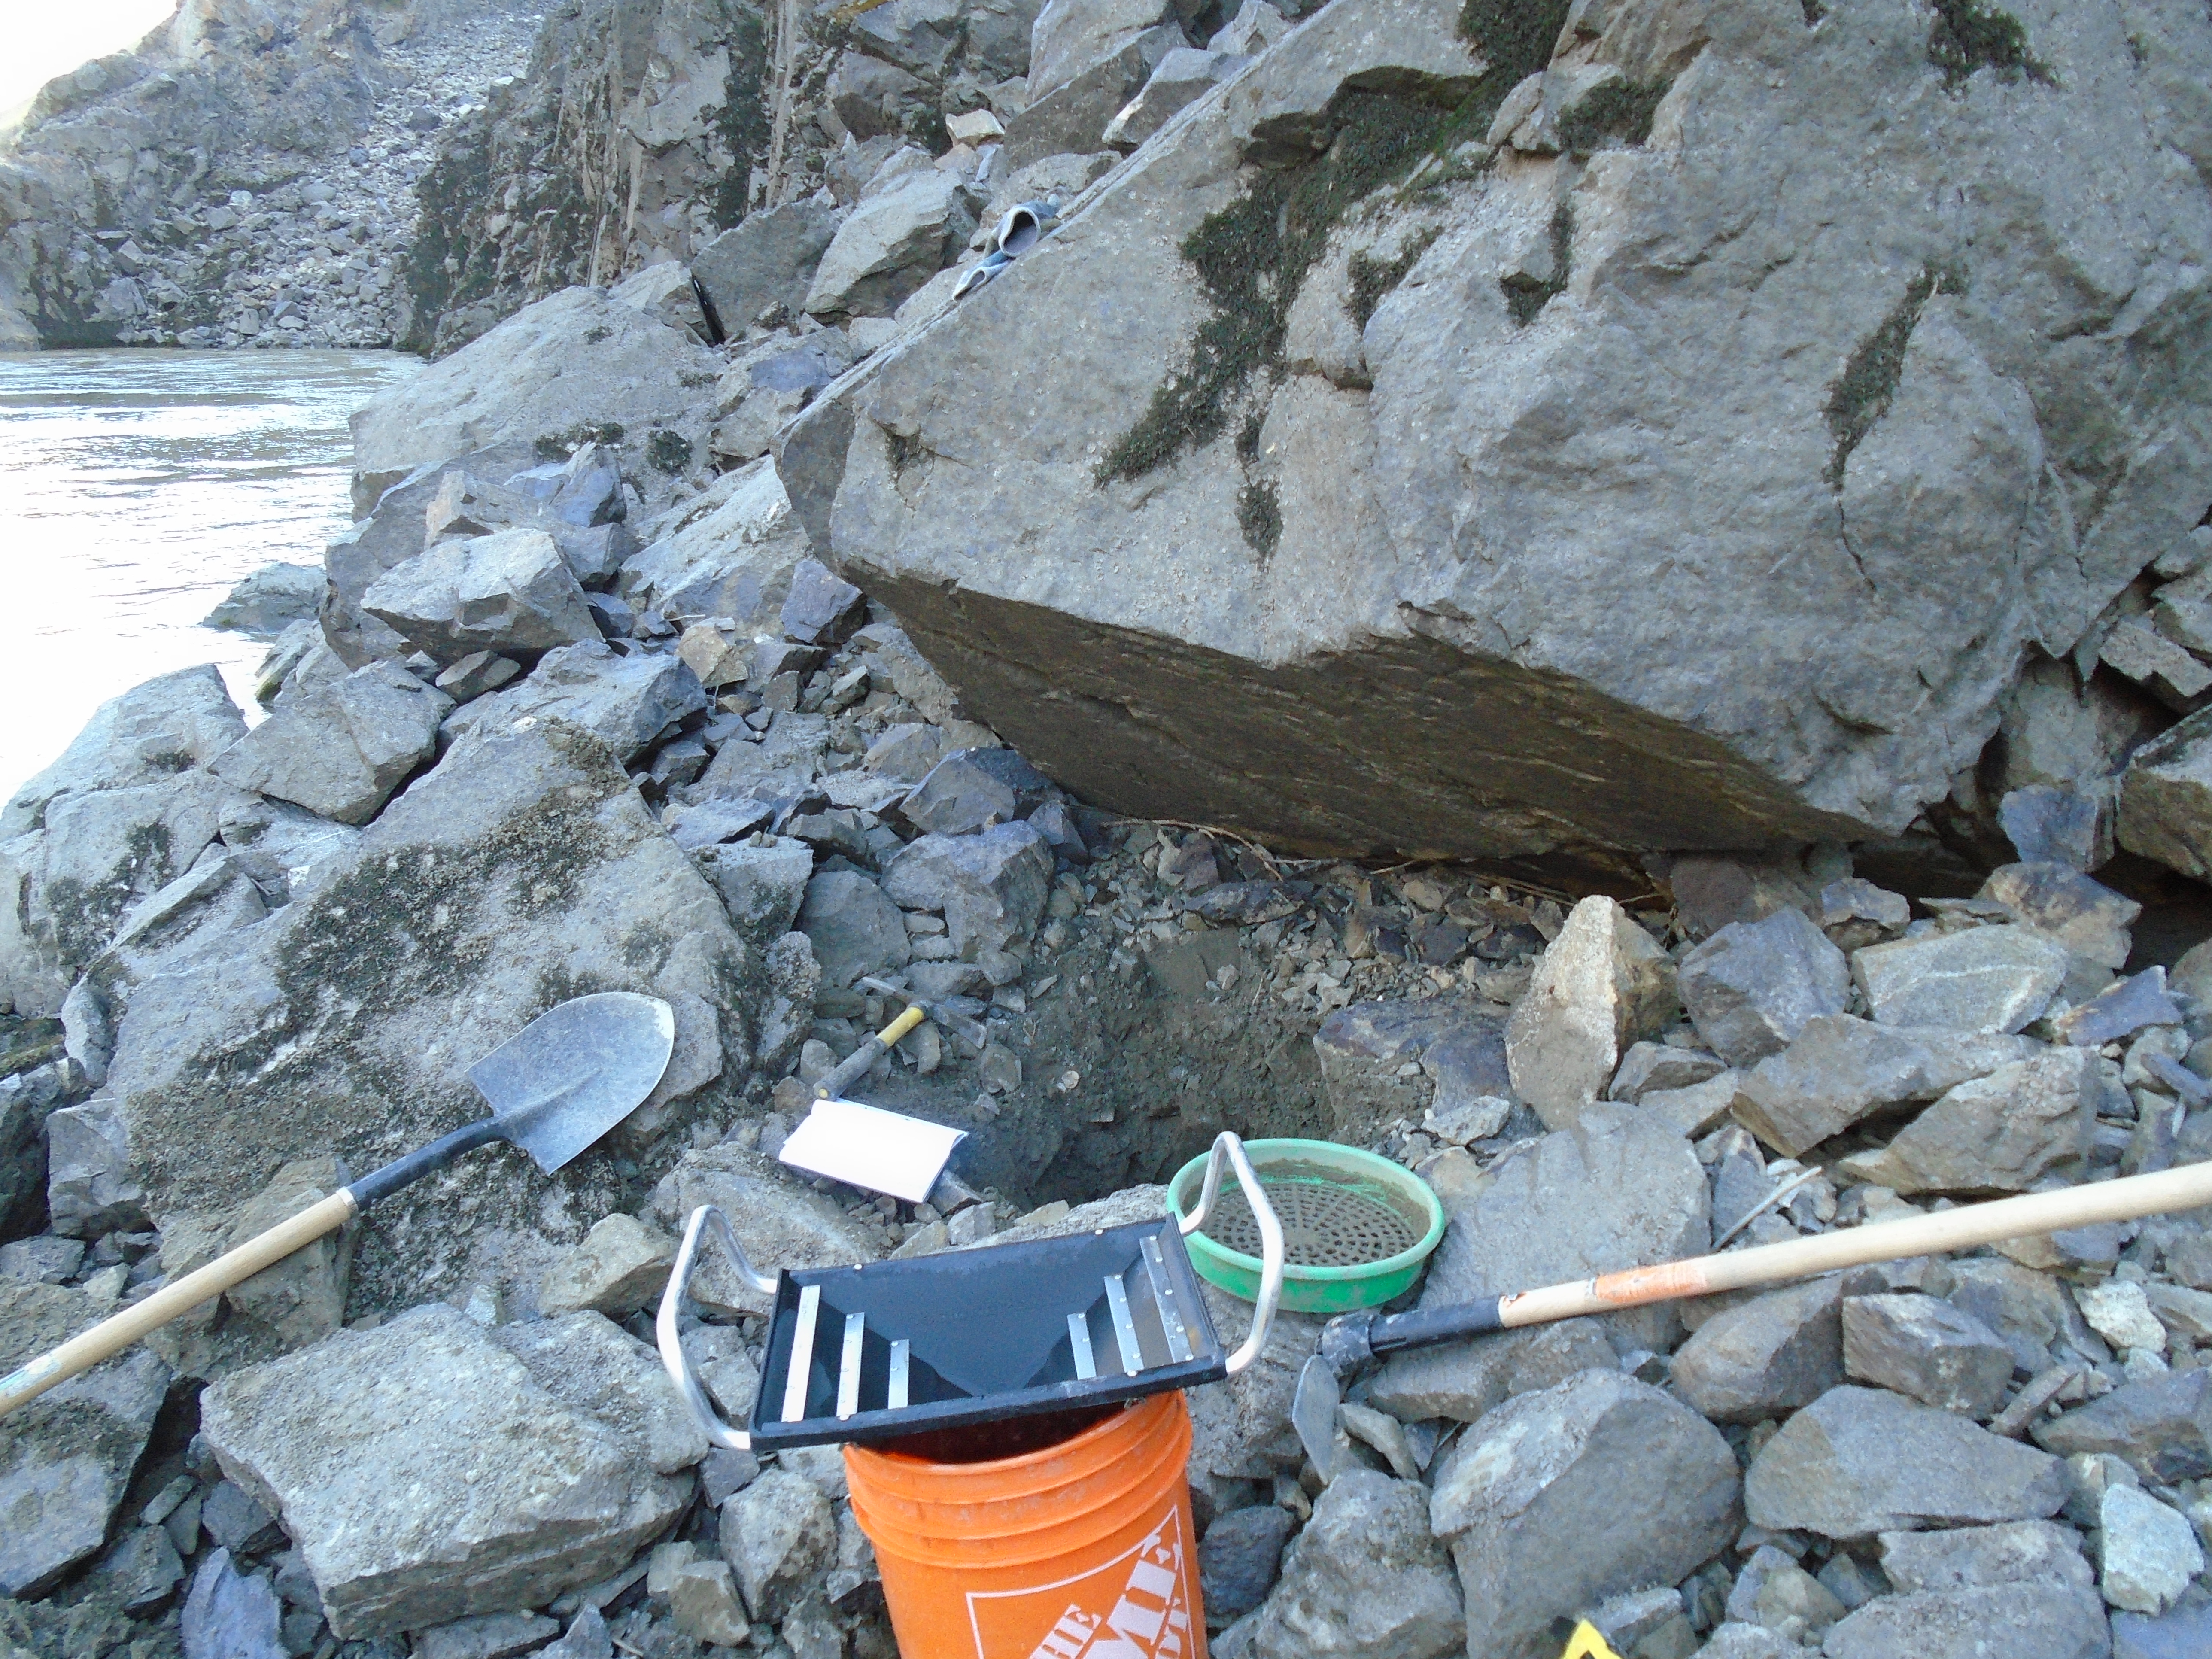
  4. Not digging deep enough

    IMG_2420 
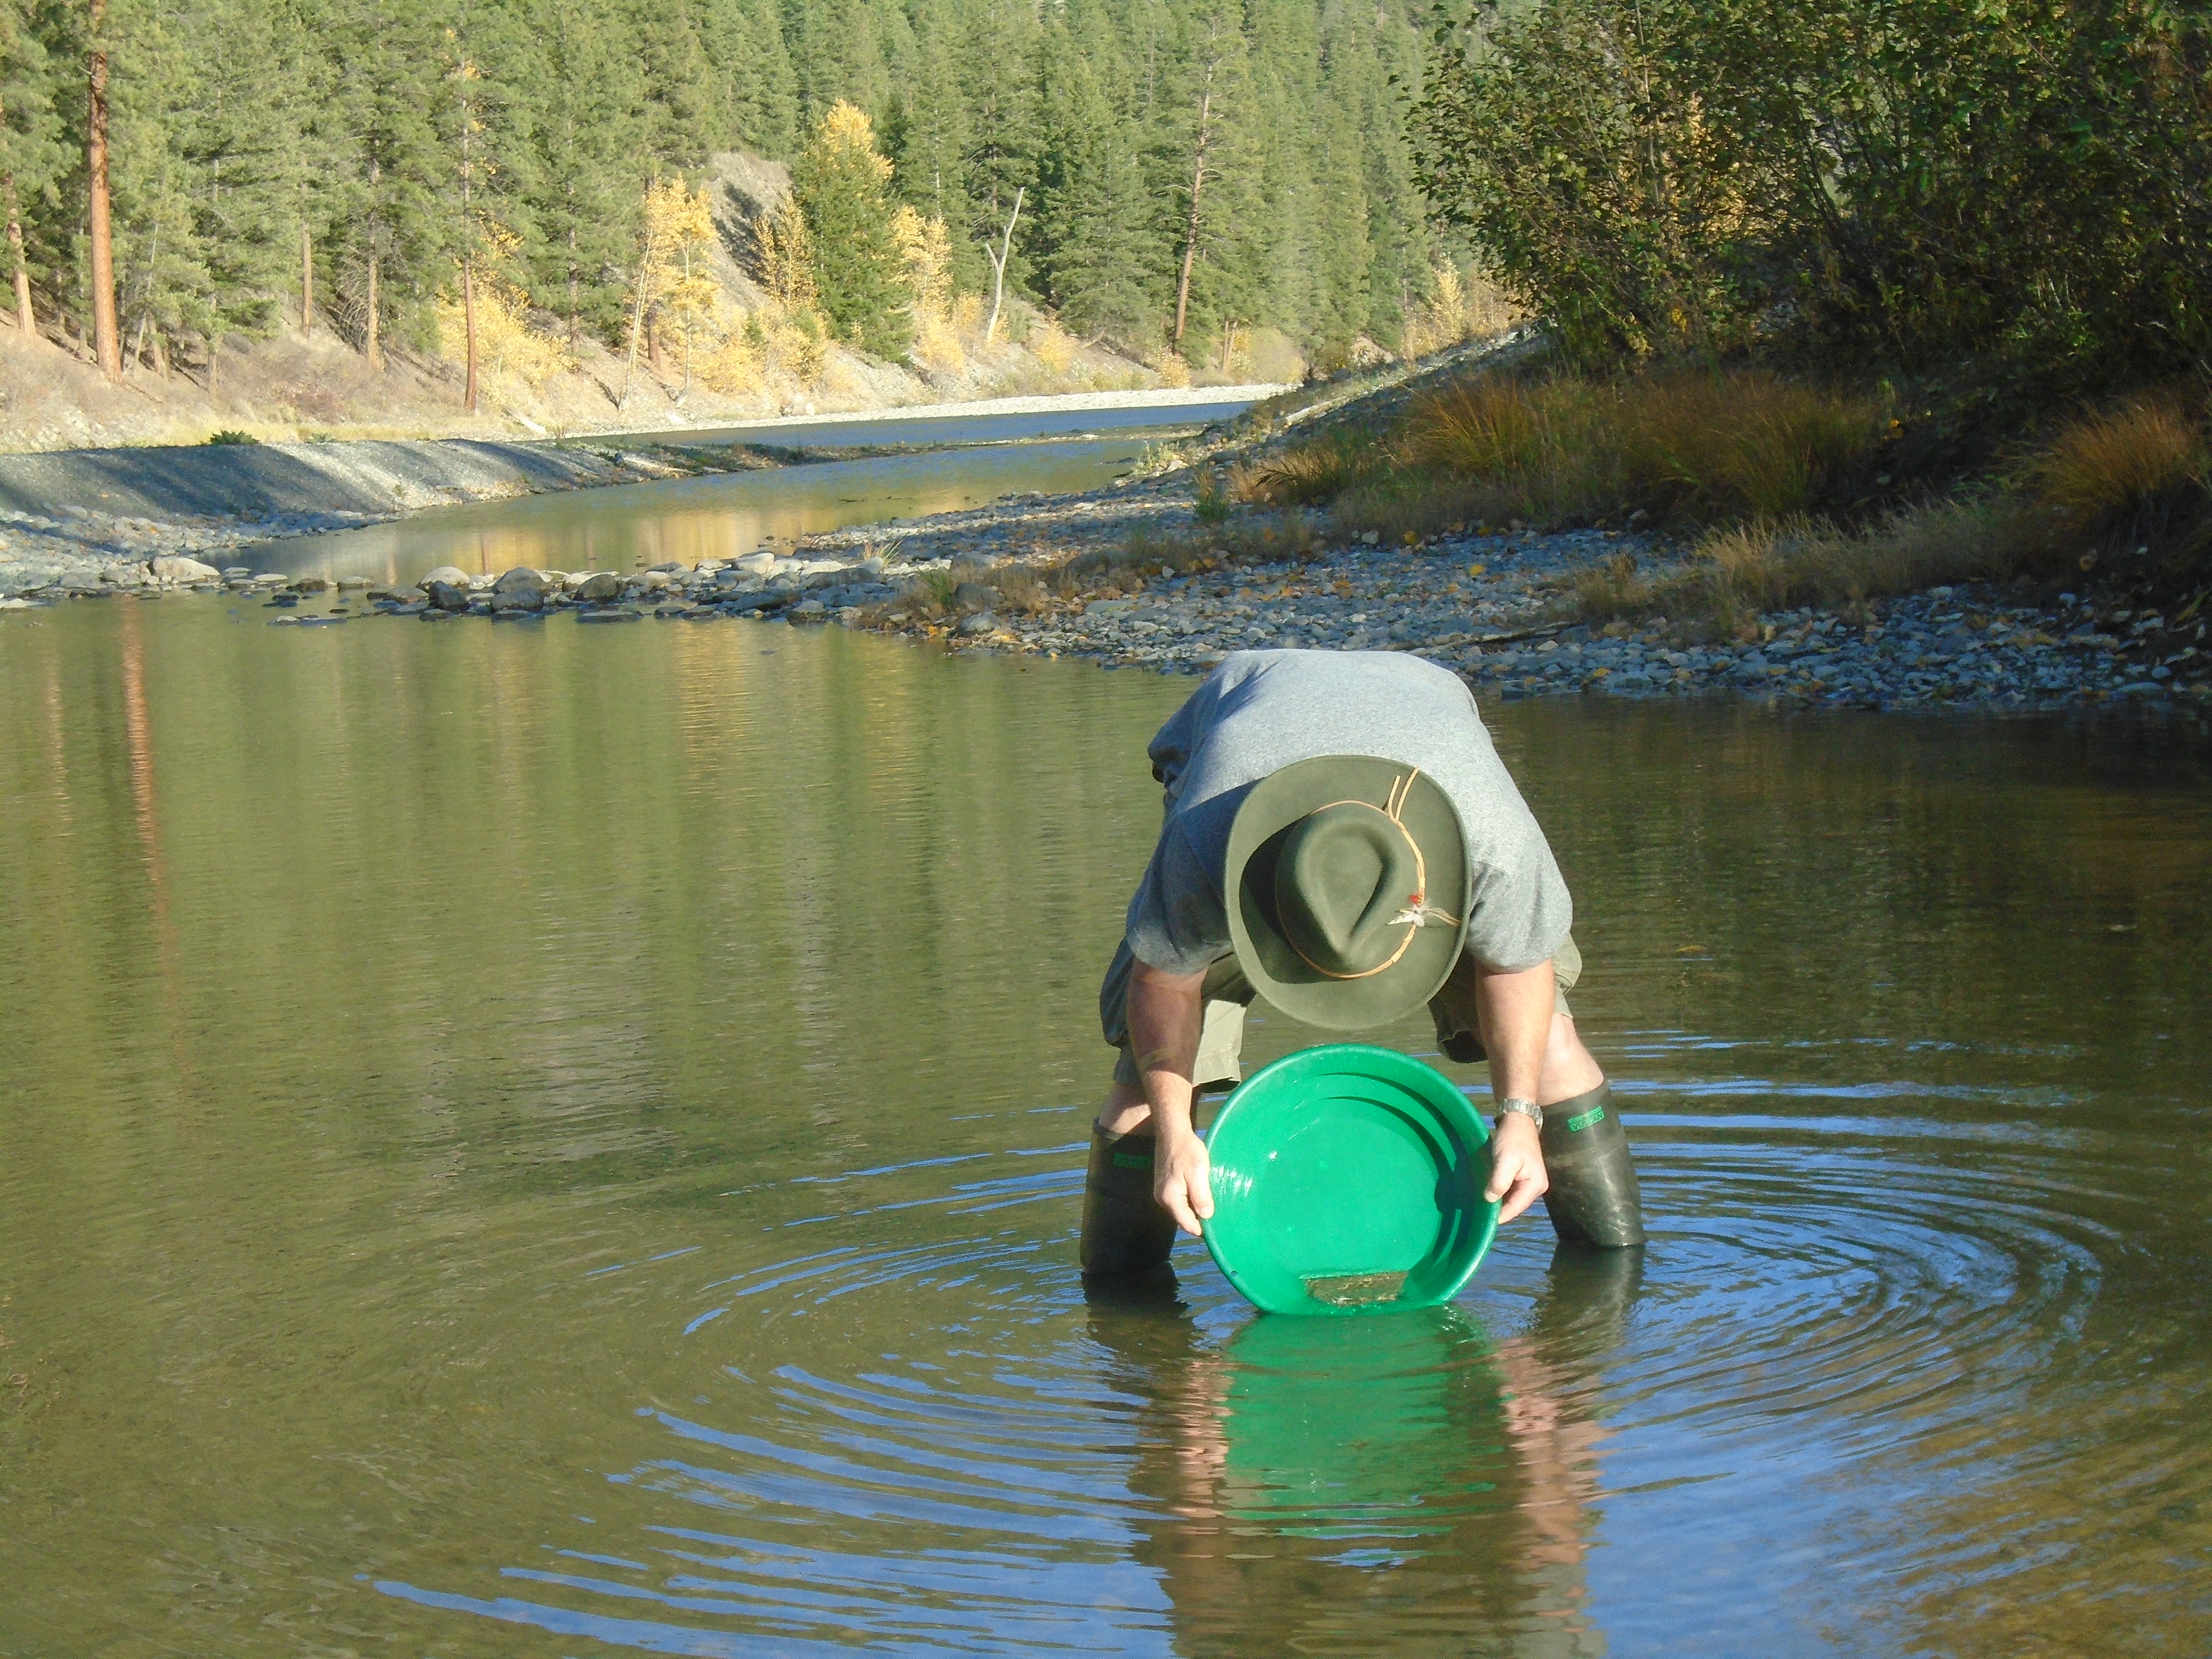
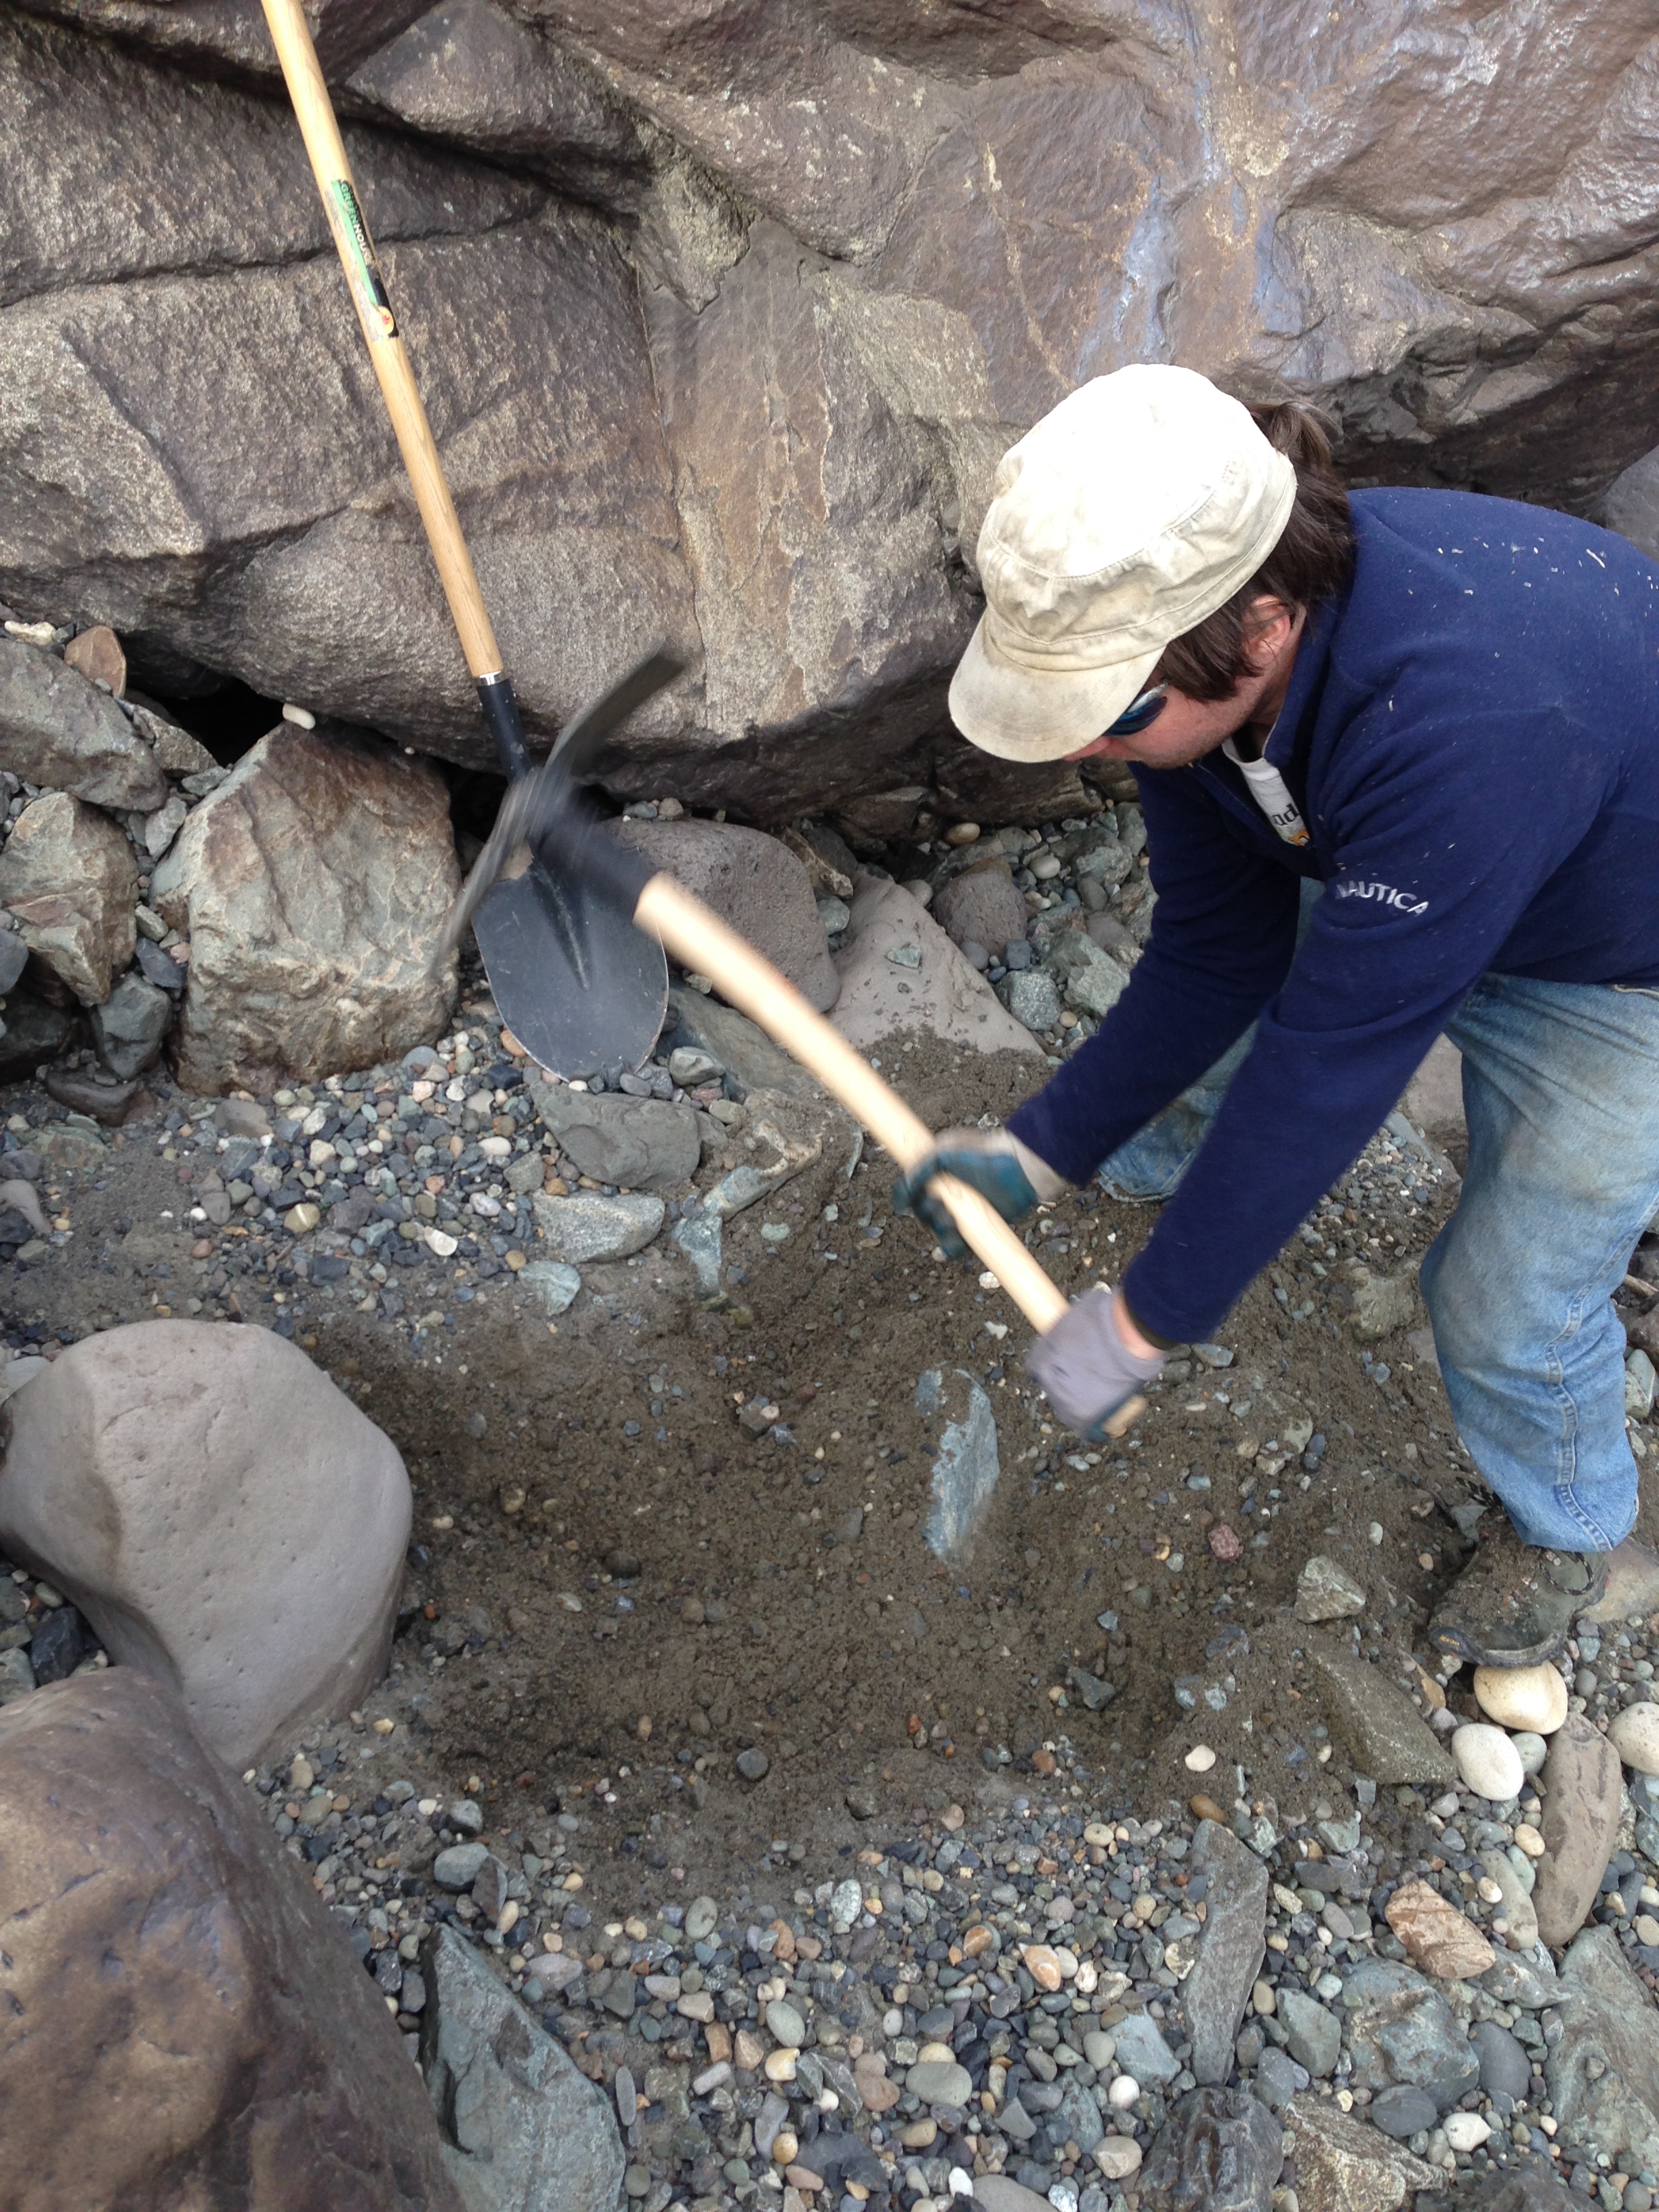
Almost every novice prospector will sample surface gravels and expect to see flakes of gold.  Placer prospecting and mining hinges on the fact that gold is very dense.  Being heavy, gold will settle deep as it can in a gravel bed.  When digging a test hole you basically want to dig as deep as you can.  You want to reach compacted gravel before you start sampling.  In most cases your best gold will be on the bedrock.  In some areas there are clay layers or river armour layers that will trap the gold.  It will always travel down until something prevents it from sinking any further.

    There are areas where flood gold can be found near the surface.  It is important to know the history of your area.  Even if there is surface flood gold though the real paystreak will always be deeper down.

  5. Lack of knowledge of local mining regulations

    regs 
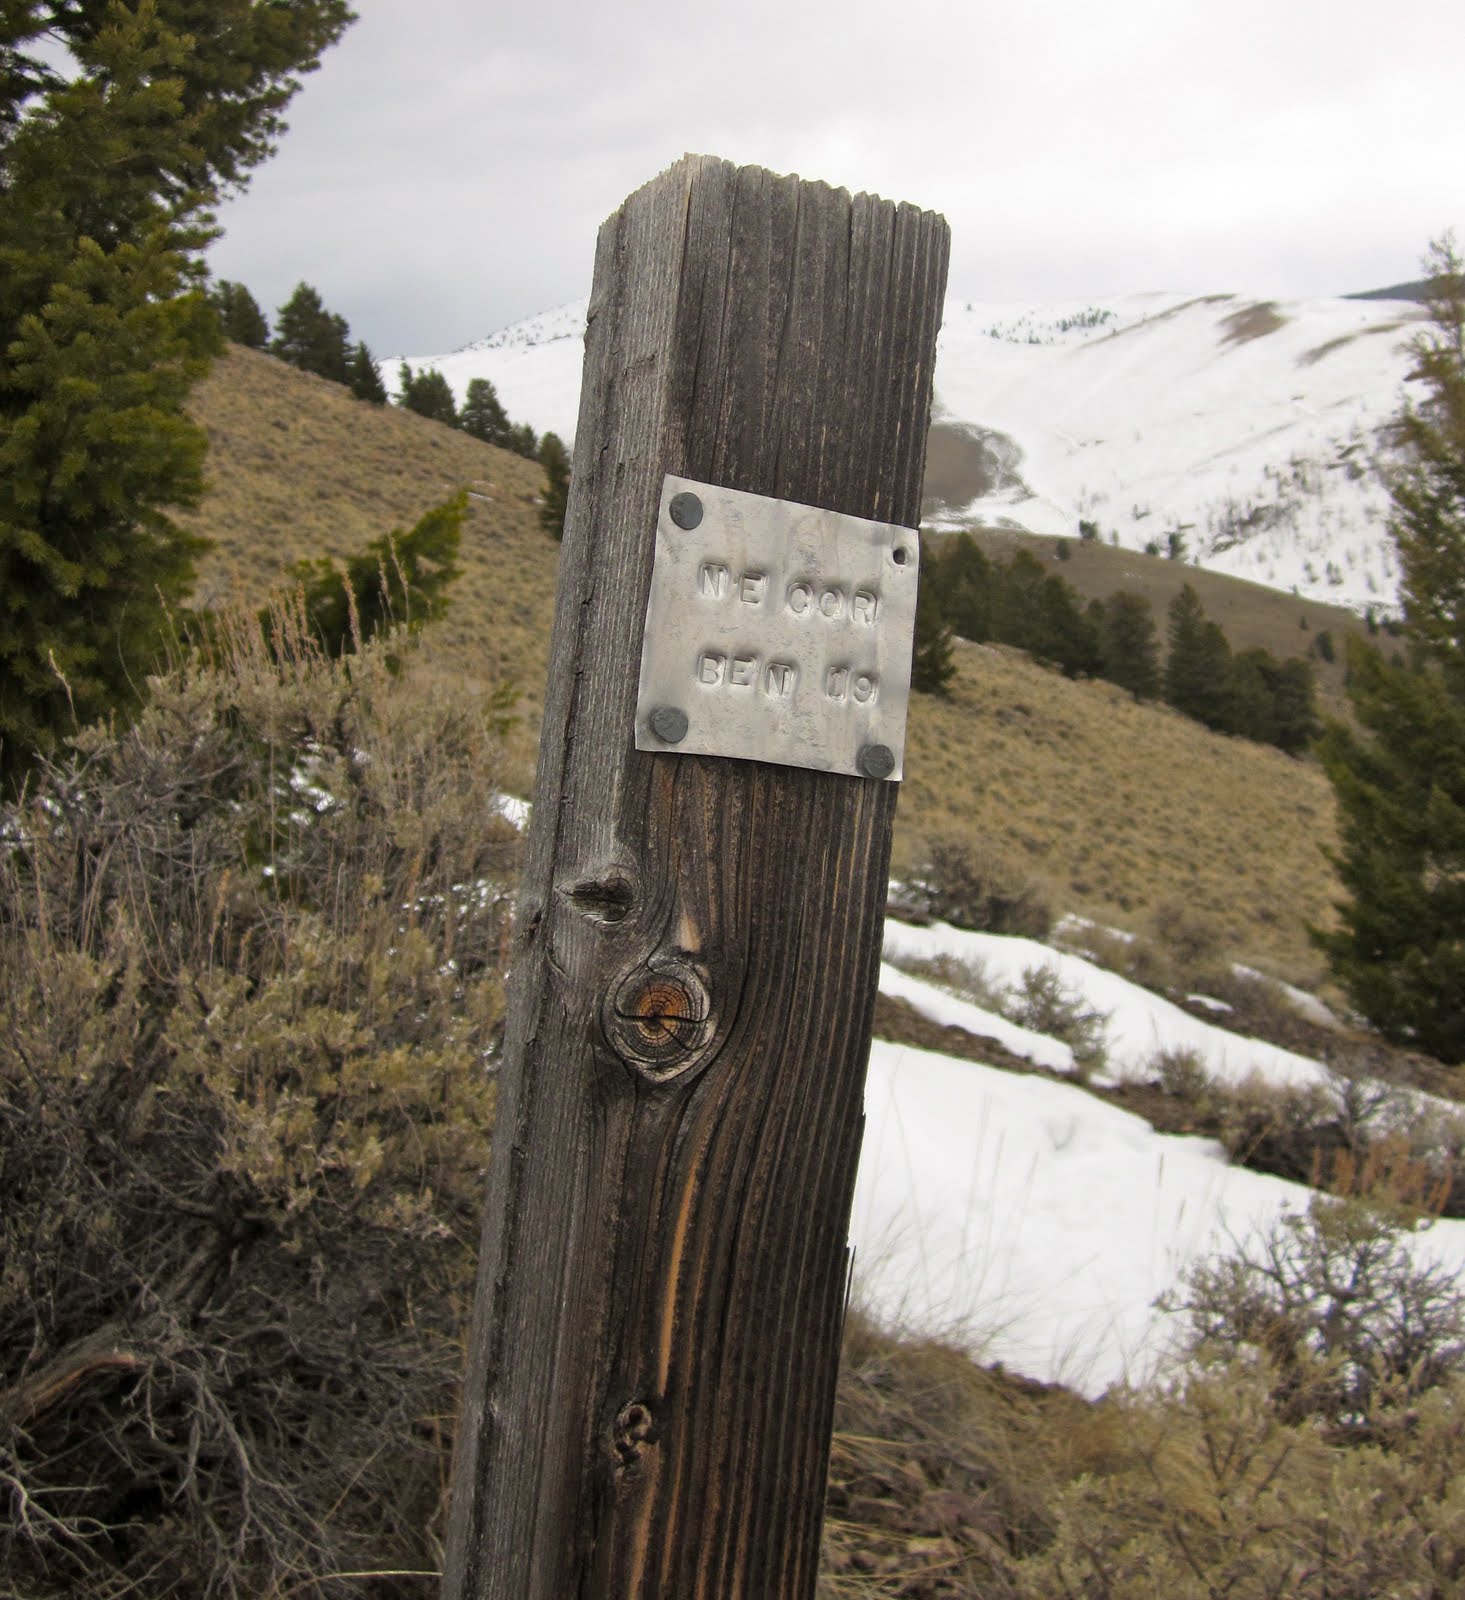
Just like other laws it is your responsibility to know the mining regulations for your area.  I have heard too many stories of guys panning or running river sluices in areas that they didn’t even know were claimed.  That is called claim jumping and is illegal.  In the gold rush days it was perfectly legal and acceptable to shoot a claim jumper.  Today claim jumpers can face a criminal record and imprisonment. Check out our post on claimjumping for more info.

    The rules are not the same everywhere.  A suction dredge might be perfectly acceptable in one area and completely outlawed in another.  Dredges and highbankers area also regulated by water intake hose diameter and type of creek that you are working on.  Other regulations to look out for are environmental rules for drawing water and working in riparian zones.

    Laws regarding exploration on private land, provincial parks or first nations land must also be obeyed.  You have certain rights by holding a claim but that does not guarantee your right to dig in every situation.

  6. Unrealistic expectations

    Nuggets These days with the recent flood of gold mining TV shows it seems so easy.  They give the impression that all you have to do is show up with an excavator and a wash plant and you’ll start pulling out nuggets.  Often these shows have some arbitrary budget that the miner needs to reach by the end of the season.  Just seeing numbers like $500,000 per season will get anyone excited.  You may be thinking if they can get that I can at least get $1000 on a random claim.  Spending an hour per night watching guys pour jars full of gold flakes on shows like Yukon Gold or Gold Rush Alaska will fuel unrealistic expectations.

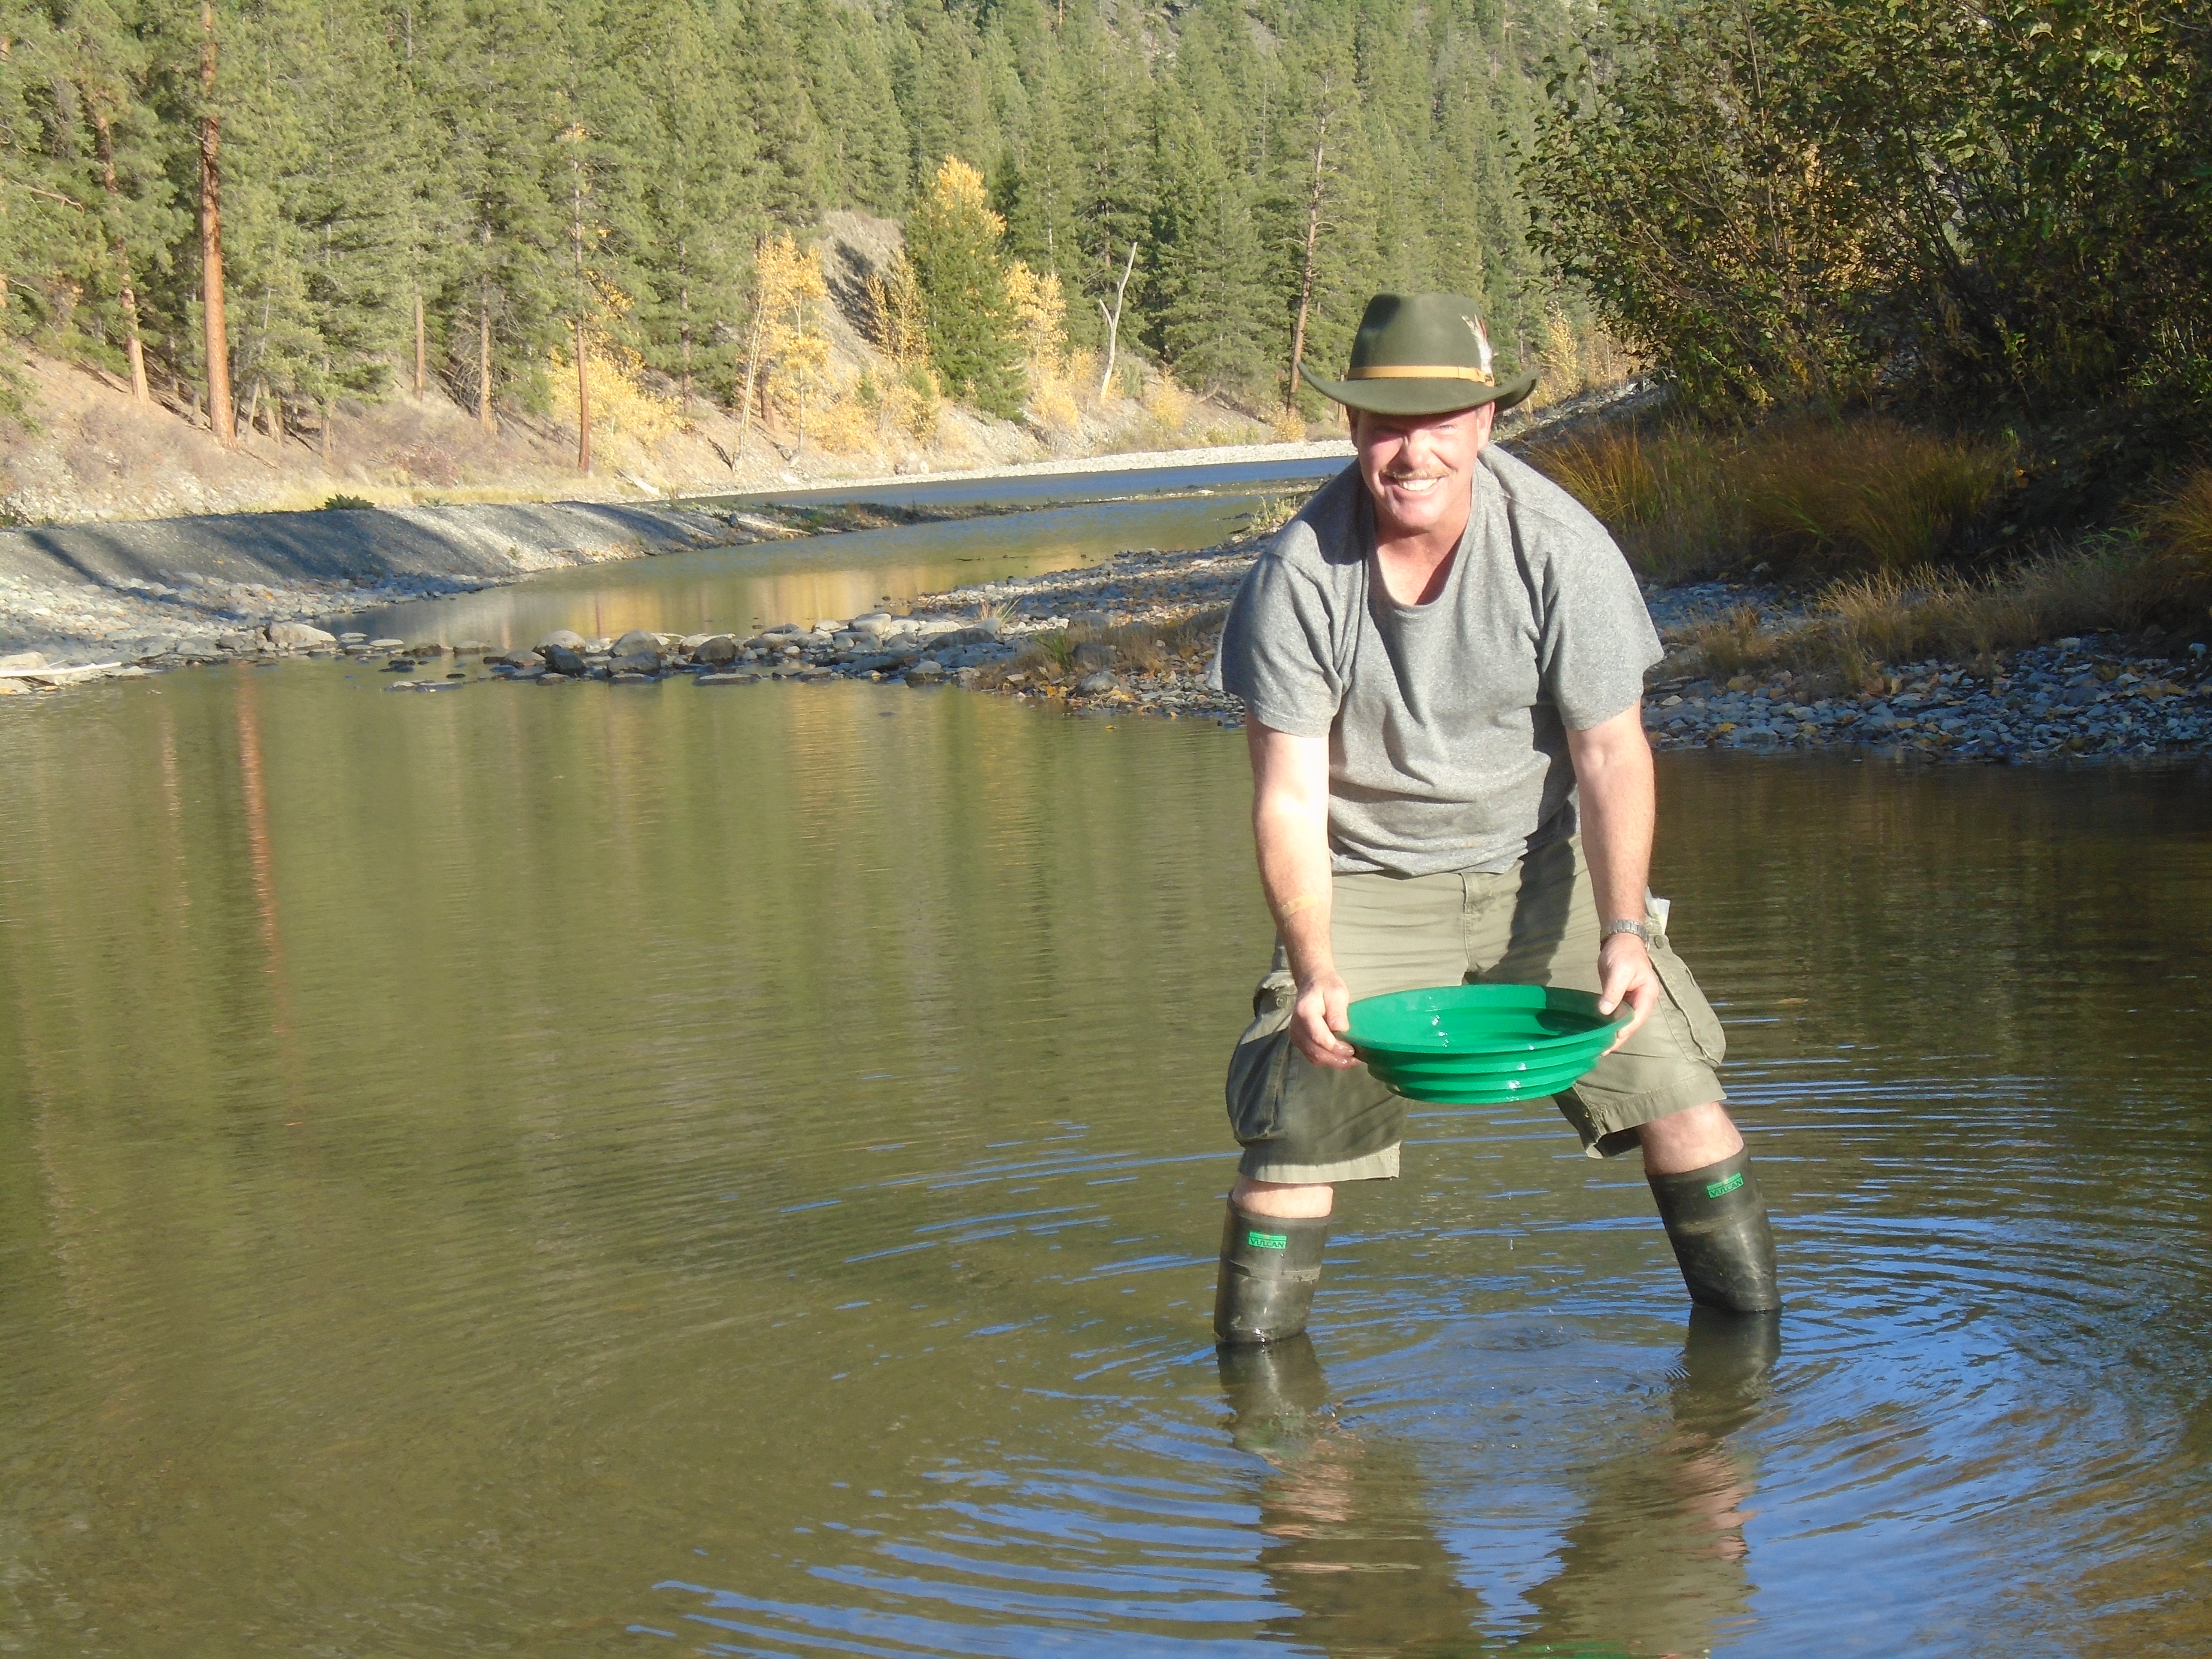
    The fact is gold is valuable because it is incredibly rare.  The value is largely due to the sweat equity of prospectors and miners who have spent lifetimes searching for the yellow metal.  It will be a long road to get your first jar full of gold or even a vial for that matter.  Prospecting for gold has an incredibly poor success rate.  You will put in hard work, digging, hiking and panning for long hours and won’t see more than a color.  Some days you won’t even see that.  Gold is defiantly out there but don’t expect to see any in your first pan.

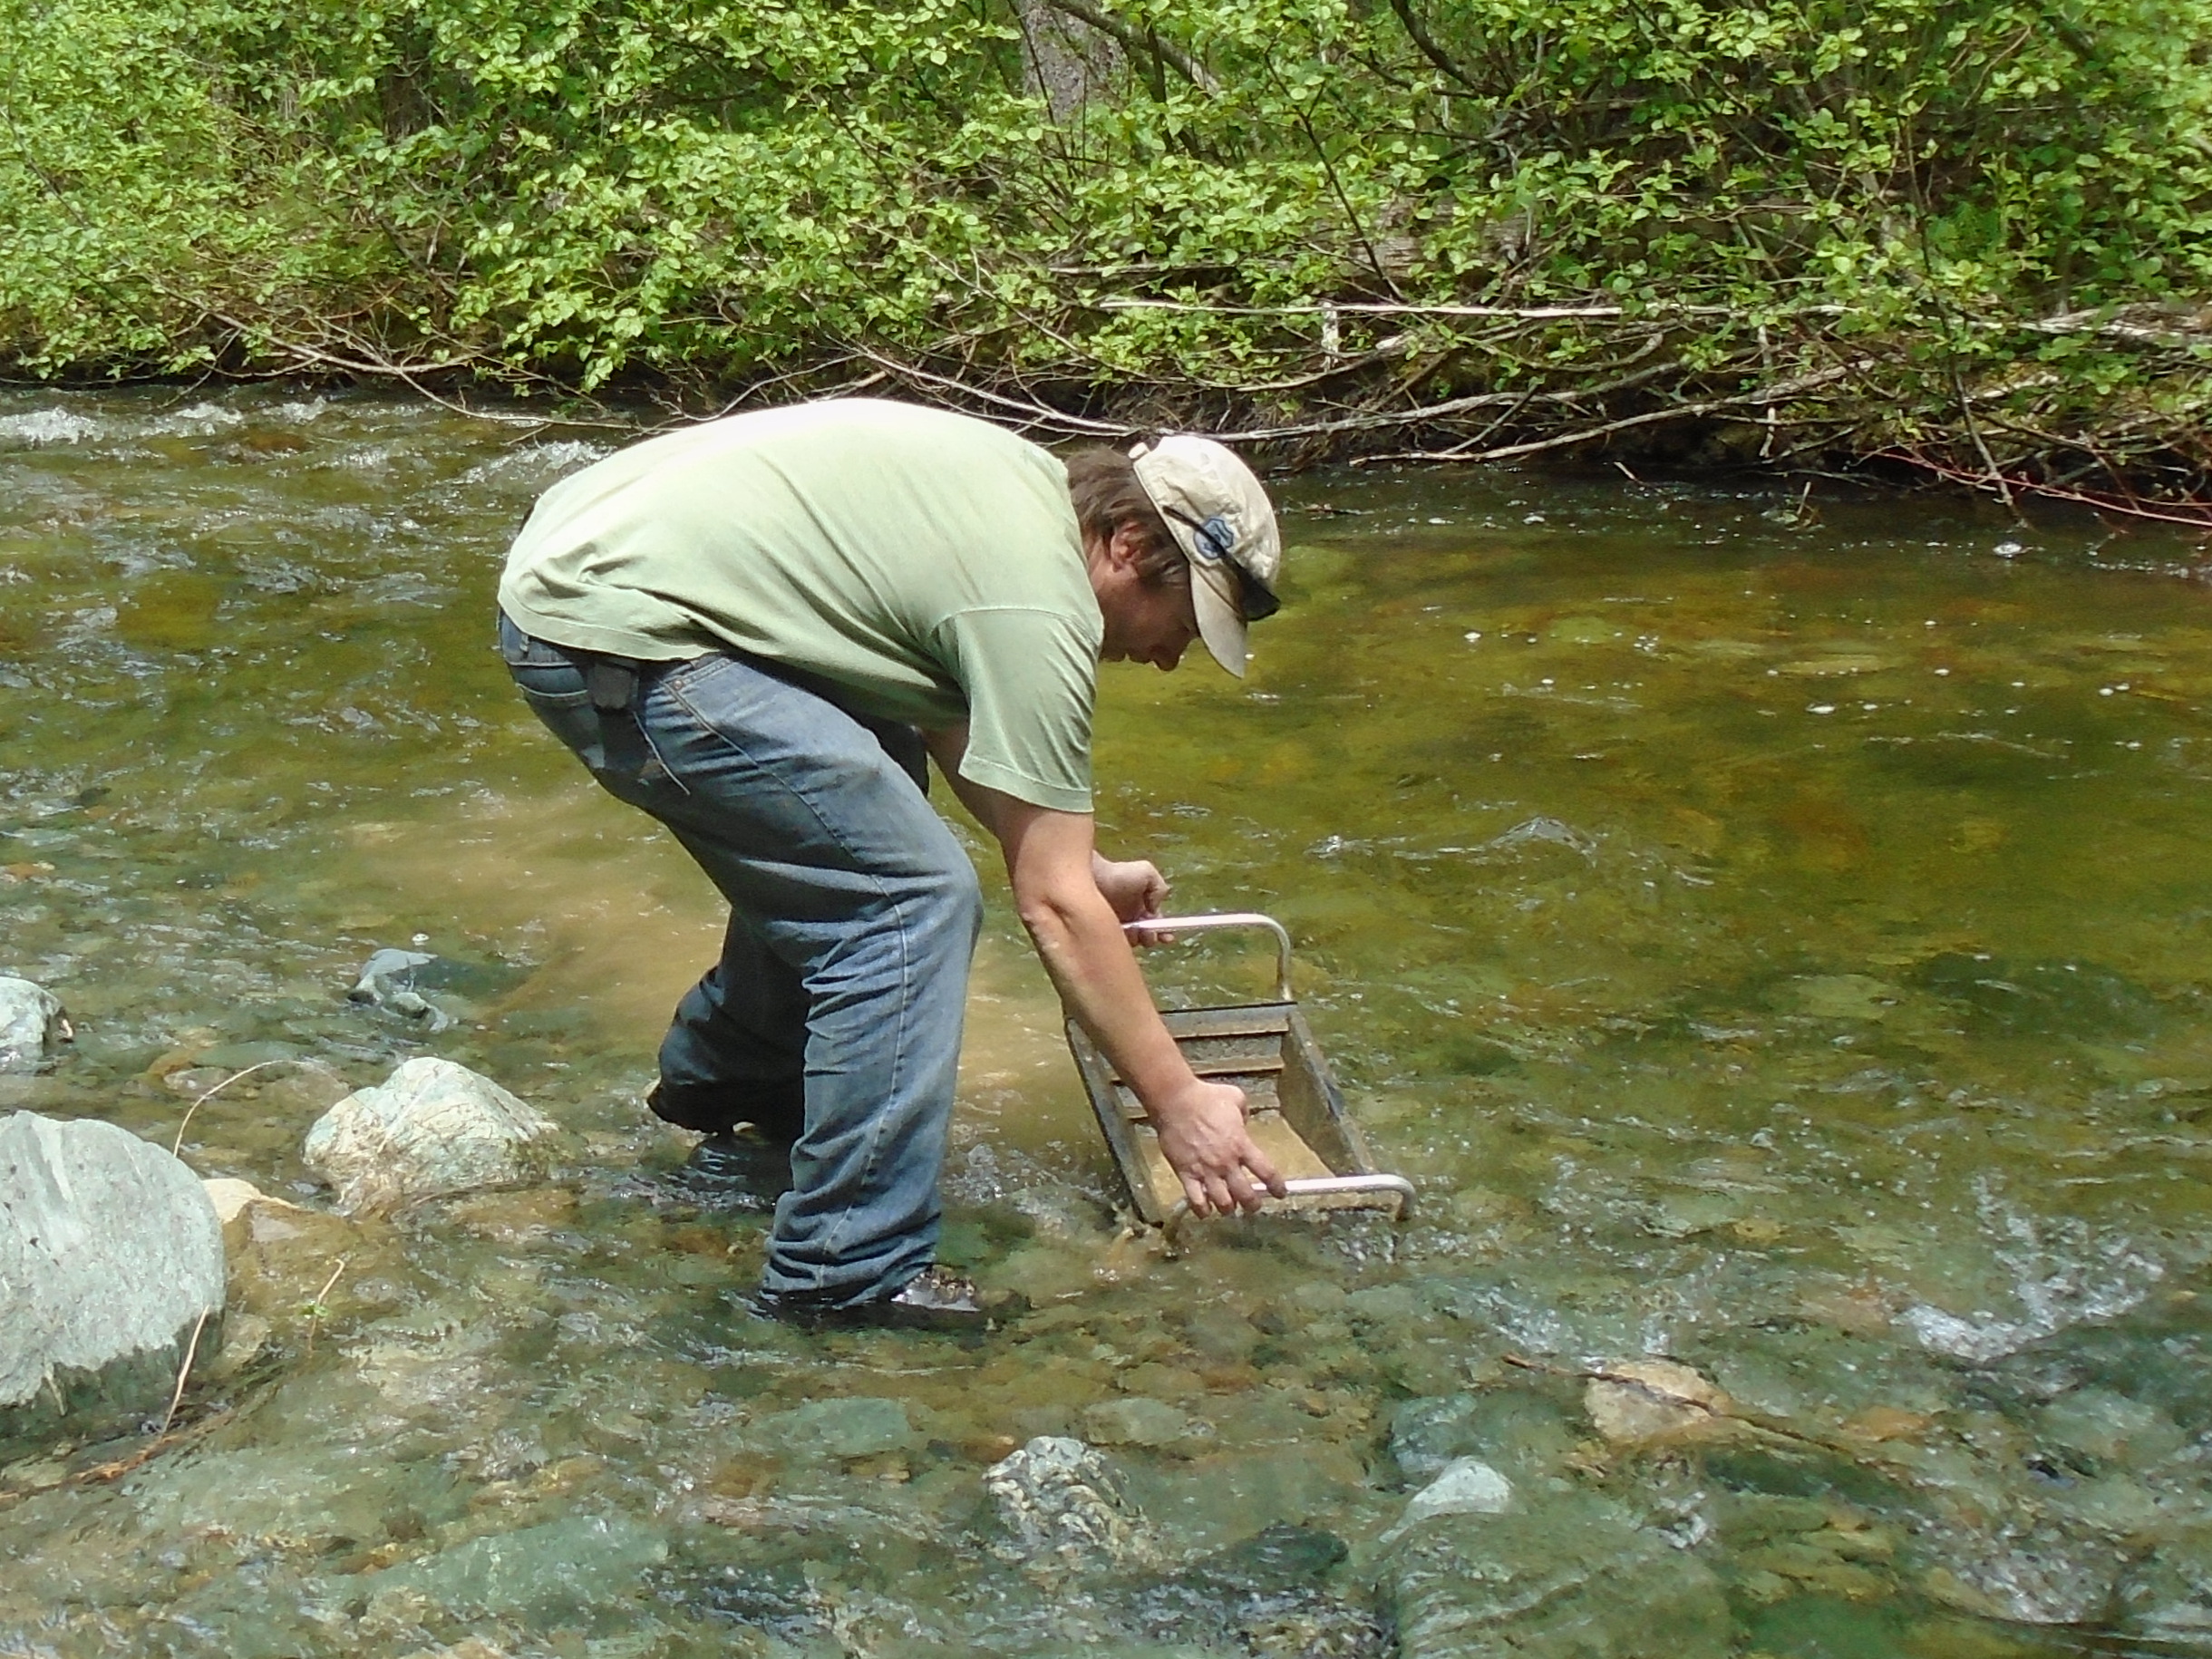
  7. Improper technique with equipment

    Indian River Yukon
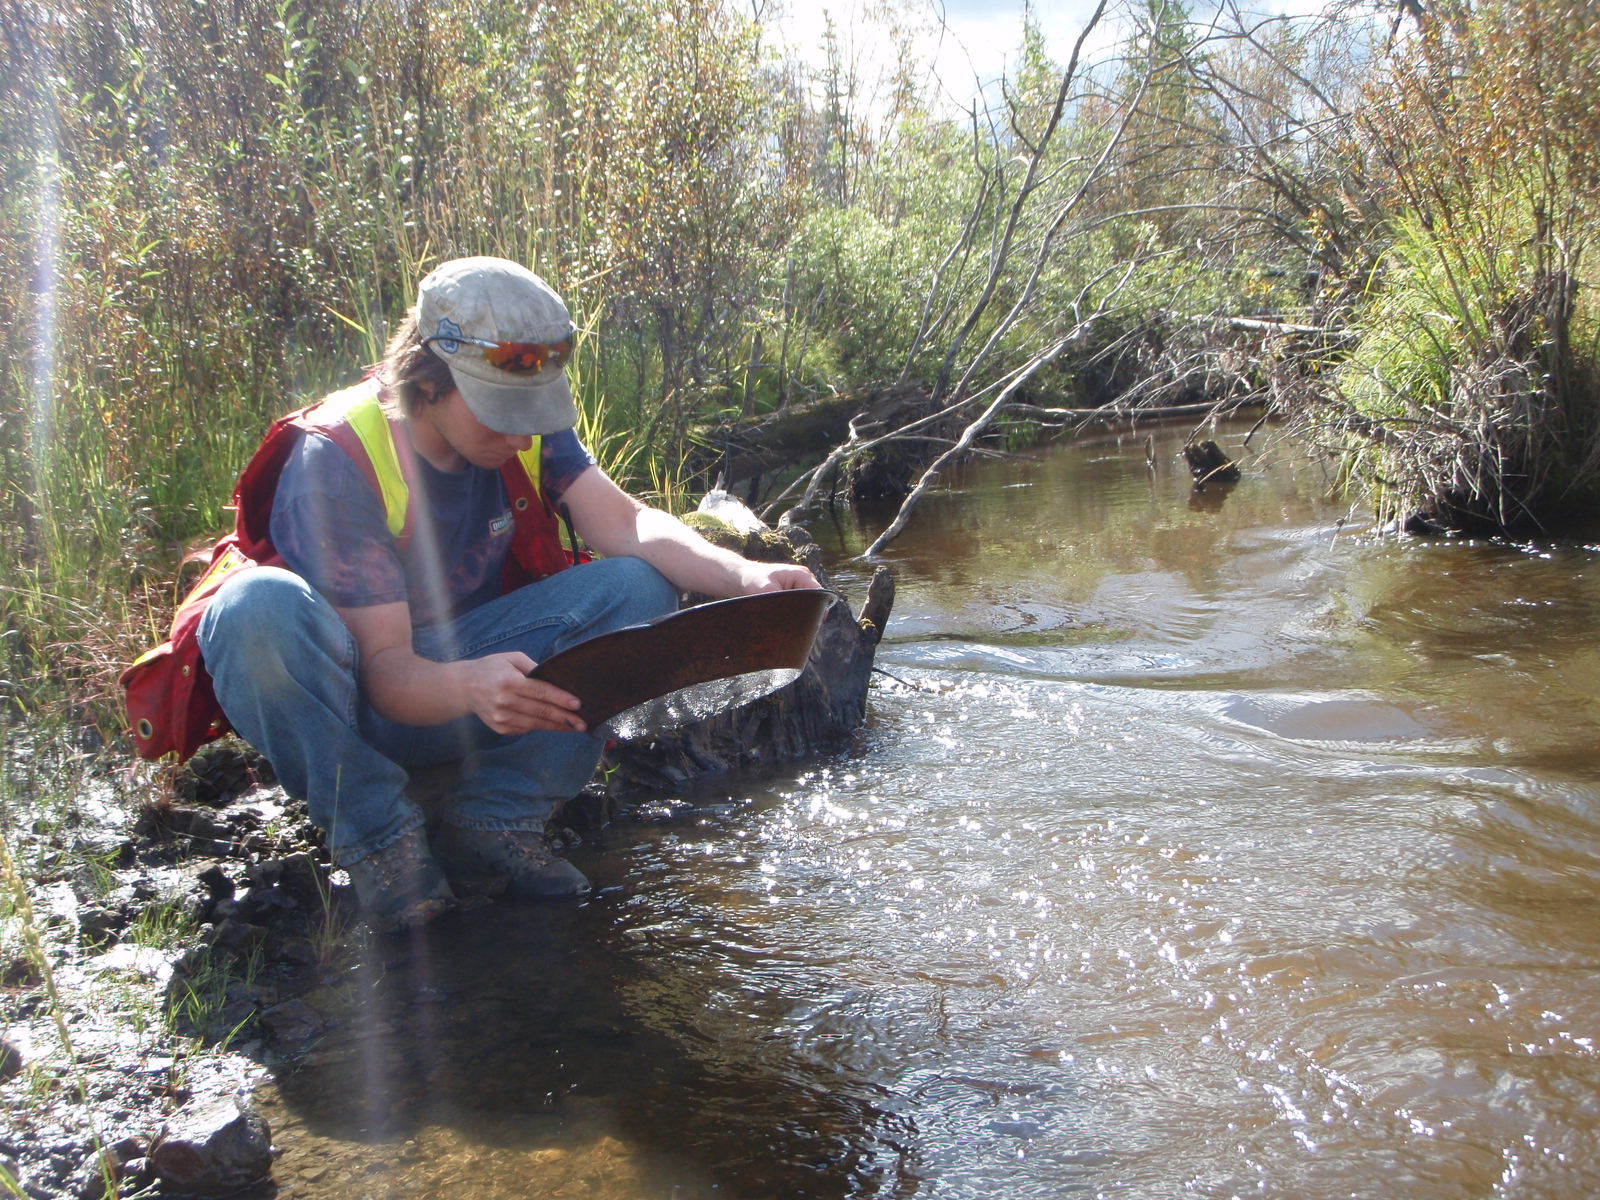
    Most placer mining and prospecting equipment requires skill and knowledge to operate effectively.  That is part of the appeal to prospecting, its a skill just like any other and takes time to develop.  There are a lot of people out there who are not using their gold pans properly and washing gold right out of the pan.  Likewise with highbankers, its a common mistake to mine all day with the wrong angle on your sluice.  There is a lot of info out there on proper techniques don’t just buy equipment and try to figure it out on your own.

    The best thing to do is go out with someone who is experienced with the equipment that you want to use.  You can watch Youtube videos all day but nothing beats hands on experience.  Most placer miners will welcome an extra hand to help work the claim, in the process you will learn everything you need to know.

    If you’re looking for some experienced miners to hang out with, check out the WCP Mining Club.

Gear Review: Pyramid Pro Pan

Gear Review: Pyramid Pro Pan

Placer mining and exploration breeds innovation like no other activity.  Virtually every prospector that you talk to has their own idea of what the best tool, product or technique is.  If you ask three different miners what the best sluice is you’ll get three different answers.  Much of the innovation comes from the trial and error learning process of placer mining.  What works at one claim might not work at the next.  You just have to experiment until everything works the way you want it to.

PyramidPro

The history of placer mining has a long list of innovations and miners benefited with increased yields at each step along the way.  The gold pan was one of the first inventions, then followed the rocker box, sluice, variations of the sluice such as the long tom, hydraulicking water jets, dragline dredges and so on.  The miners in the Klondike gold rush learned to melt the permafrost using fires to reach the bedrock below.  Now they use modern excavators and bulldozers but it had to start somewhere.

Old Time Placer Tools

Every inventor claims that their product is the best.  It can be hard to distinguish the good from the not so good.  In the case of the Pyramid Pro pan developed by Dennis Katz at Fossickers.com it is a game changer.  I am not affiliated in any way with the manufacturer of this pan I just really appreciate the technology.  Fossicker is an unusual word, according to their website it is the Australian word for gold prospector.

There are other pyramid shaped pans on the market but this one has some very unique features.  First off it has insane riffles!  These riffles do two things.  They break up clay or hardpack along with the violent action of the pyramid panning motion.  And they prevent any dense material (ie.gold) from escaping.  The violent action must be emphasized.  In conventional gold panning you want to avoid too much force and splashing because you will force your gold right out of your pan but that is the essence of the Pyramid Pro.  The action is hard to describe and best seen in person.  Check out the developer’s own instruction video below to see how it works.

It is a little funny how the Fossicker keeps saying to “stratisfy” the material.  What he really means is stratify, maybe its an Australian thing too.  You hold the pan with those big handles almost like you’re holding a gas powered ice auger.  It is a bit of an arm workout when you are going through a lot of material but the Pyramid Pro is designed to do exactly that.  The experience is very unique and has little to do with conventional gold panning.  The Fossicker calls the neck of the pan a pre-mix chamber.  Once you get the technique down nothing will escape that chamber.

GranitePPan

The most important benefit for prospectors is that this pan is a lightweight unit that can concentrate a lot of material.  It can essentially replace a small sluice or highbanker for a similar amount of material.  Where it pays off the most is in places where you need to hike in to access a claim.  You are not going to hike with a trash pump, sluice and hose for any considerable distance.  With the Pyramid Pro there is no need to.  I’m not saying its going to replace a highbanker or dredge when it comes to production.  Technically it could but you would need forearms like Popeye.

Where this pan really shines is in volumetric sampling.  That means taking a sample of a set volume and using the gold values to estimate the pay over a larger area.  For example you can take a sample of 50 liters of raw gravel.  Concentrate it with the pyramid pan and then separate and dry your gold.  You can then weigh that gold and extrapolate that number to a cubic meter or yard.  As an example if you had 0.025 grams of gold recovered from your 50L sample that would equal 25g per cubic meter or almost an ounce.   With careful sampling you can be confident that the area is worth the time and money to mine it.

SamplesApril

The pressure plug at the bottom makes taking samples super easy.  Once you have concentrated your sample down, you just pull the plug and dump it into a container.  If you were doing the same thing with a highbanker you would have to do a full clean up for each location.  With this tool you can rapidly sample a large area in no time flat.  The plug can be easily replaced if you damage or lose it.  The plug is just a 1.5″ plumbing plug which is available at any hardware store.

The plastic is surprisingly tough.  I had my pyramid pan on the back of my pack on a particularly perilous prospecting mission.  I wiped out on a jagged rock outcrop and landed with my full weight on the pan.  I thought it was going to be toast but was relieved to see that no damage at all had occurred.  Likewise with my other plastic pans.  I don’t know what kind of plastic they use but it is unbelievably durable.  The Fossickers website claims that it has a lifetime guarantee just in case you did manage to break it.

The Pyramid Pro pan is the center of my sampling technique.  The fact that it is ultra-portable and can concentrate a lot of material makes it an indispensable tool for the modern prospector.  They are not cheap though, I paid $120 for mine and its worth every penny.

You can pick up a Pyramid Pro pan at:

SMI Electronics in Vancouver, BC
or
Motherlode Prospecting in Kelowna. BC

Autumn Prospecting on the Similkameen River

Autumn Prospecting on the Similkameen River

Earlier this week I traveled to the Similkameen to prospect a gold claim.  I was joined by Bernie, who I met on the internet.  The goal of the trip was to due some reconnaissance prospecting of this claim to determine where to focus our efforts in the future.  We were prospecting using hand tools and gold pans.  In addition to gold panning we took several large samples using a pyramid pan to concentrate the material on site.

DSC01341

This claim is located a short drive to the East of the town of Princeton.  The weather in October is a bit of a gamble but we had great conditions for this two day trip.  It was sunny both days and slightly below room temperature.  The scenery is spectacular this time of year with the bright colors of the fall leaves contrasting the evergreen trees and the surrounding mountains.

The Similkameen river has a long history of placer mining and exploration.  Prospectors began digging in the area soon after the Fraser River gold rush that began in 1858.   By 1860 prospectors had found gold on the Similkameen and men were soon staking claims.  The area experienced a gold rush and a town called Blackwood was created just South of present day Princeton.  Prospectors descended on the Similkameen again during the Tulameen gold rush of 1885.  People have been pulling gold and platinum out of the river ever since.

WideAngleRiver

The first day we made the two and a half hour journey from Abbotsford early in the morning.  There is a small farm between the highway and the claim.  We stopped to talk to the land owner and the refused to allow us to access the claim through their property.  This meant that we had to hike an extra 2km to access the claim without trespassing.

DSC01355

DSC01356

We began digging test holes right away focusing on the gravel bars and floodplain above the beach.  It was easier digging than expected which allowed us to dig deeper holes to get closer to the bedrock.  This area has numerous channels that show evidence of water flowing during the spring melt.  The area close to the river is a bit of maze of channels and will take several trips to sample them all.

Usually I camp right near the work site on a claim but this time we went for the glamping approach due to the unexpected hike into the claim.  We stayed in a historical cabin in Princeton that was built in 1937.  The owners have upgraded the interior over the years with power, hot water and so on but the structure is original.  These log cabins only cost $65/night, definitely worth it if you are staying in Princeton.

PrincetonCabin

We were at it again the next day covering more ground.  We managed to dig some big holes and take some volumetric samples and lots of gold panning.  During the two days we did see some color but no platinum.  This area has produced a significant amount of platinum in the past.

How Do Drones Work?

How Do Drones Work?

Five years ago you rarely heard the word “drone”.  When you did it brought up images of military air strikes and futuristic sci-fi movies.  In 2015 drones have become commonplace and are starting to be used in many industries.  A drone provides many advantages over traditional fixed wing data collection and the low cost makes it a practical solution to many problems.  Hobbyists are also quickly getting into the game due to dropping prices.  It is amazing how many people will drop $1000 or more on these high tech gadgets.

Drone FPV

Drones, also called Unmanned Aerial Vehicles (UAVs),  are flying robots that are able to execute a task autonomously.  They come in several different forms but they all have the same core components.  The four critical drone components are Autopilot, Propulsion, Sensors, Payload.

The Autopilot

The autopilot is the essence of what makes a drone.  In order for an aircraft to be called a drone it must have the capability to fly without human intervention.  The usage of the word drone has been misconstrued in recent years.  Just because an R/C aircraft has four rotors and a camera does not make it a drone, it muse have autonomous flight capabilities.  Autopilots are sort of the brain of a drone.  They monitor all the information coming in from the sensors and send signals to the control mechanisms based on their programming.

GlobalHawk

The autopilot software functions much like a thermostat.  For example if the drone’s alitutde is set at a certain number the autopilot will contol the aircraft to maintain that number.  If the drone rises higher the autopilot will adjust the controls so that the drone descends, if its too low it will set the controls to climb.  The autopilot operates in this way for hundreds of different parameters such as airspeed, altitude, GPS position, attitude (3D orientation), and many more.

The use of autopilots goes back to at least the late 1940s when experimental aircraft were able to operate completely by computer control.  Modern commercial airliners actually employ autopilots that can control the aircraft from takeoff to landing, the only thing they can’t do is taxi.  Every time you fly on a commercial jet you are riding a large autonomous robot.

For a flight to be successful the autopilot must have the parameters for the flight such as flight path, altitude, flight restrictions and settings stored in its memory before takeoff.  Once in flight the autopilot will use the preprogrammed information to follow a flight pattern and land at a predetermined location.  Watching an autonomous drone in action is quite an experience, they can give the impression that they are thinking for themselves.

PitotInvestigation001
Pitot Tube

The Sensors

Sensors on a drone connect it to the real world.  They perform the functions that the eyes, ears, nose and other senses do in a human.  A drone can only know what the sensors tell the autopilot, much a like a human’s concept of the world is based on what we can see, smell, hear and touch.  For example a drone will not have any idea it is heading directly for a tree unless it is equipped with an obstacle avoidance system.  The same is true of hitting the ground or a person who walked in front of the aircraft.  The pitot/static system is used to measure the current airspeed and altitude.  This sensor measures air pressure from a forward facing tube, as air speed increases so does the pressure.  The static tube measures the change in barometric pressure which decreases with altitude.  The pitot system also measures the wind speed by comparing the airspeed to the GPS speed.

drones-Communication

Most drones have a GPS system which is the basis for autonomous flight plans, and in the case of very accurate GPS systems altitude can be measured.  Drones also have a 3 axis accelerometer which monitors the aircraft’s orientation relative to the horizon.  Accelerometers are also used in smart phones, they are the device that senses when you shake or tilt the phone.  More complex drones have fancy inertial measurement units (IMUs) which use gyroscopes and other methods.  Drones have servos which monitor and adjust the position of control surfaces such as ailerons, or rudders.  Servos are electric motors that are calibrated to precisely place their control arm.  There are countless optional sensors which can add new capabilities to a drone.  Some optional sensors are altitude lasers or radar, trasnponders, voltage sensors, magnetic compass, and obstacle avoidance sensors.

killerDrone

The Propulsion System

There are a variety of propulsion techniques in use in drones today.  The majority of drones use electric motors.  The typical drone that most people would think of is a multirotor helicopter.  These use electric motors with a propeller on each.  Thrust of each motor is carefully controlled to maintain the correct speed, altitude and attitude of the drone.  Small fixed wing drones often use electric motors too although usually just one.  They are typically propeller driven as well and they work together with the control surfaces to make a flight successful.  Electric motors rely on battery power and can fly as long as the batteries hold a charge

Gas or heavy fuel motors are used on larger fixed wing drones and are still usually propeller driven.  There are a few drones out there using jet and turboprop engines such as the Reaper (armed version of Predator).  Rocket engines have been used for decades in target drones.  Targets were one of the first uses of drones by the military.  Its hard to believe but military forces around the world routinely shoot target drones which cost $20,000 and up each.  Gas or rocket drones run on a fuel source and their flight duration depends on how long the fuel lasts.  Gas drones also have batteries for their electric components and some of them have an on board generator.

I was part of the team that developed this drone

The Payload

Quad
Payload is often the area where the most development work is focused.  After all these robots are flying for a purpose.  The most common payload is some form of a camera.  The majority of drones out there are either taking photos or video.  Most small drones consist of a multirotor with a GoPro camera on a gimbal.  Mapping drones like the one used by WestCoastPlacer have a down facing high resolution camera that is triggered by the autopilot.  Mapping drones also record the GPS position and aircraft orientation with each photo for use in processing.  Different kinds of cameras can be used such as infrared, multispectral and hyperspectral.
Camera mounts that I designed in 2012

LiDAR laser scanners are starting to be mounted on drones too.  It has taken a long time to miniaturize LiDAR sensors to the point that a small-medium sized drone can carry one.  Drone LiDAR sensors to date have not been able to provide classification so that a bare earth model can be produced.

Magnetometers are being mounted on drones too (Pioneer Exploration, GEM).  These are geophysical sensors used to measure changes in Earth’s magnetic field.  This sort of data is used in mineral exploration and location of land mines and submarines. There are many more payloads out there such as air quality sensors or wifi internet repeaters.

8451894_orig

The Communication System

Another important component of a drone is the communication system.  It is technically possible to operate a drone without real time communication since they fly autonomously however it is irresponsible and in most places illegal to do so.  An unmanned aerial system will include some form or radio communication with the operator.  The operator will have a radio link hooked up to a field computer with base station software to program the drone and monitor in during flight.  On board the drone will be some form of two way radio system which will transmit data to the base station as well as allow the operator to issue commands.  Telemetry data received from the drone allows the operator to monitor the flight and make sure that everything is working properly.  Examples of telemetry data are things like airspeed, battery health or fuel level, position and orientation.

Typical radio frequencies that are used are 900 Mhz, 2.4 GHz or 5 Ghz.  Range of a standard system is 5-10 km.  Factors that affect radio range are frequency, transmit power, antenna choice and terrain.  Some drone operators have had great success using directional and helical antennas.  Some helical antenna systems are capable of communicating up to 100km away. Cheaper drones communicate via WiFi (also a form of radio) to a smartphone or tablet.  WiFi range is limited to several hundred meters but can be extended with directional antennas.

HelicalAntenna
Helical Directional Antenna with Tracker

Cellular modems are used in some drones utilizing LTE/GSM networks and can greatly increase the operating range.  Essentially you can fly anywhere there is cell coverage.  Satellite systems are also used which operate on a satellite phone network such as Iridium.  Theses communication systems have virtually no limit on range but have slow throughput and expensive by the minute billing.

All the individual parts of drones work together to execute a flight and achieve the goal of the operator.  New uses are being discovered for this technology every day.  The low price and superior data quality make the UAV a powerful tool for collecting aerial data.   In the coming years we are going to see drones used in more and more industries.  It just makes sense.


Check out our drones page to see the drone services provided by WestCoastPlacer.

Hard Rock Prospecting near the Thompson River

Hard Rock Prospecting near the Thompson River

In September I went out to check out a claim in the Thompson River area of Southern BC.  This claim has an adit on it that was hand excavated prior to World War 1.  A government report from the 1930s says that a sample from this adit assayed at 9.12 g/t Au.  The report also claims that the adit extended 80m into the rock face and intersected several large quartz veins.

PANO_20150911_134348

The claim was staked in 2006 by the previous owner who held it for several years.  They were able to locate the adit in 2007 but were not willing to enter the portal because of its precarious position on a vertical rock face.  It seems as though nobody has entered this lost mine since the 1930s era.  Naturally I wanted to check it out.

ClaimLocationJune

I was accompanied by a guy that I met on the internet named Rob.  He turned out to be a great partner, and took most of these photos.  We geared up with some rock climbing gear as well as prospecting equipment and a camera.

ClaimLocationAdit

The claim covers an area with a couple of narrow valleys with steep sides.  Its beautiful country but tough to get around in.  According to a prospecting report from the previous claim owner they were able to photograph the adit from the other side of the valley.  Take a look at their photo below.

Adit Location

So we had a photo and even a coordinate from the report.  We were ready to show up and heroically rappel into the adit.  We did not know exactly what we would find in there but I wanted to verify the old assay and hopefully find some gold.  Whoever put in the time and effort to dig an 80m tunnel into solid rock held a strong belief that there were riches in there.  It was all looking good and as usual I remained skeptically optimistic.

Heading Out

Right off the bat we headed up the creek towards the coordinate from the 2007 report.  It didn’t take long to reach the location.  There were no signs of an adit or anything that matched the picture.  It is difficult to tell though when looking straight up a rock face.  We proceeded to hike along the bottom of the vertical wall trying to spot the entrance.  Later we climbed to the top of the ridge to see if we could spot the adit from above and rappel down as planned.

Me on June Cliff

We did not have any luck.  We walked all over that ridge but were not able to spot the adit.  We went around for one last look and managed to find a decent quartz vein.  The vein was a decent size and seemed to continue in to the rock.  I took a sample which will be sent to a lab for assay to see how much gold is in it.  No gold was visible to the eye but it rarely is.  The quartz looks pretty good though, some iron staining and nice crystals in part of it.

Quartz Vein on June Bug

While taking the sample my camera fell out of my packpack and tumbled all the way down to the creek.  It must have bounced down at least 100m.  I scrambled after it expecting to find it in pieces to my surprise it was not shattered just soaking wet.  I was able to dry it out several days later and it seems to be OK.

Quartz

  QuartzCrystals

Having failed to find the old mine we climbed the opposing ridge across the valley.  It was somewhat easier climbing since there wasn’t much vertical rock to deal with.  It was mostly talus which poses its own challenges.  We tried to recreate the photos from the report.  Rob and I took lots of photos with the hope that we could later spot the adit using a computer.  Sadly none of the photos turned out well because the sun was facing us straight on.

Veiw From Across Valley

What started out as a plan to saunter up to a lost mine adit and rappel into it.  It turned into an all day scouting adventure and climbing two different steep mountain ridges.  It almost seems as if we were cursed, every attempt to locate the adit had failed.  Fortunately nobody got hurt and we did manage to get a nice quartz sample, even my camera survived.

I’ll be back soon to find that adit.  Our failure gives me even more enthusiasm to find this thing.  I just refuse to be beat by the mountains.